Magnificence lighting on your images doesn’t should be difficult. All too usually photographers are likely to over-complicate their lighting. On this tutorial, I present you learn how to get fast and straightforward magnificence lighting utilizing the Nanlite PavoTube II 30X and different setups for beautiful magnificence portraits. Let’s get to it.
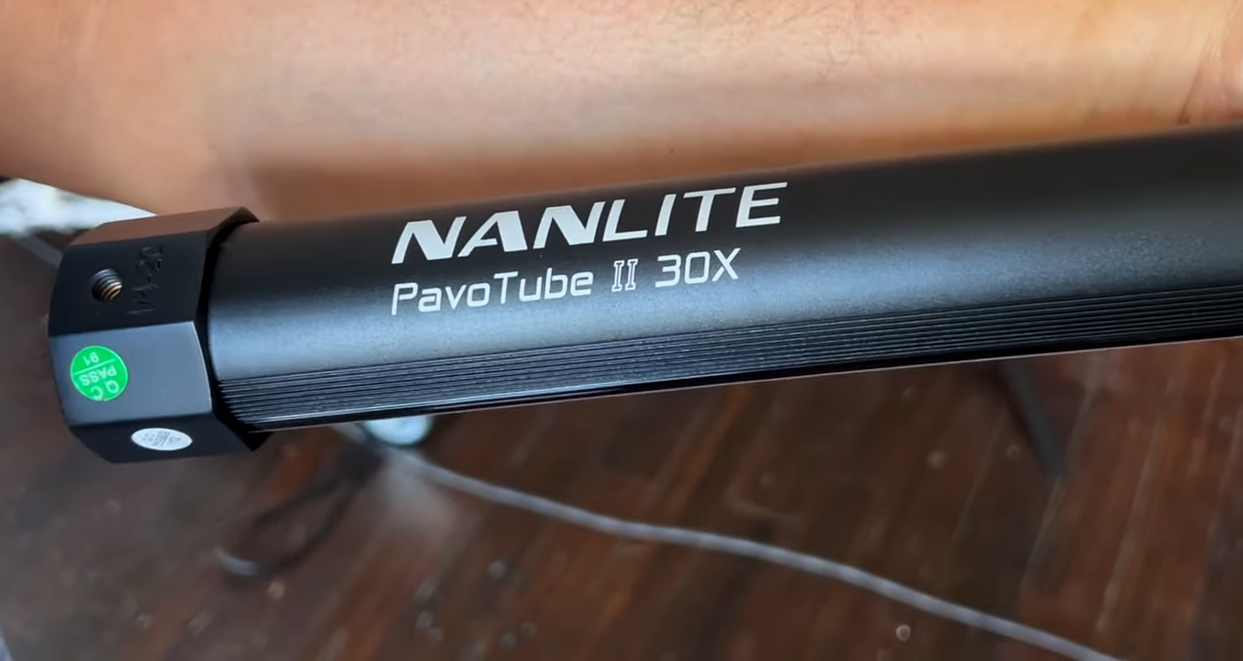
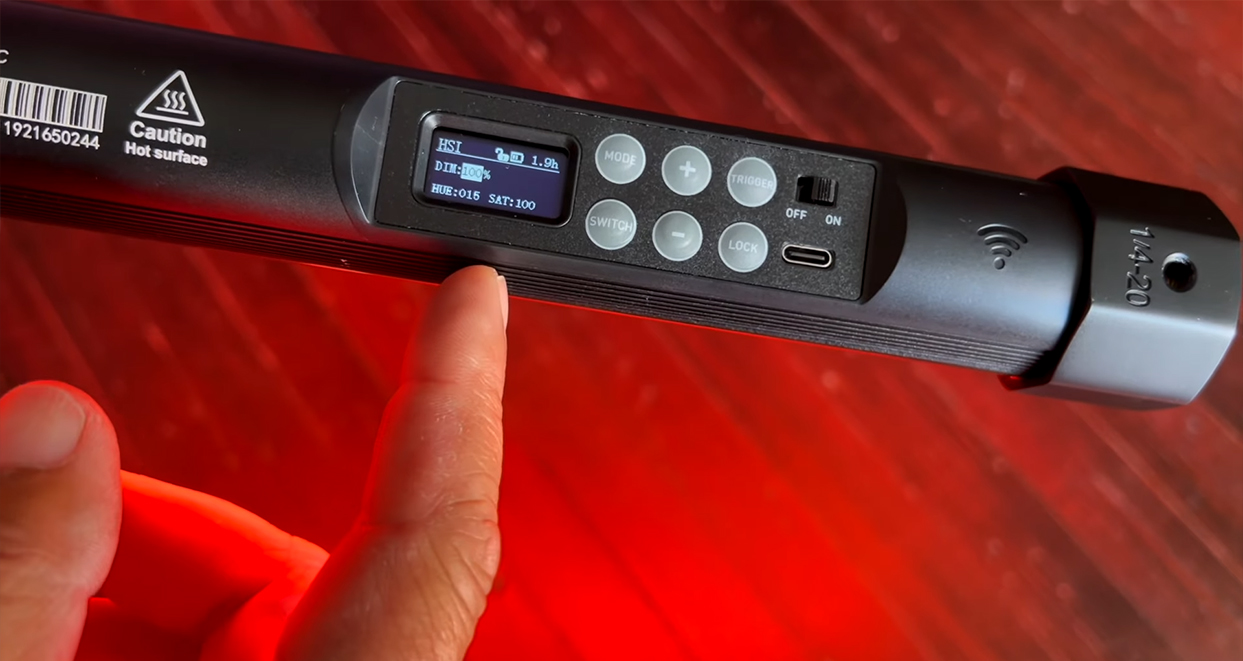
What’s up everybody? My title isSal Cincotta. As we speak, we’re on set, and I’m going to point out you some fast and straightforward magnificence lighting utilizing steady gentle. We’ve 4 of those Nanlite PavoTubes with us in the present day. These are the PavoTube II 30Xs. You should buy them individually, or you may get them in a package of 4. I’ve received a package of 4, and the explanation I actually like these is, first, they’re battery-operated, so we have now no cords right here. The opposite cause is that I can function them with a twine if wanted. They don’t seem to be solely full-color from 5,500K to three,200K, so that you’ve received tungsten and daylight steadiness, however additionally they have RGB. This provides us the power to create a moodier portrait.
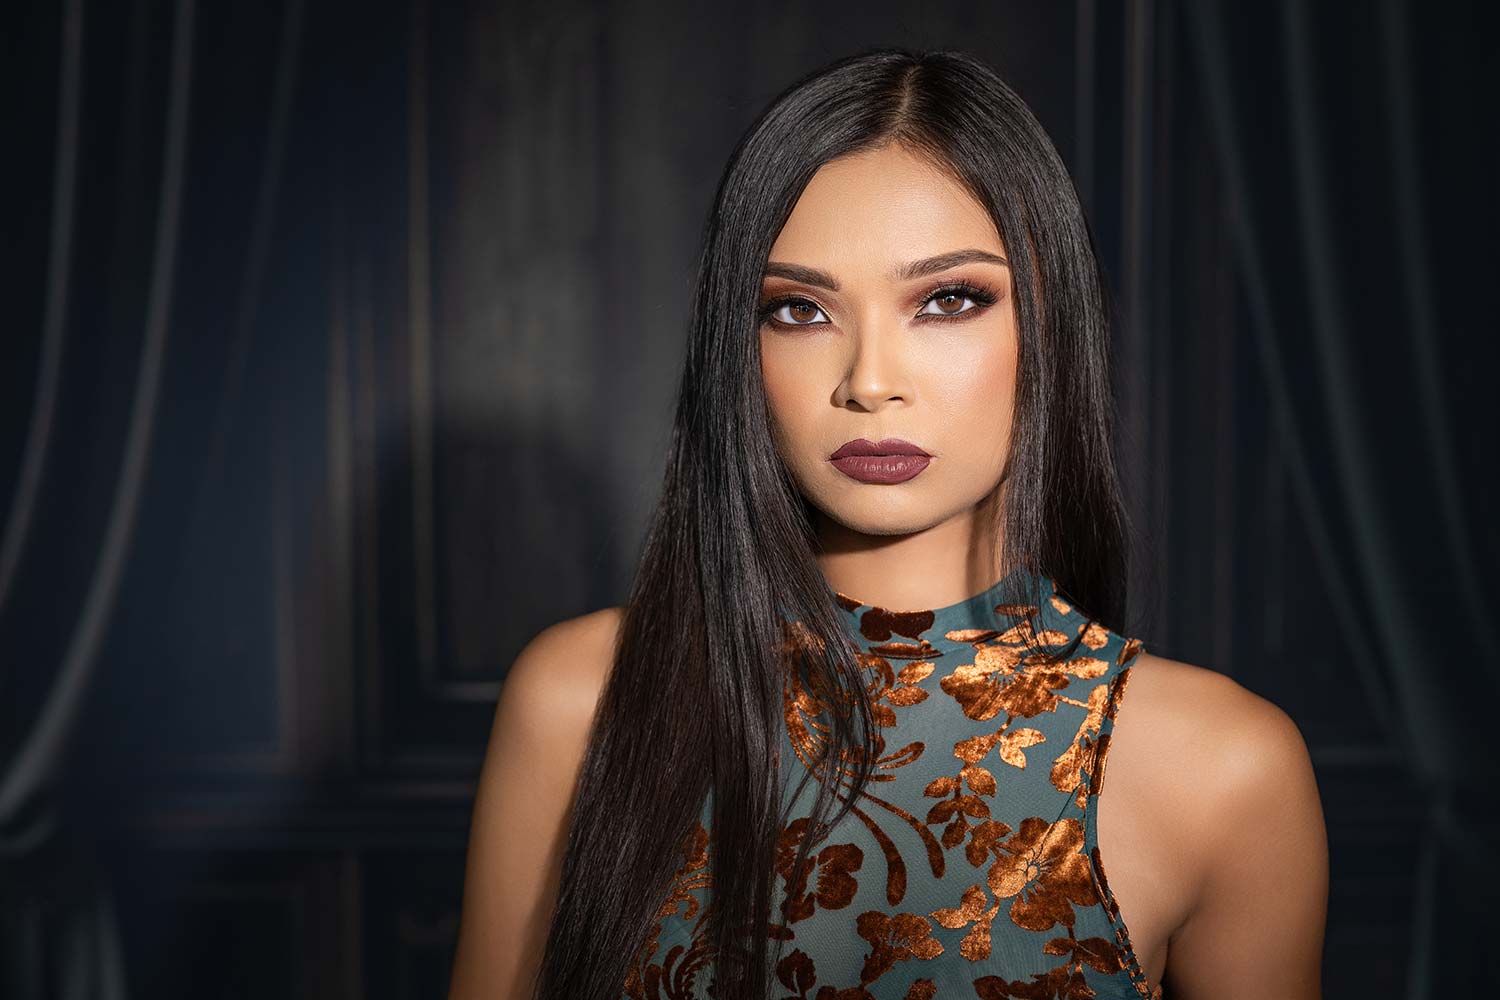
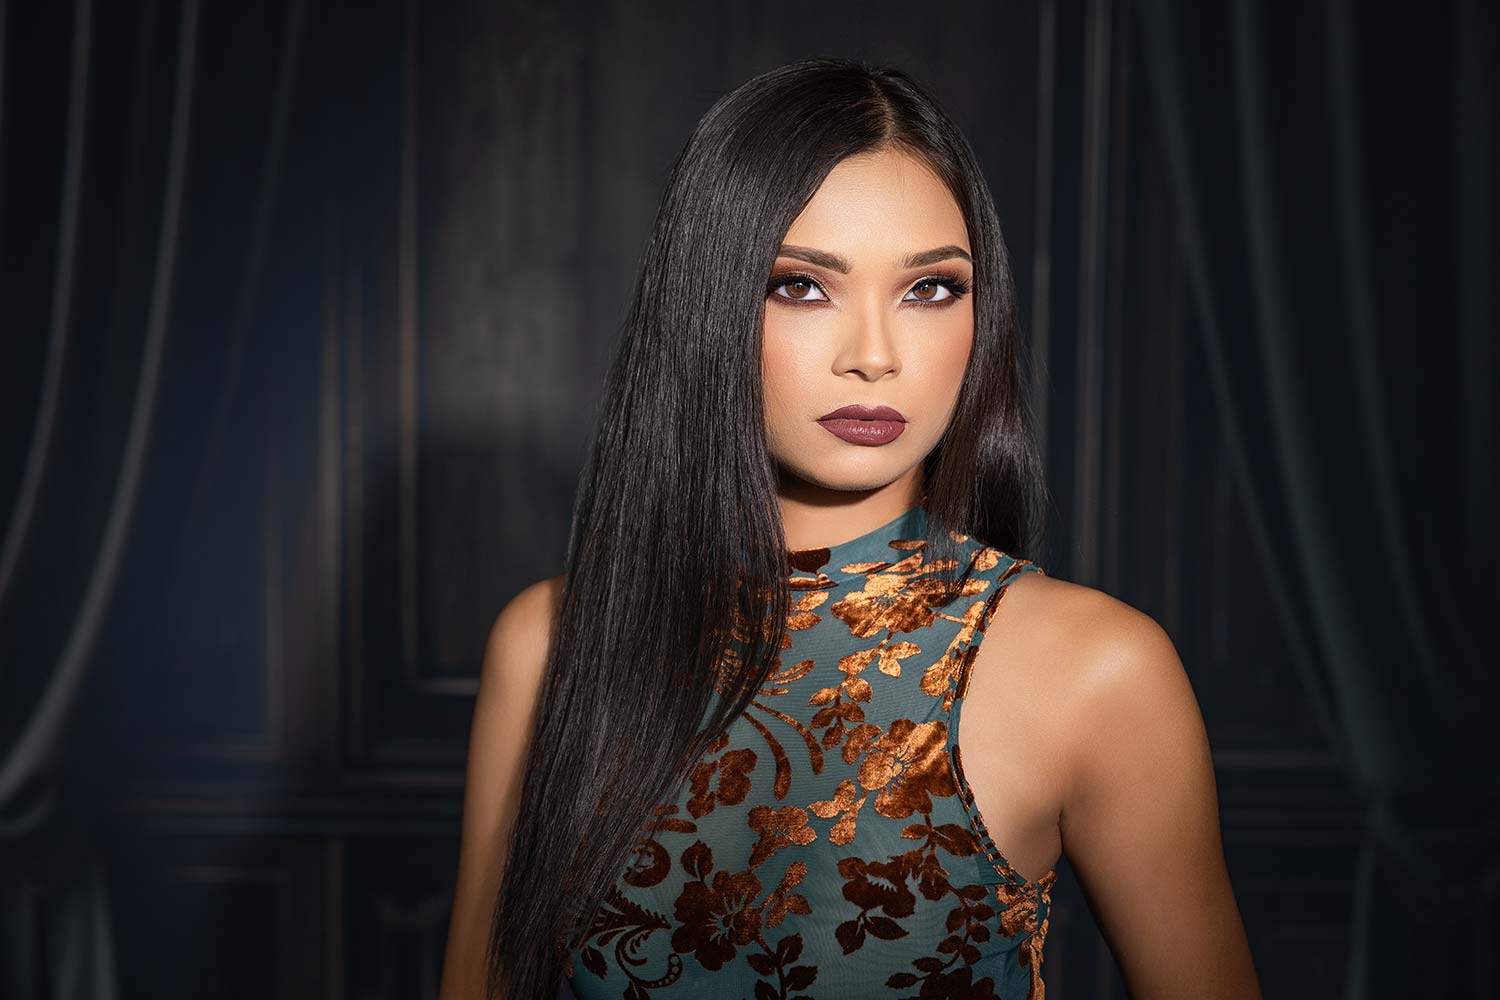
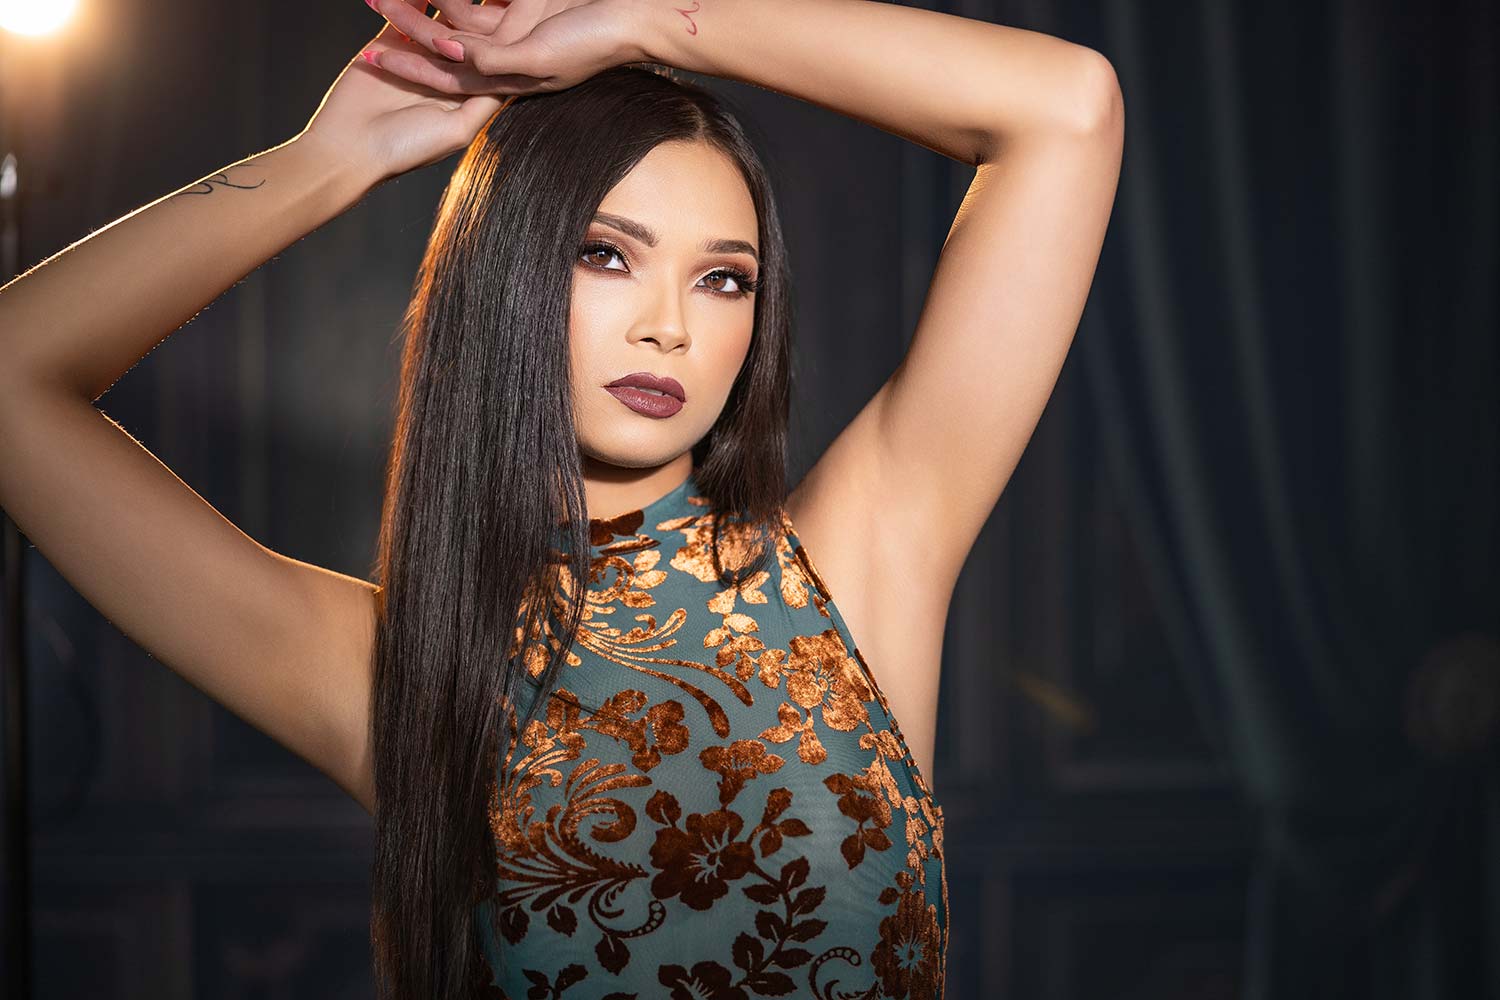
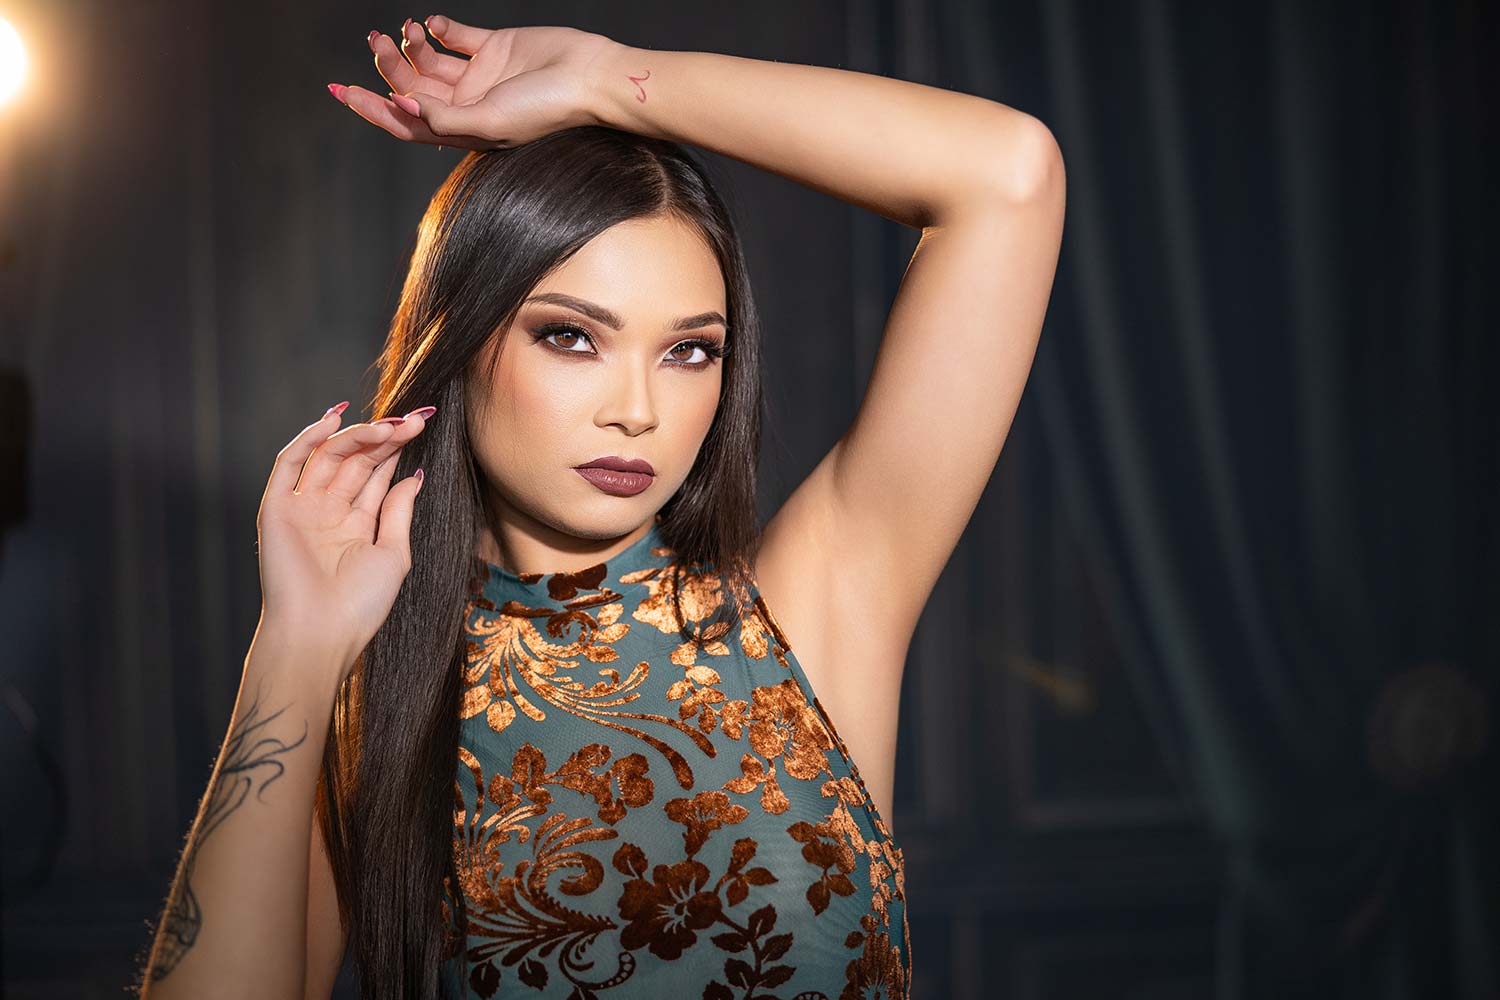
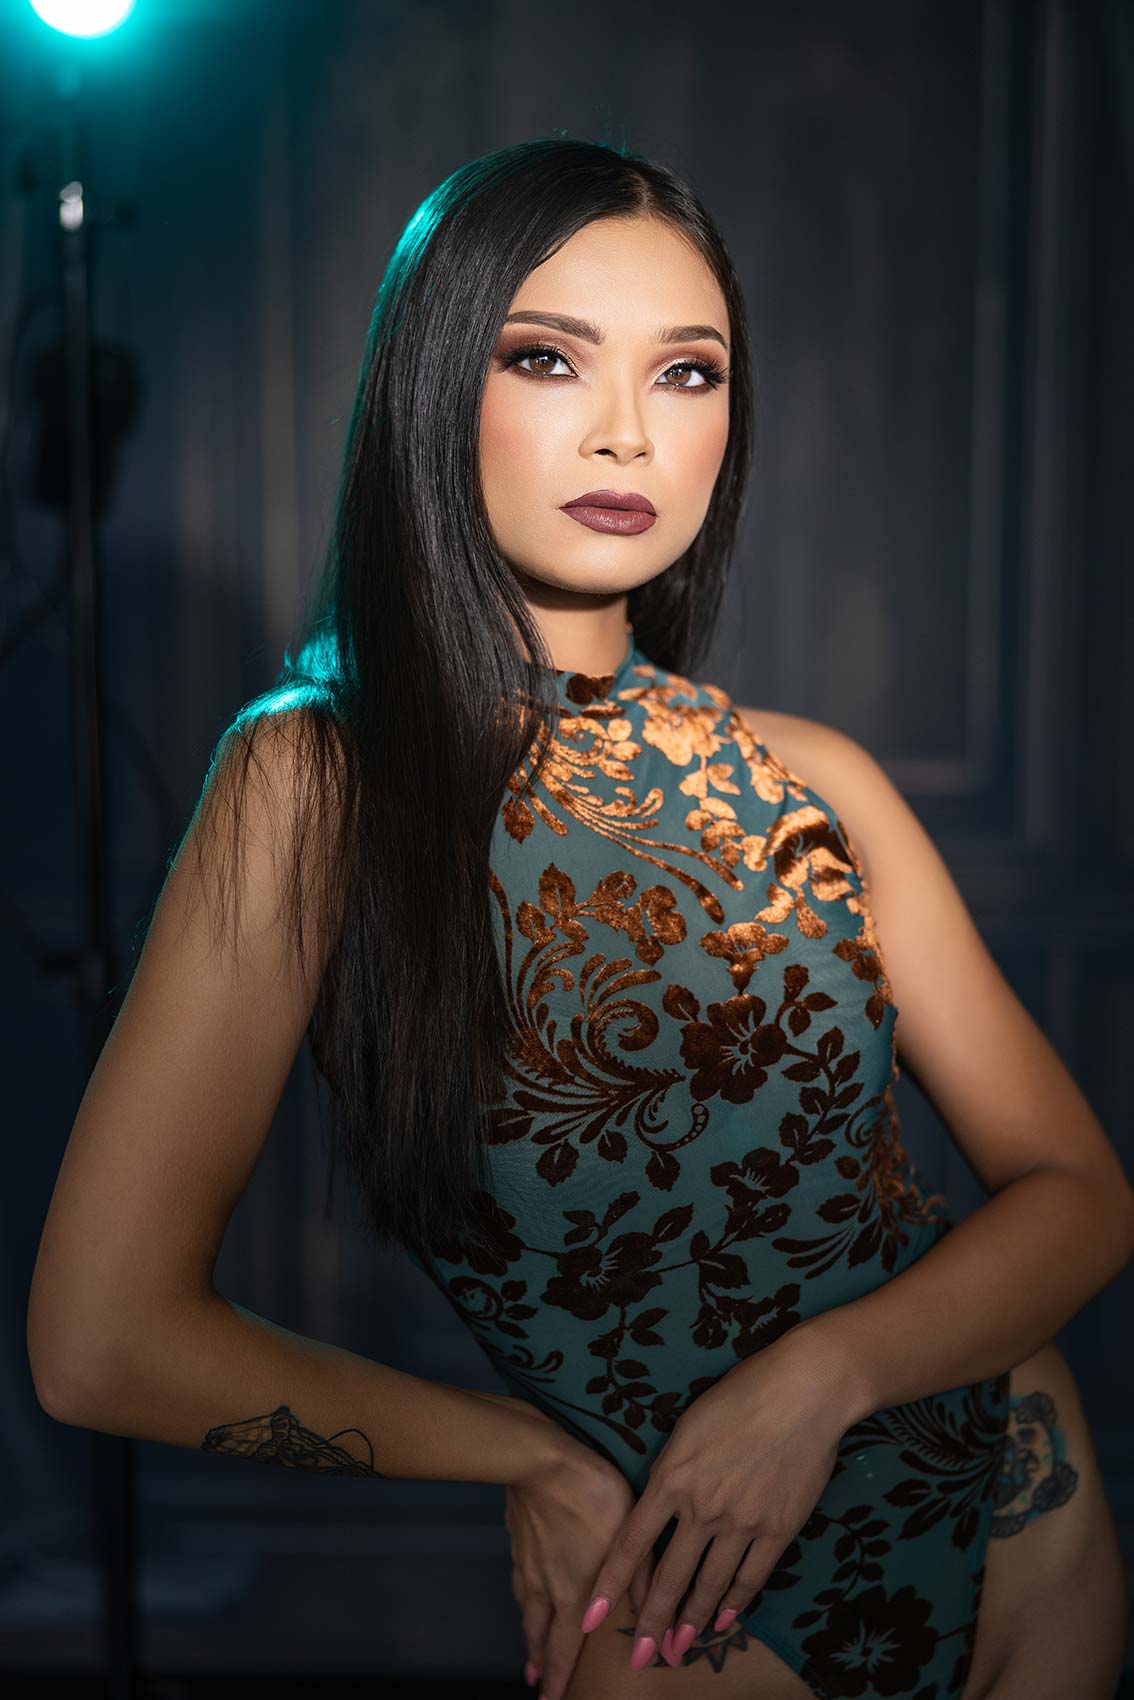
Let me present you ways I’m going to make use of these. They arrive with adapters in order that we will set them up, and we’re going to make use of them for some actually attention-grabbing catchlights. They simply snap into place on any gentle stand, and these will likely be set at 5,500K. We’ve the attractive Kristina in entrance of us. She’s prepared for motion. I’m going to arrange two of those, after which I’m going to make use of the opposite ones to create a coloration wash on the background. I’ll place this as my decrease gentle and simply twist it a bit so it’s firing up at her. Now, we’re going to get gentle coming in from each the underside and the highest, creating extra of a clamshell-style lighting. This setup is de facto good for headshots and sweetness work. We don’t need laborious shadows; we would like softer gentle.
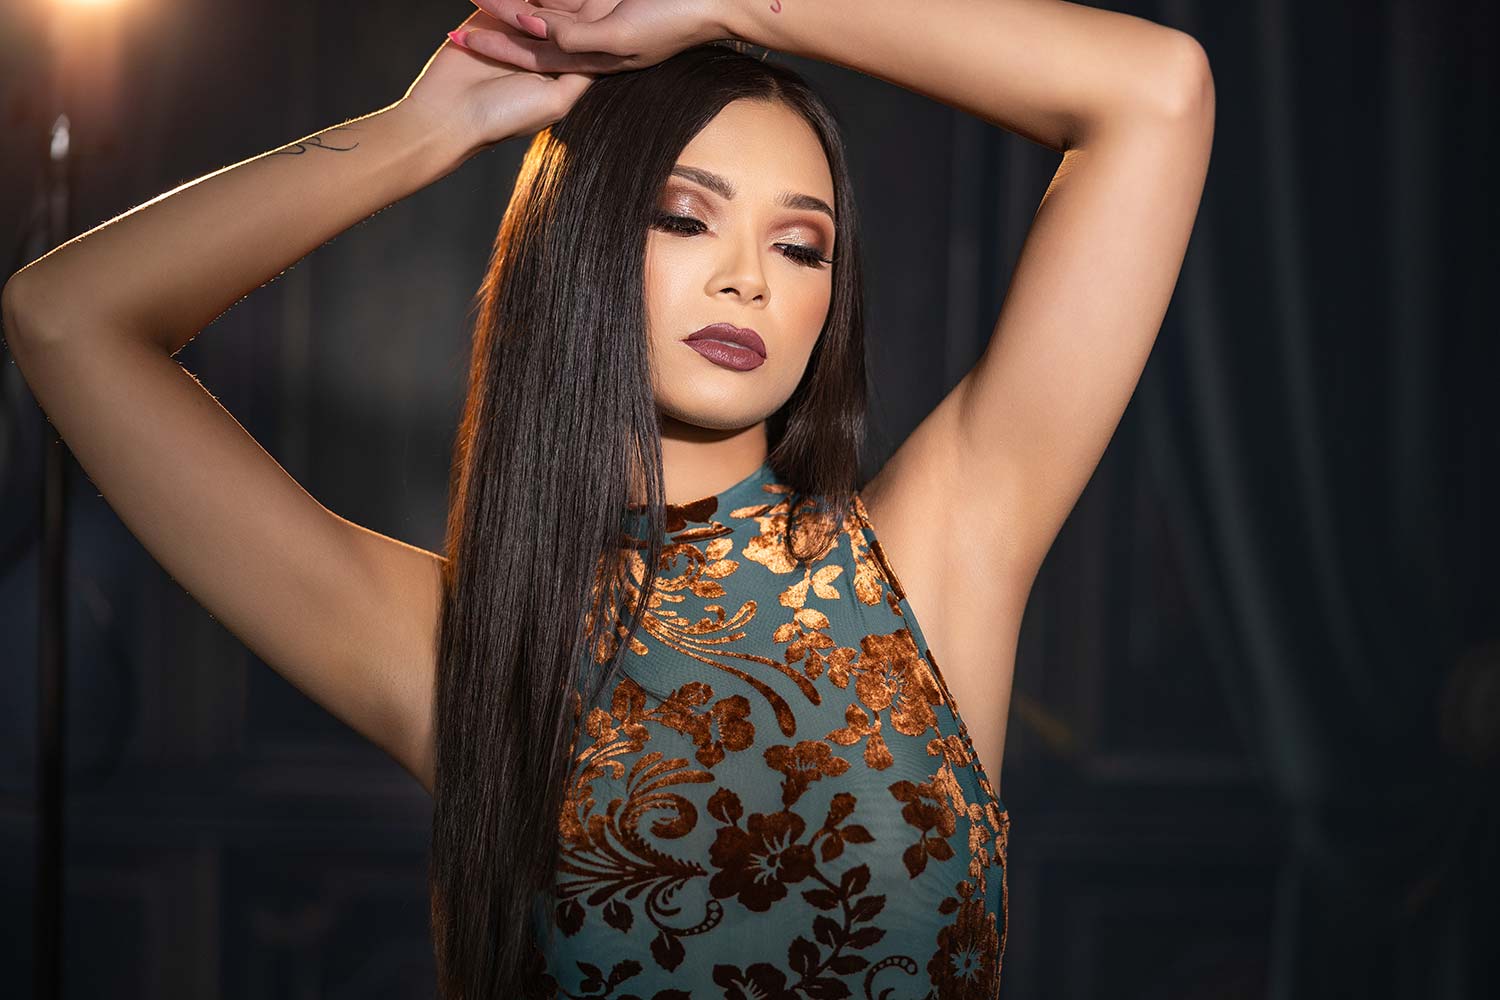
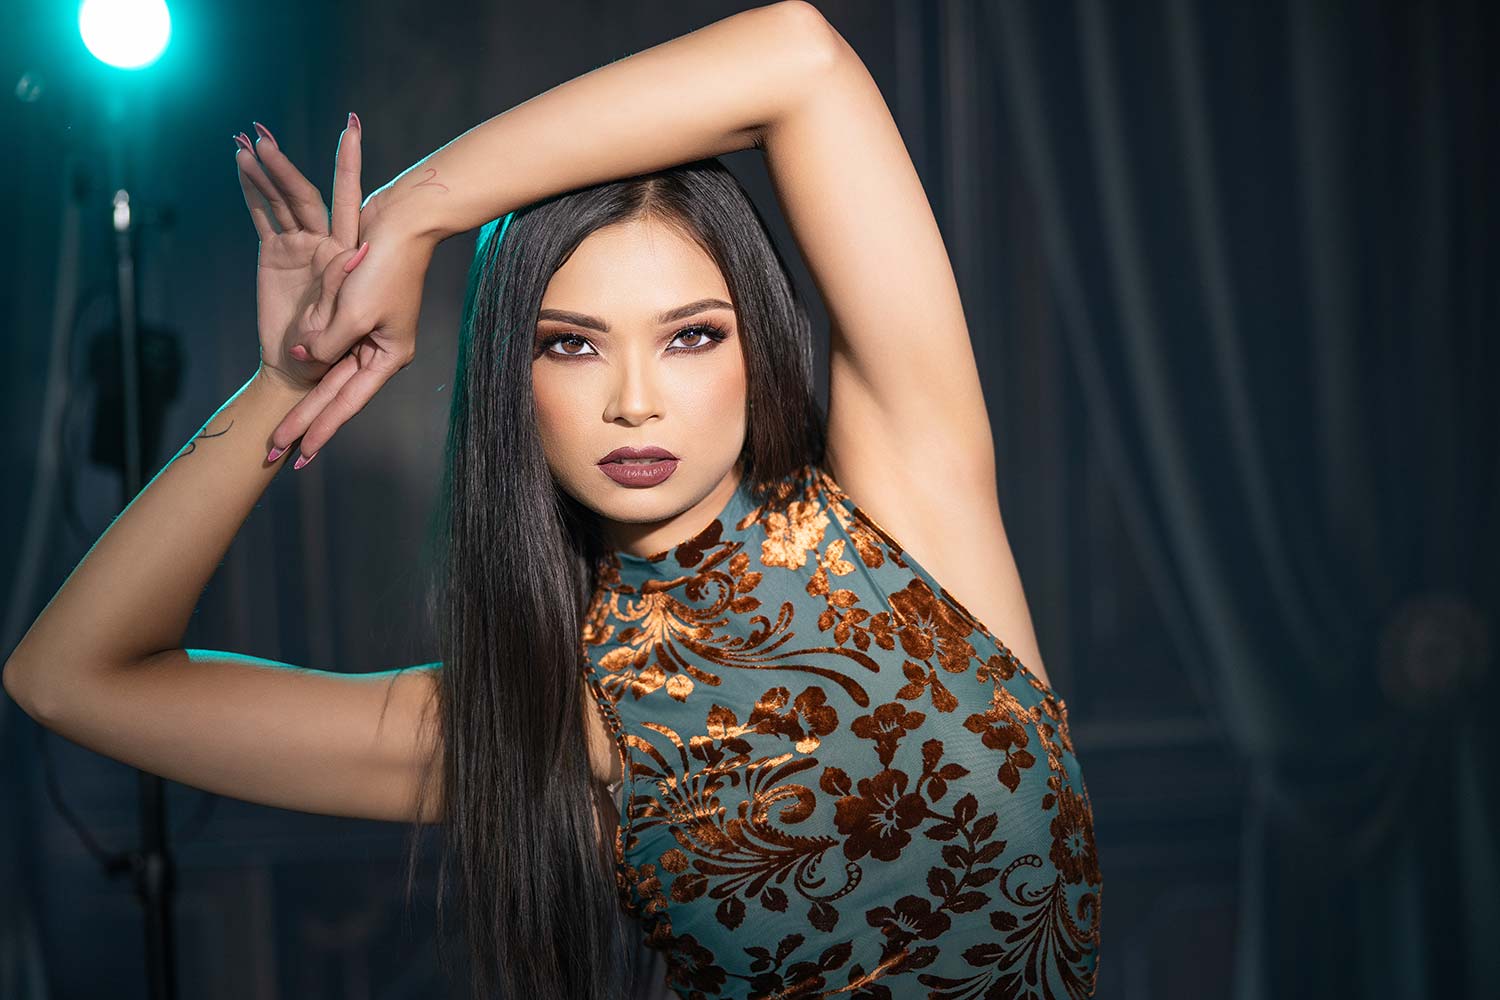
We’re going to place this one right here. Then, we’re going to position this one a little bit greater and tilt it down, which is able to actually present within the catchlights. It’s going to be very distinctive. Now, for those who have a look at her eyes, you possibly can see it’s a very nice, even gentle. I’ll simply give attention to some particulars right here. We are able to see the jawline definition, which is what we would like. We don’t need an excessive amount of gentle beneath her chin, however we do need the jawline to point out some shadow, whereas the remainder of her face is evenly lit.
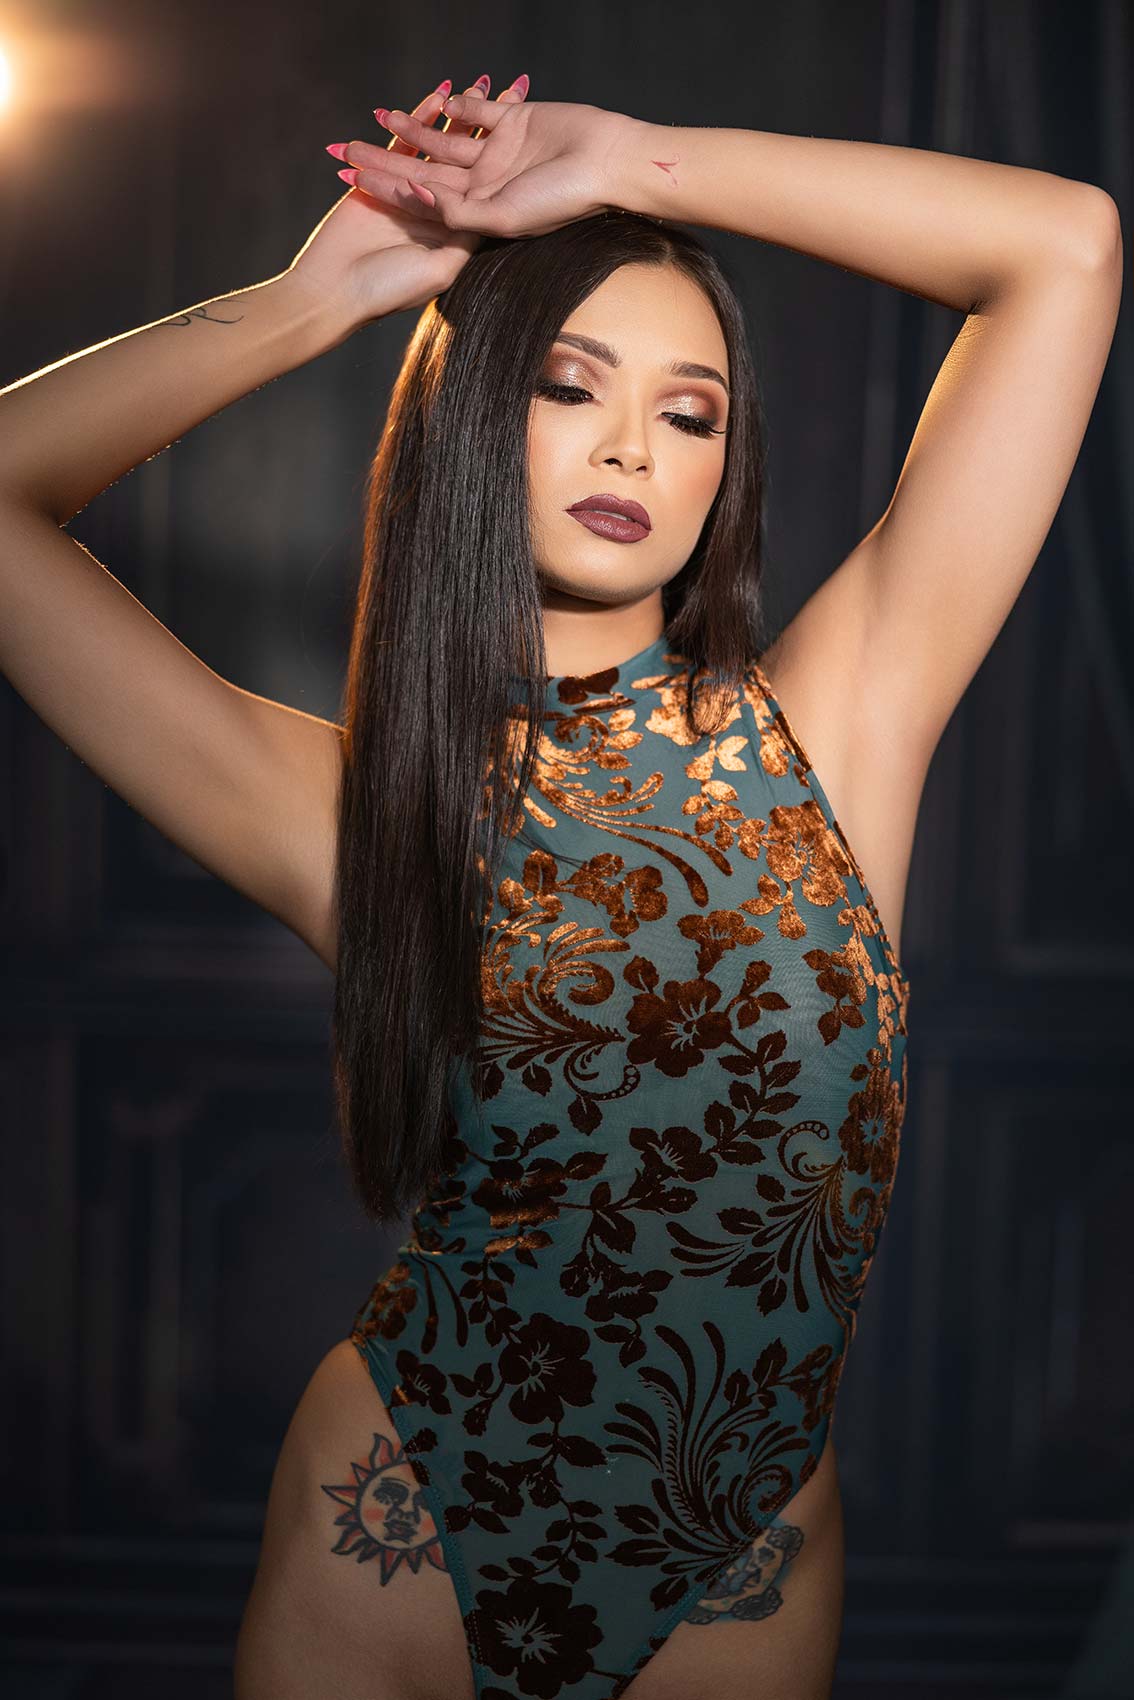
Now, what I wish to do is use this background from Instinct Backgrounds. I’ll put a hyperlink up on the display screen together with the backdrop title, Scarlet. I like this sort of material search for magnificence work. What I’m going to do subsequent is change the lights to pink mode. I’m going to position one in all them round her to create an edge gentle. Then, I’ll use the opposite one to throw a little bit of a pink wash on the background. Let’s do that—it’s going to look fairly cool, truly. I’m going to place the lights within the body, in order we take the image, you’ll see the lights within the shot, and also you’ll get the sting gentle. I’m going to verify I get a headshot of her, and you’ll see the catchlights in her eyes are simply lovely. We’ve received this good pink behind her, which actually provides to the shot.
Settings: f/2 @ 1/500, ISO 200
Settings: f/2 @ 1/500, ISO 200
Settings: f/2 @ 1/250, ISO 200
Settings: f/2 @ 1/500, ISO 200
Settings: f/2 @ 1/250, ISO 200
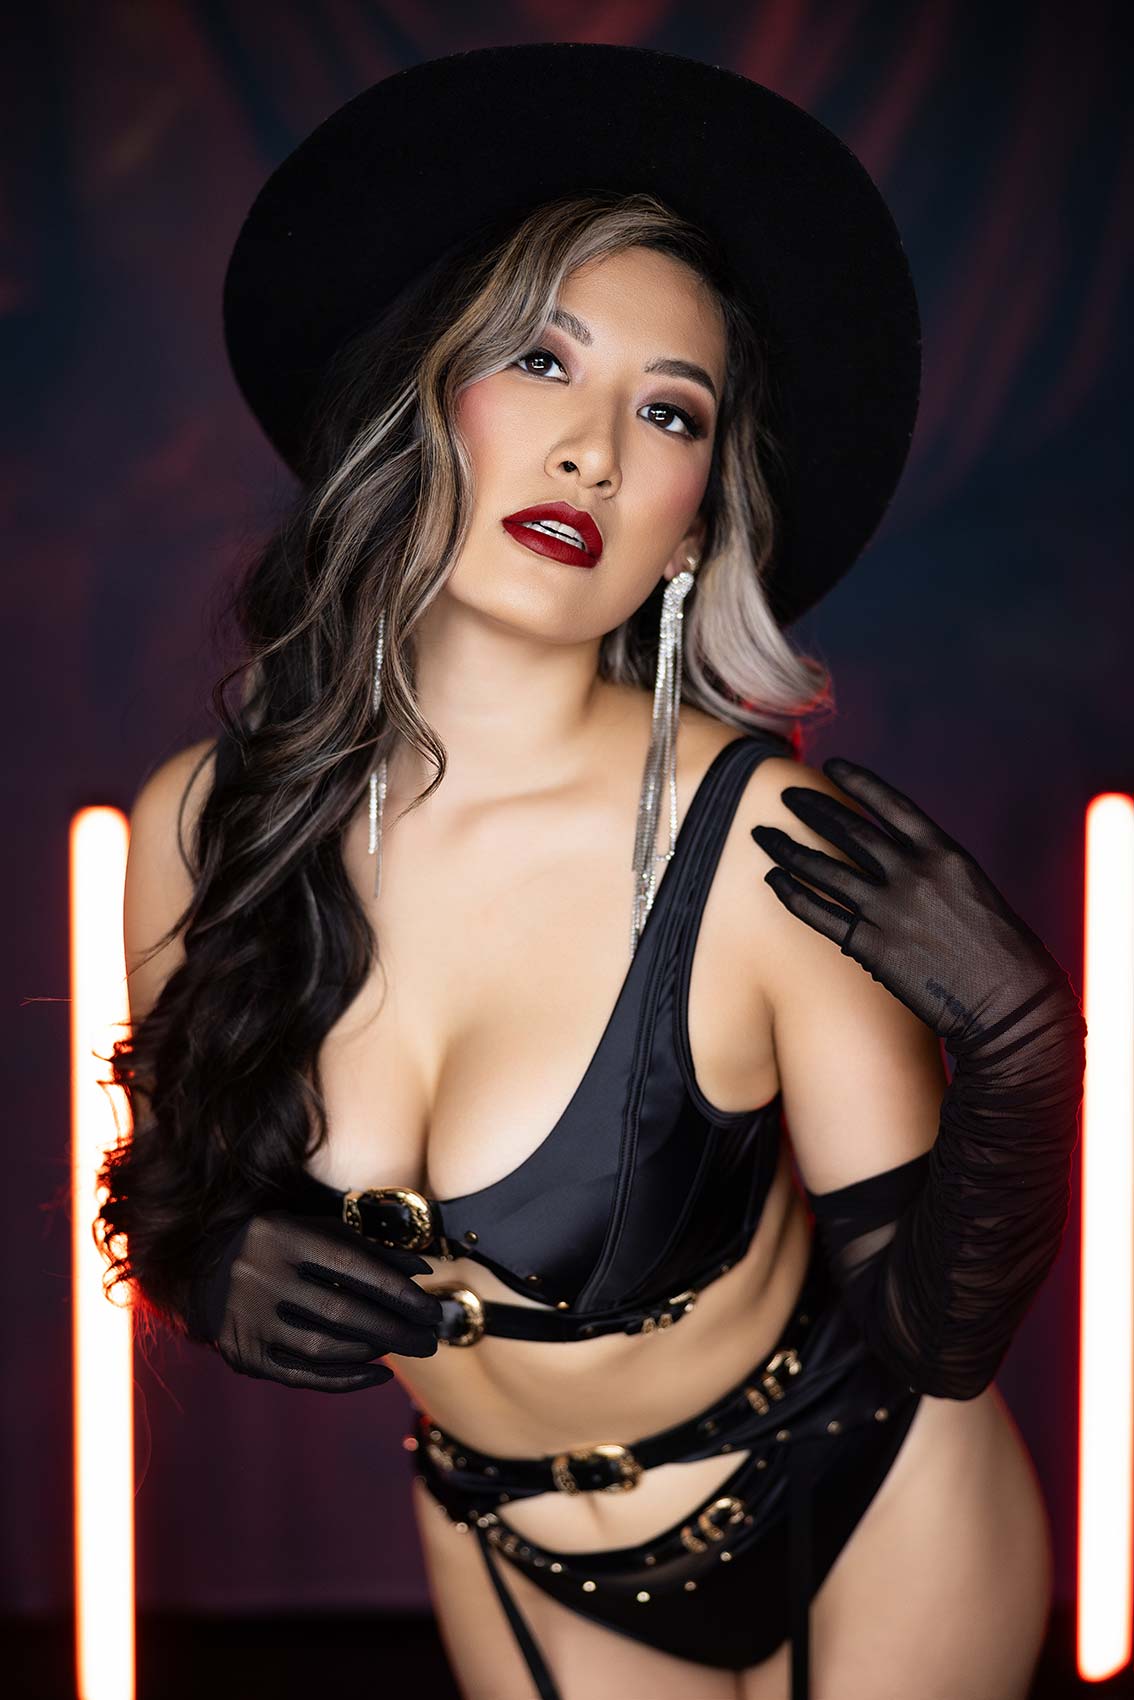
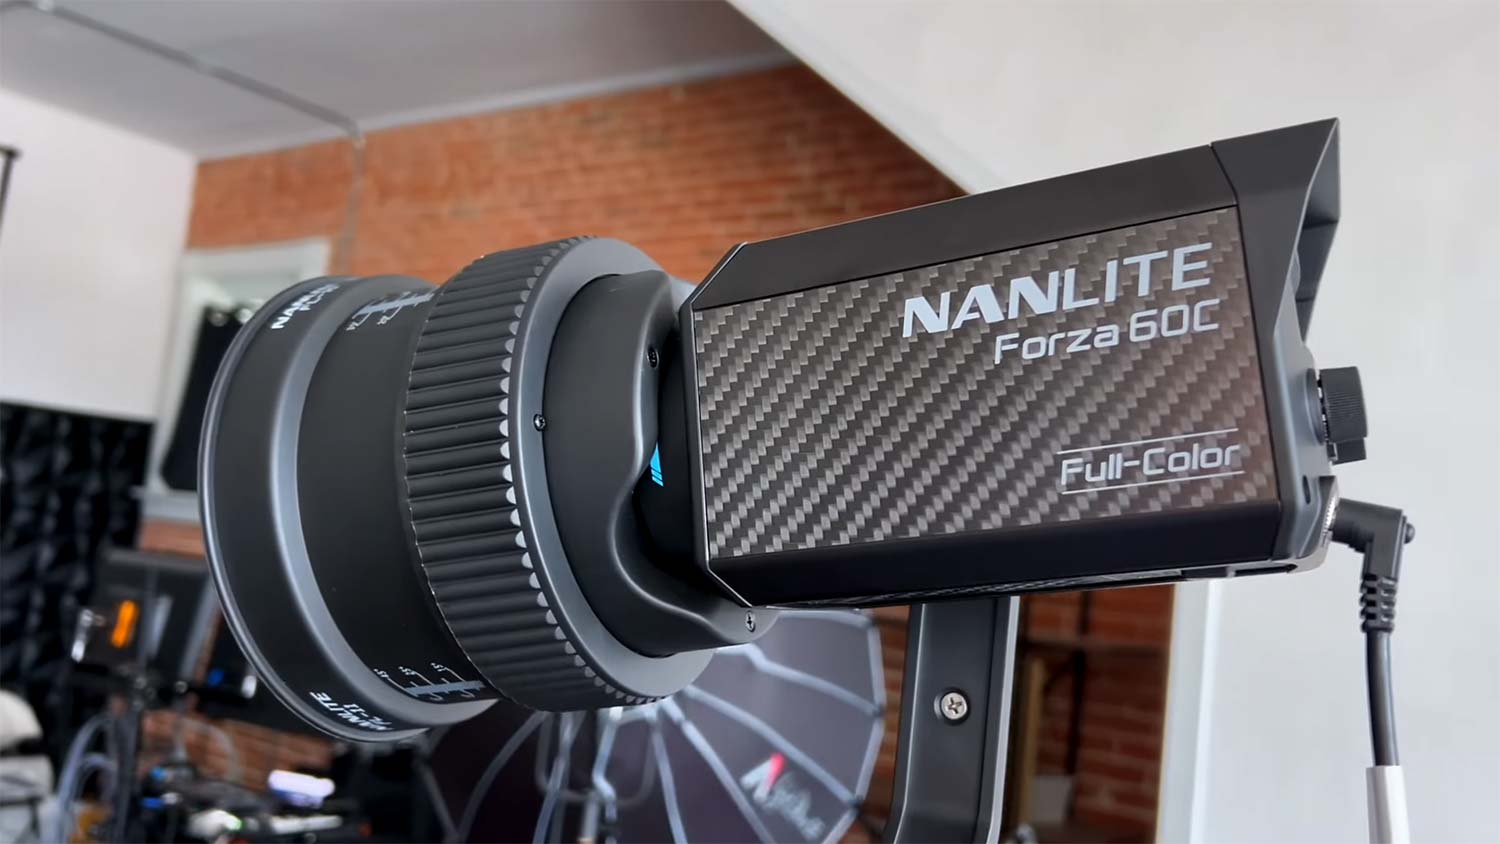
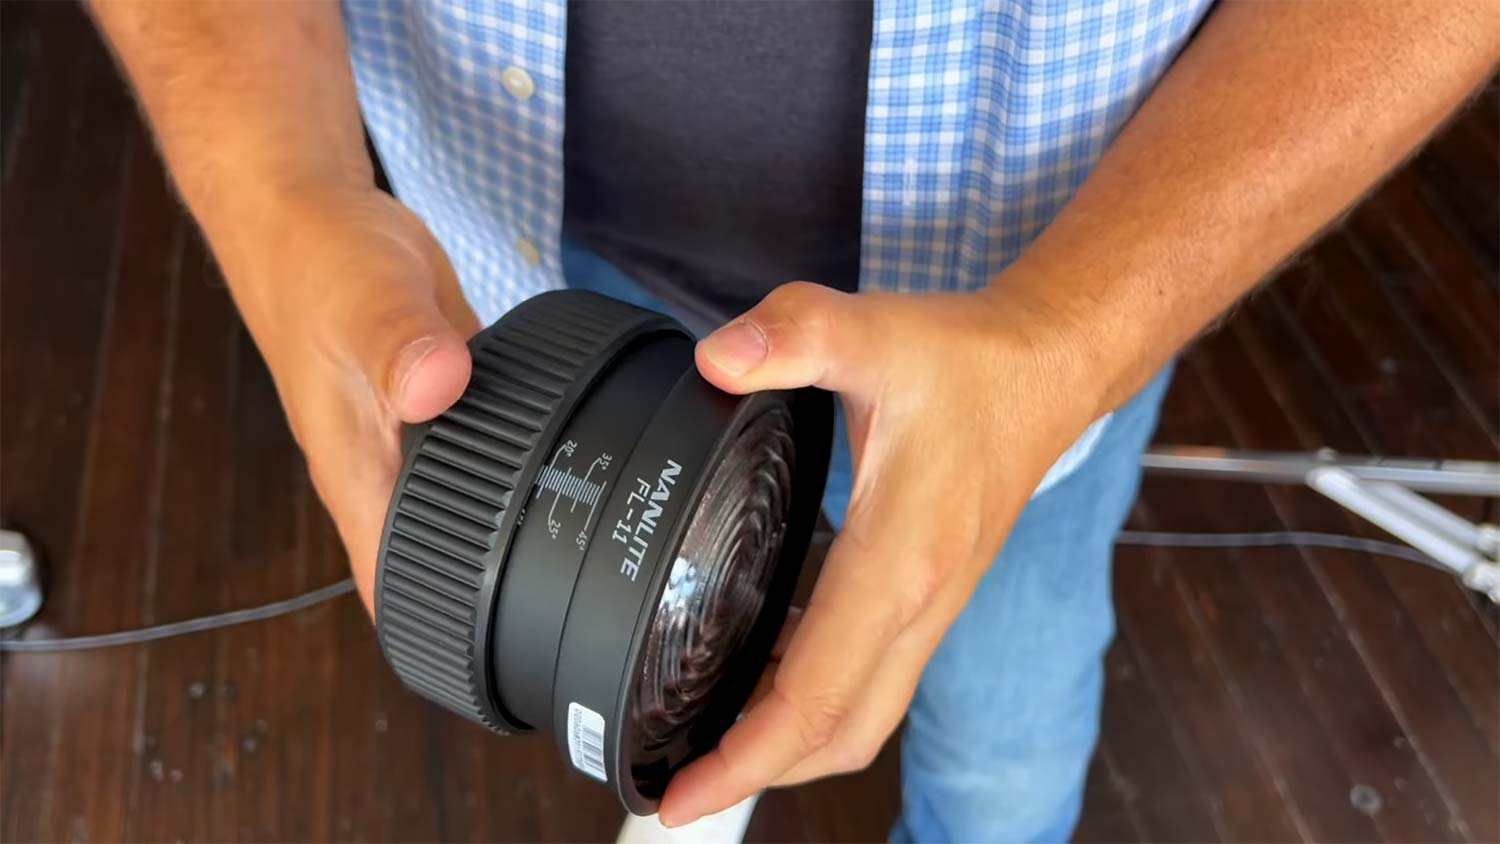
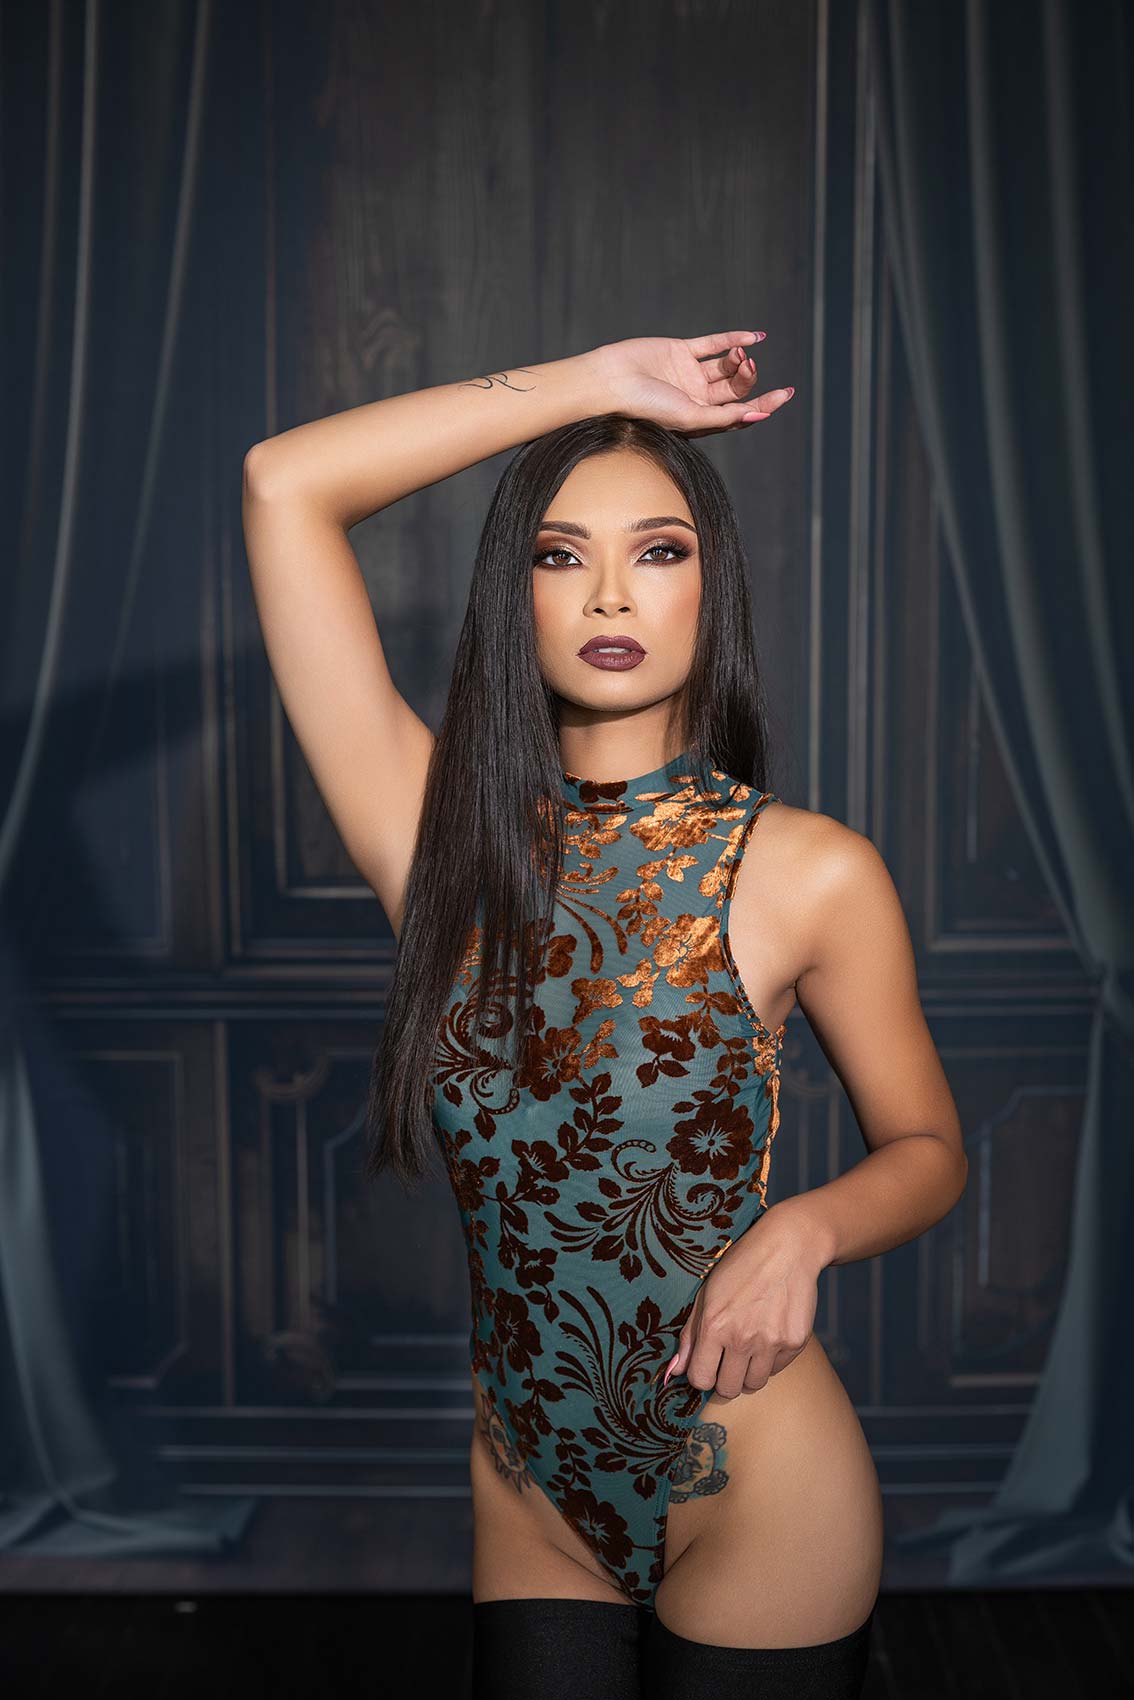
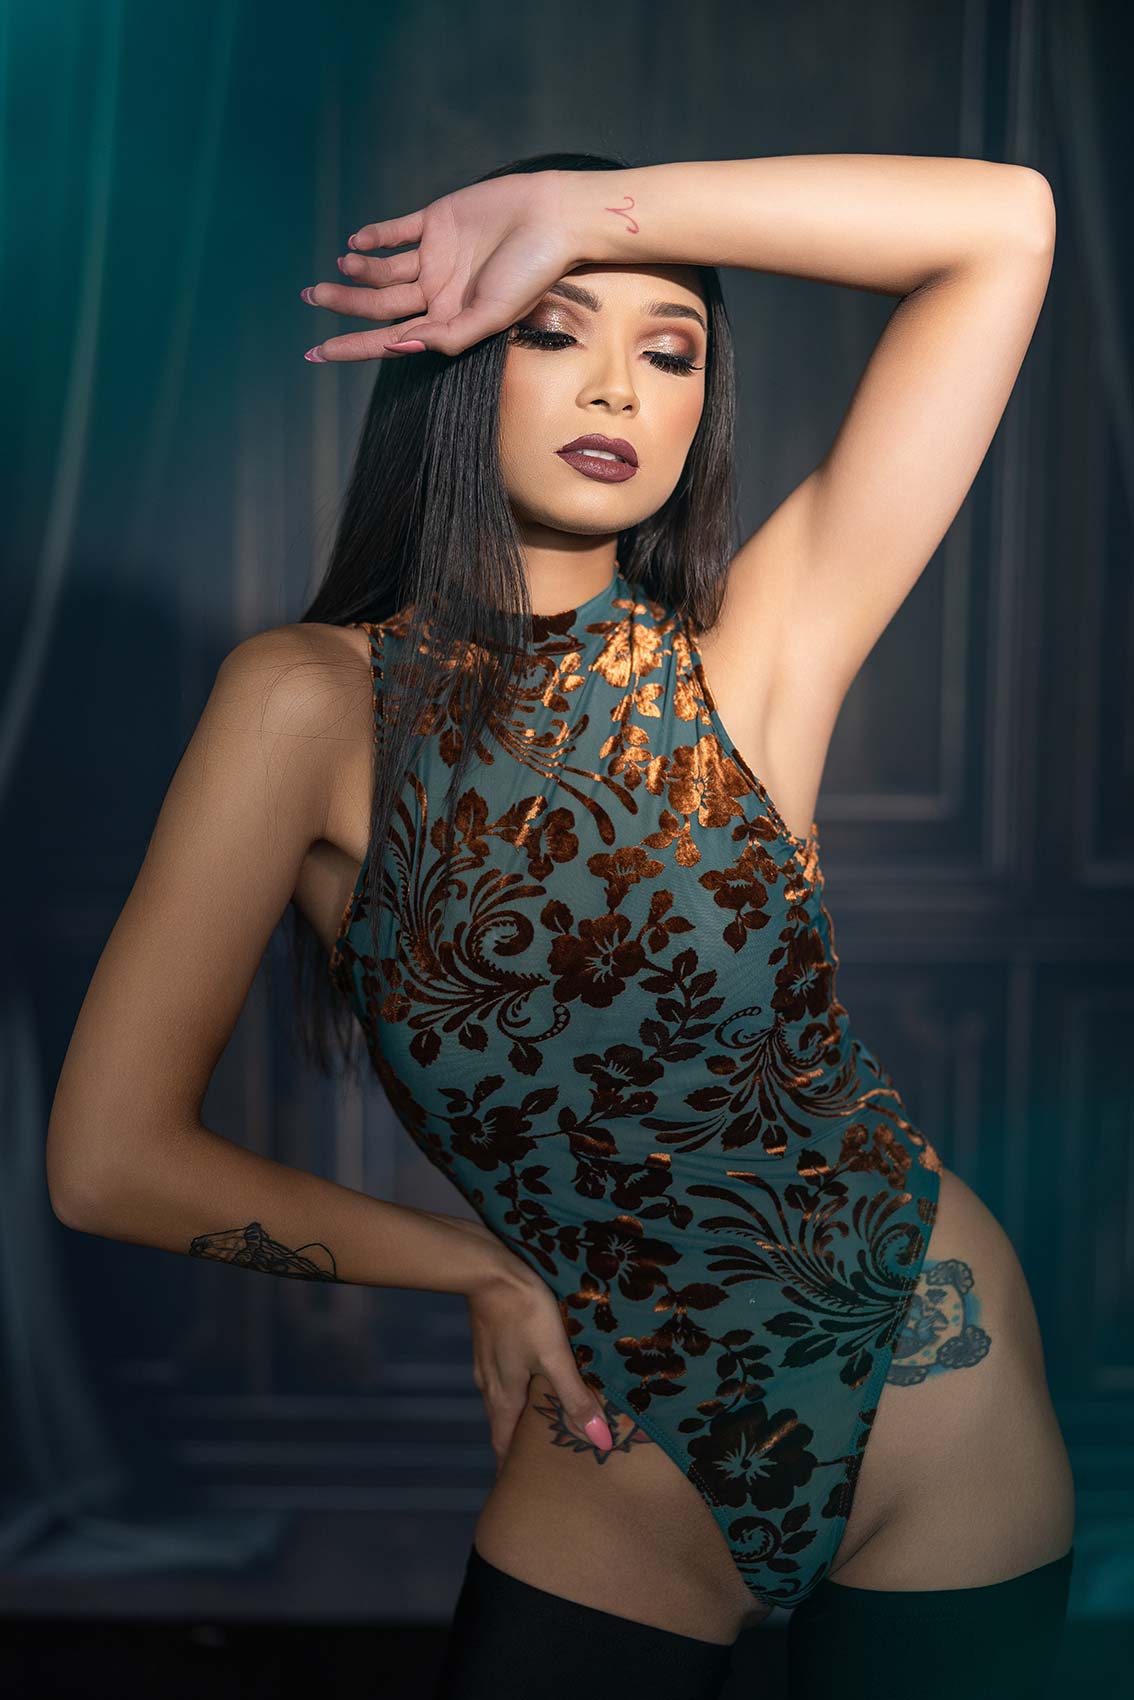
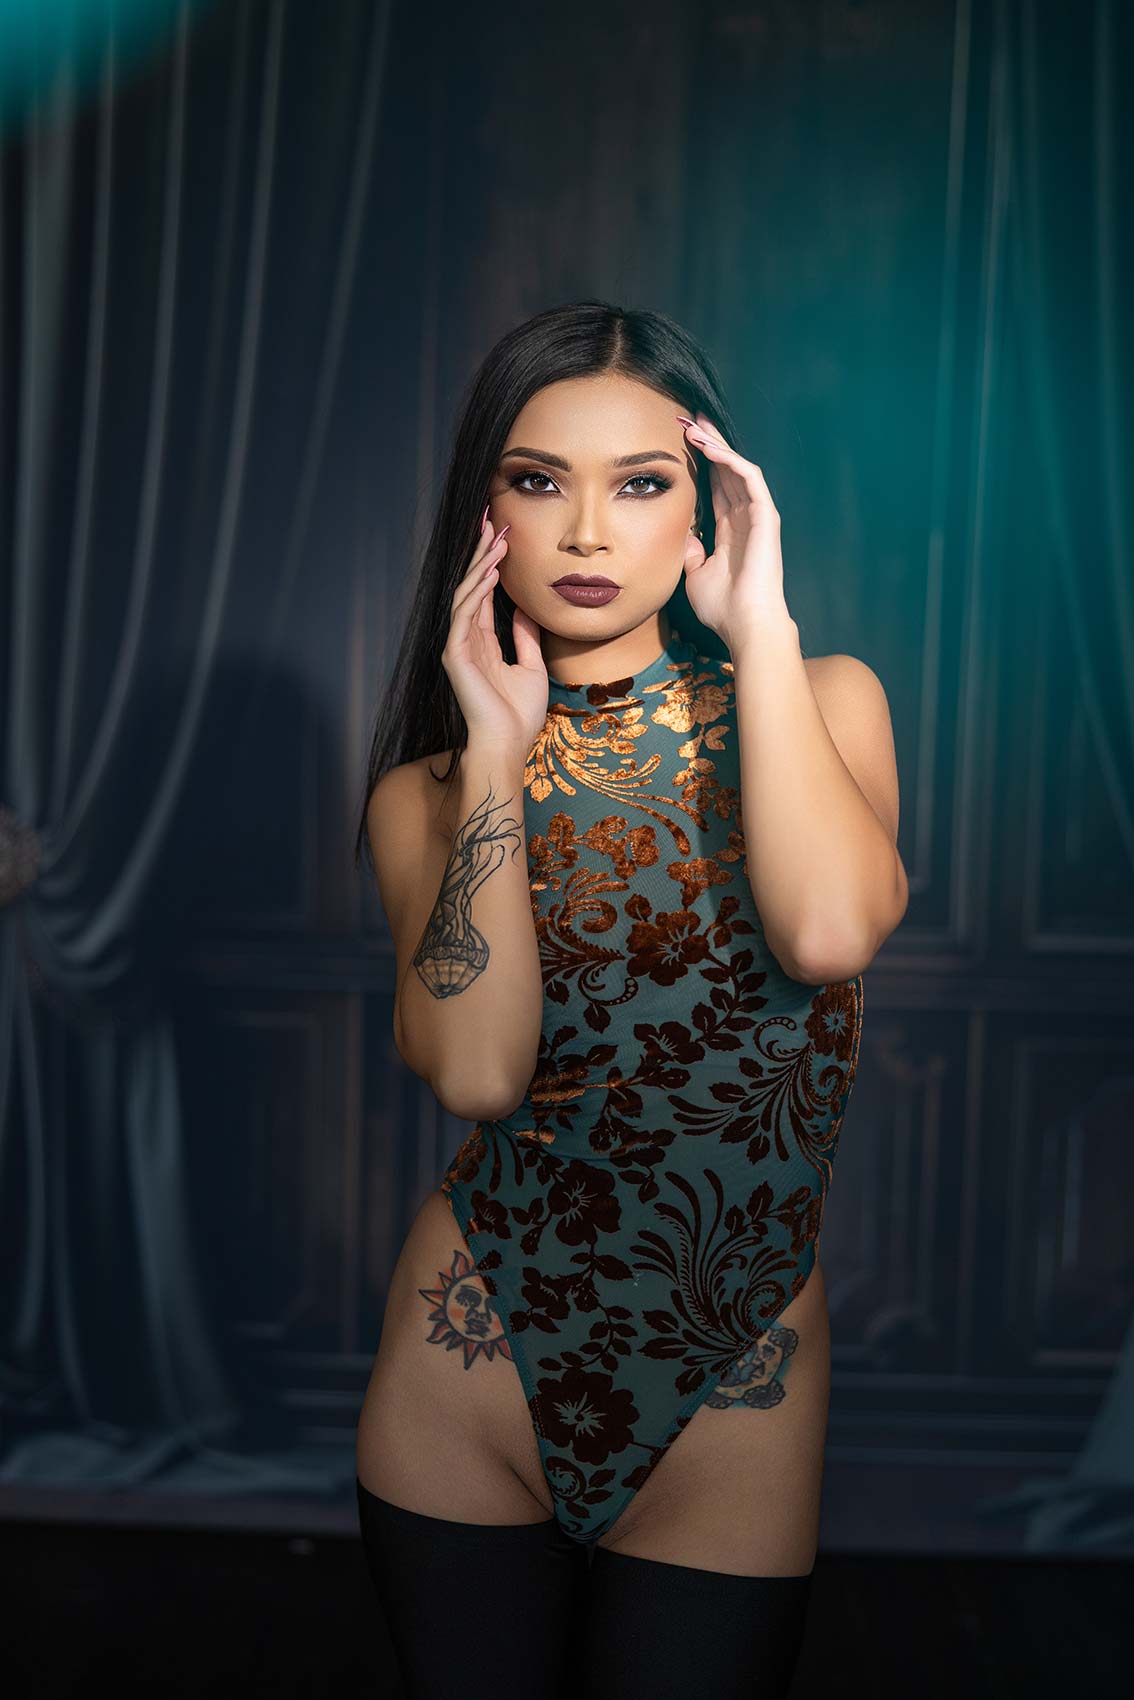
We’ve received one other setup for you that I wish to present you. This one is a single gentle setup—tremendous simple to arrange. That is the Forza 60C. It’s full-color, and we will run it at 5,500K for daylight steadiness, tungsten, or use full RGB. We’ve added a Fresnel lens to it. With the Fresnel, we will regulate between 10 levels and 45 levels for a wider beam.
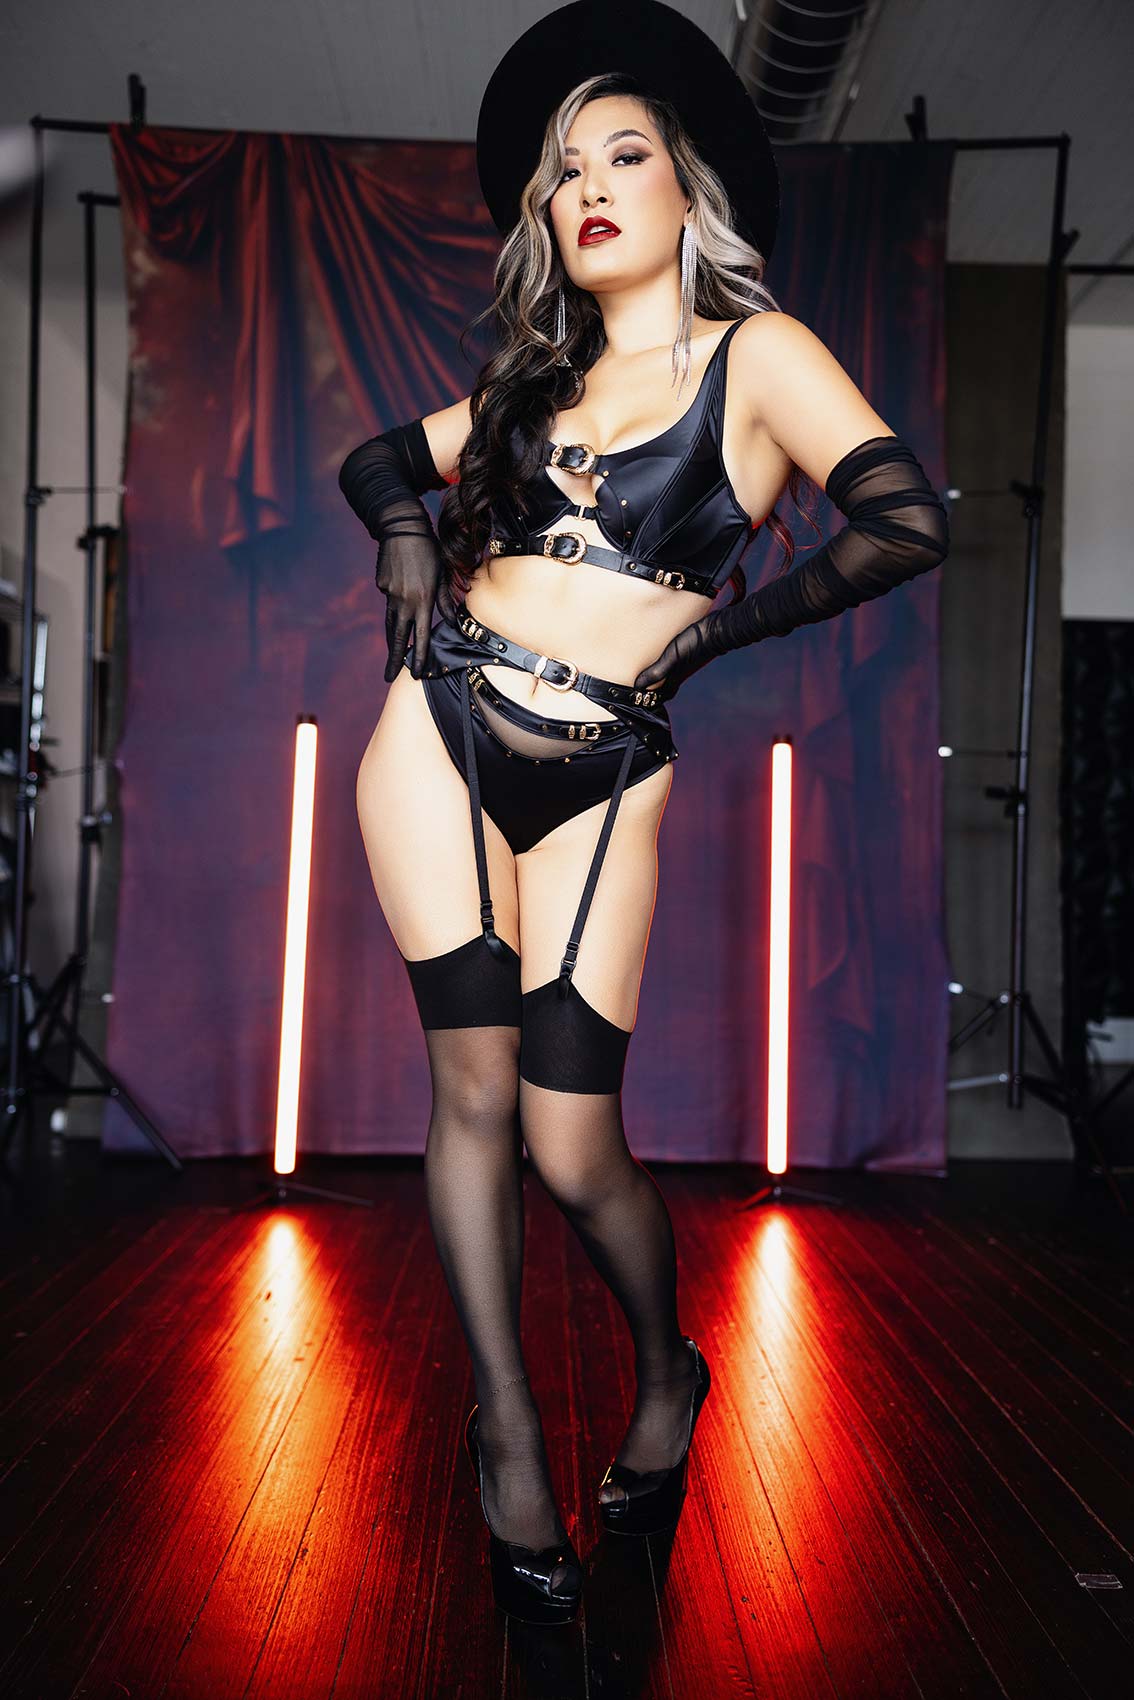
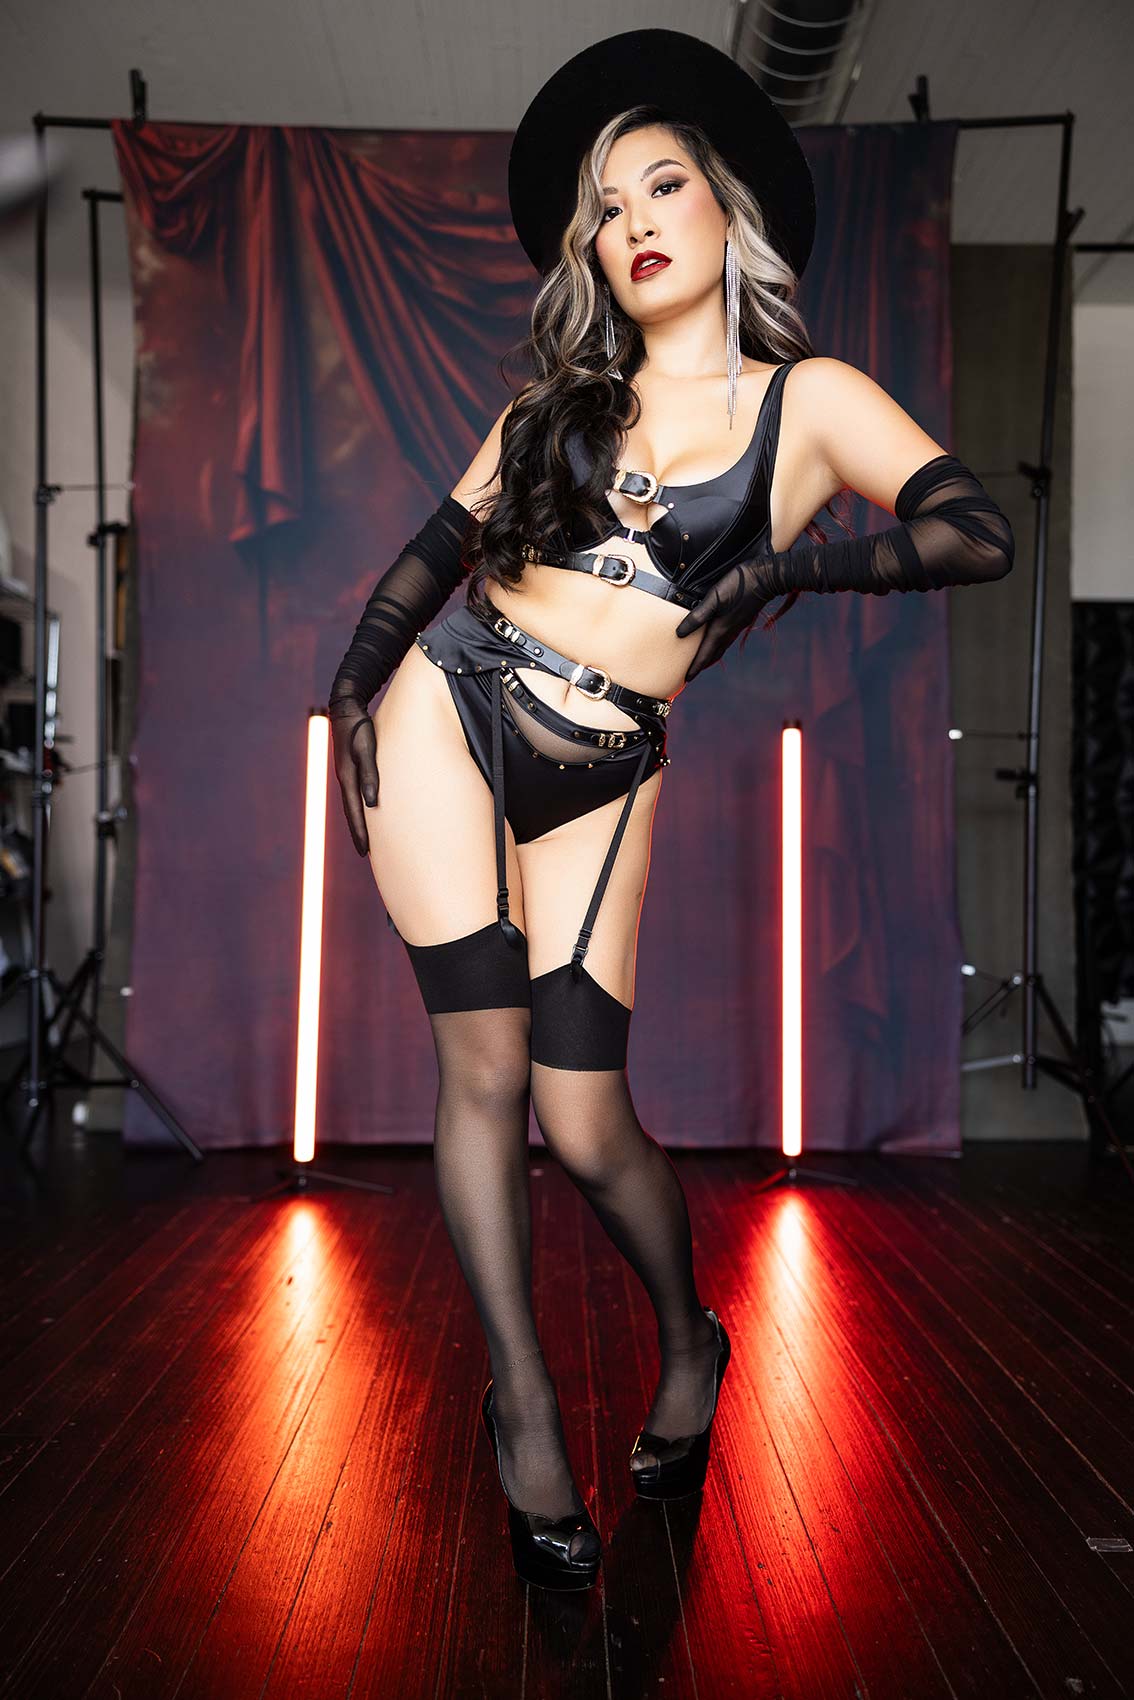
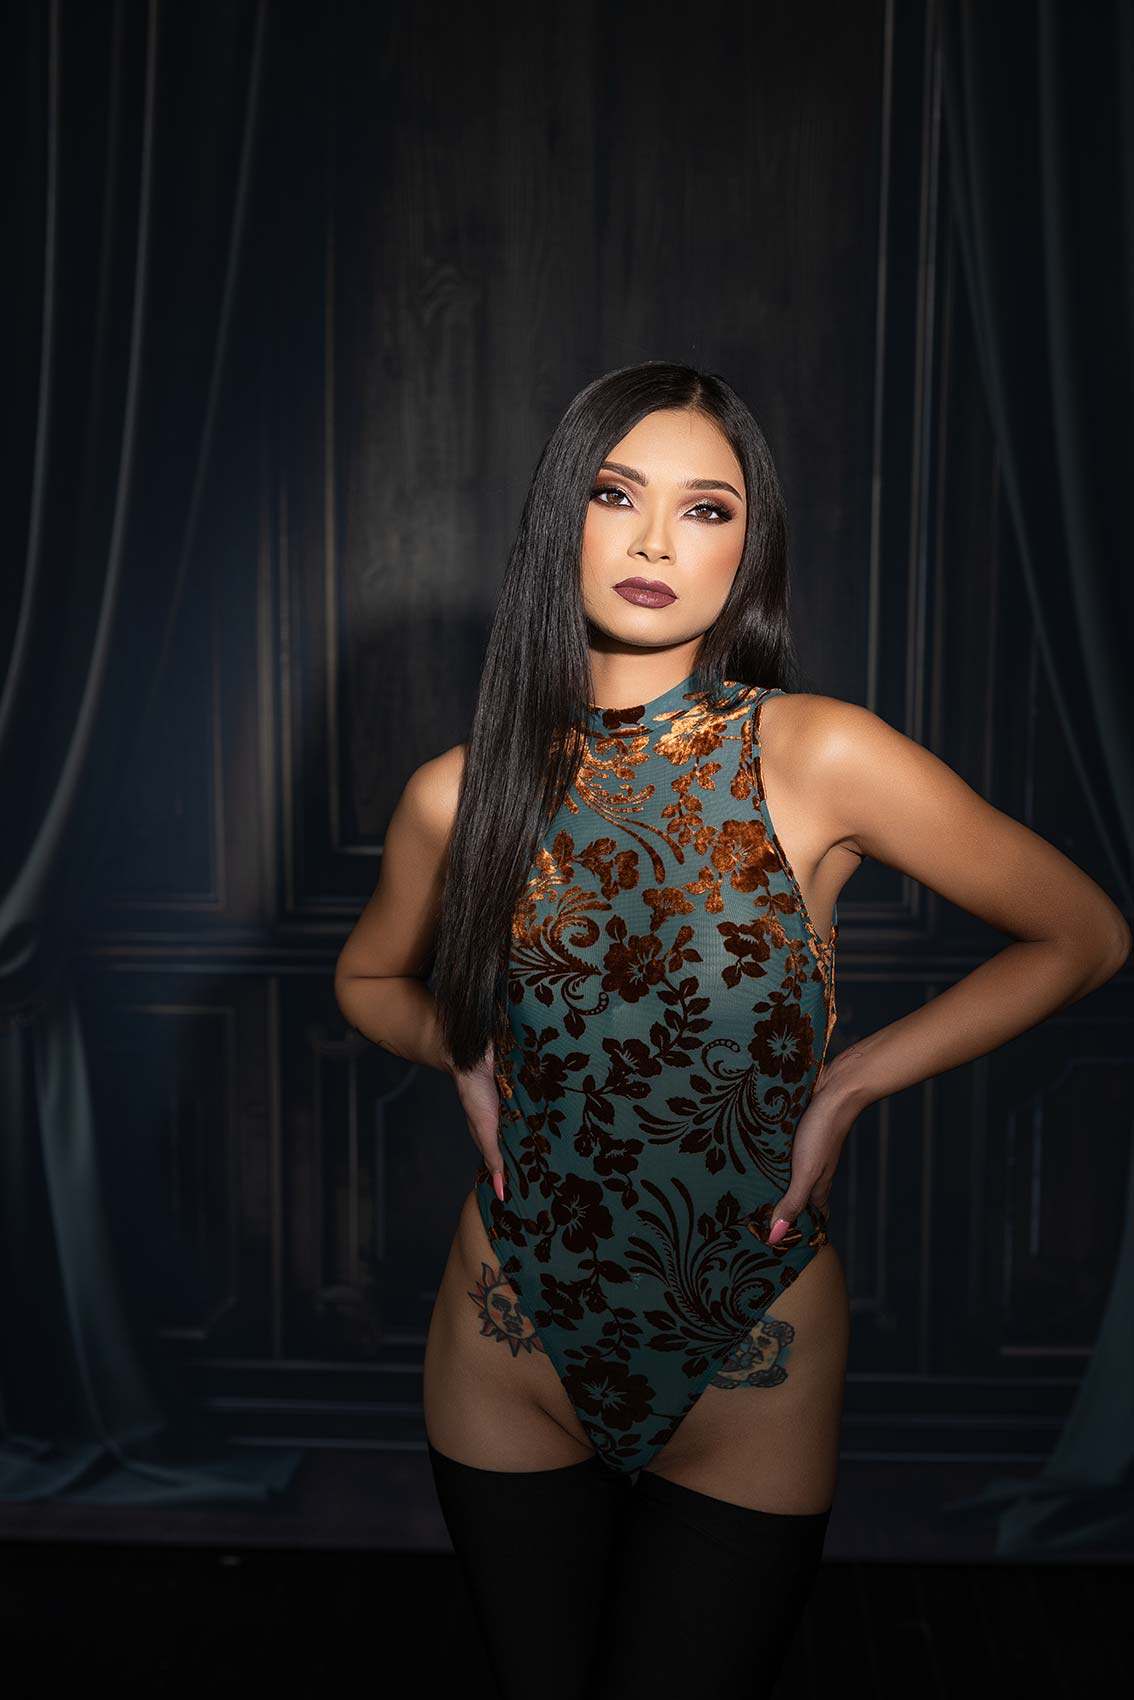
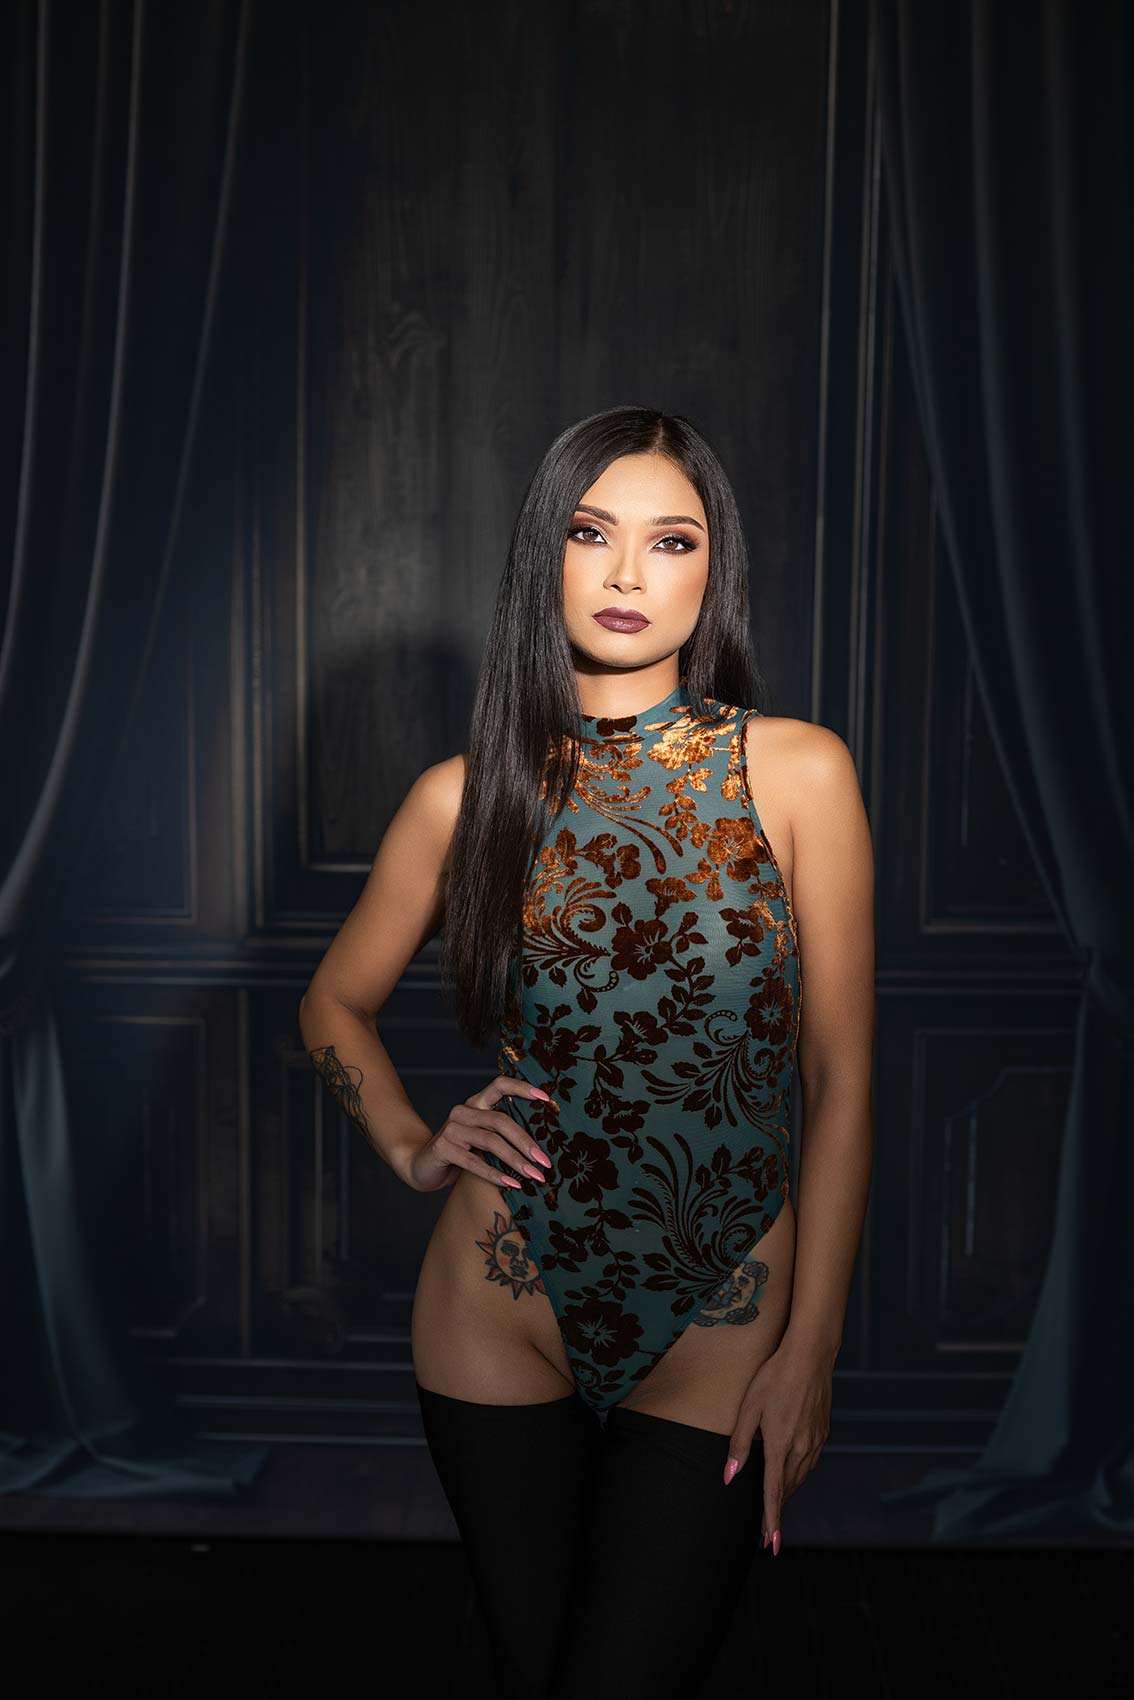
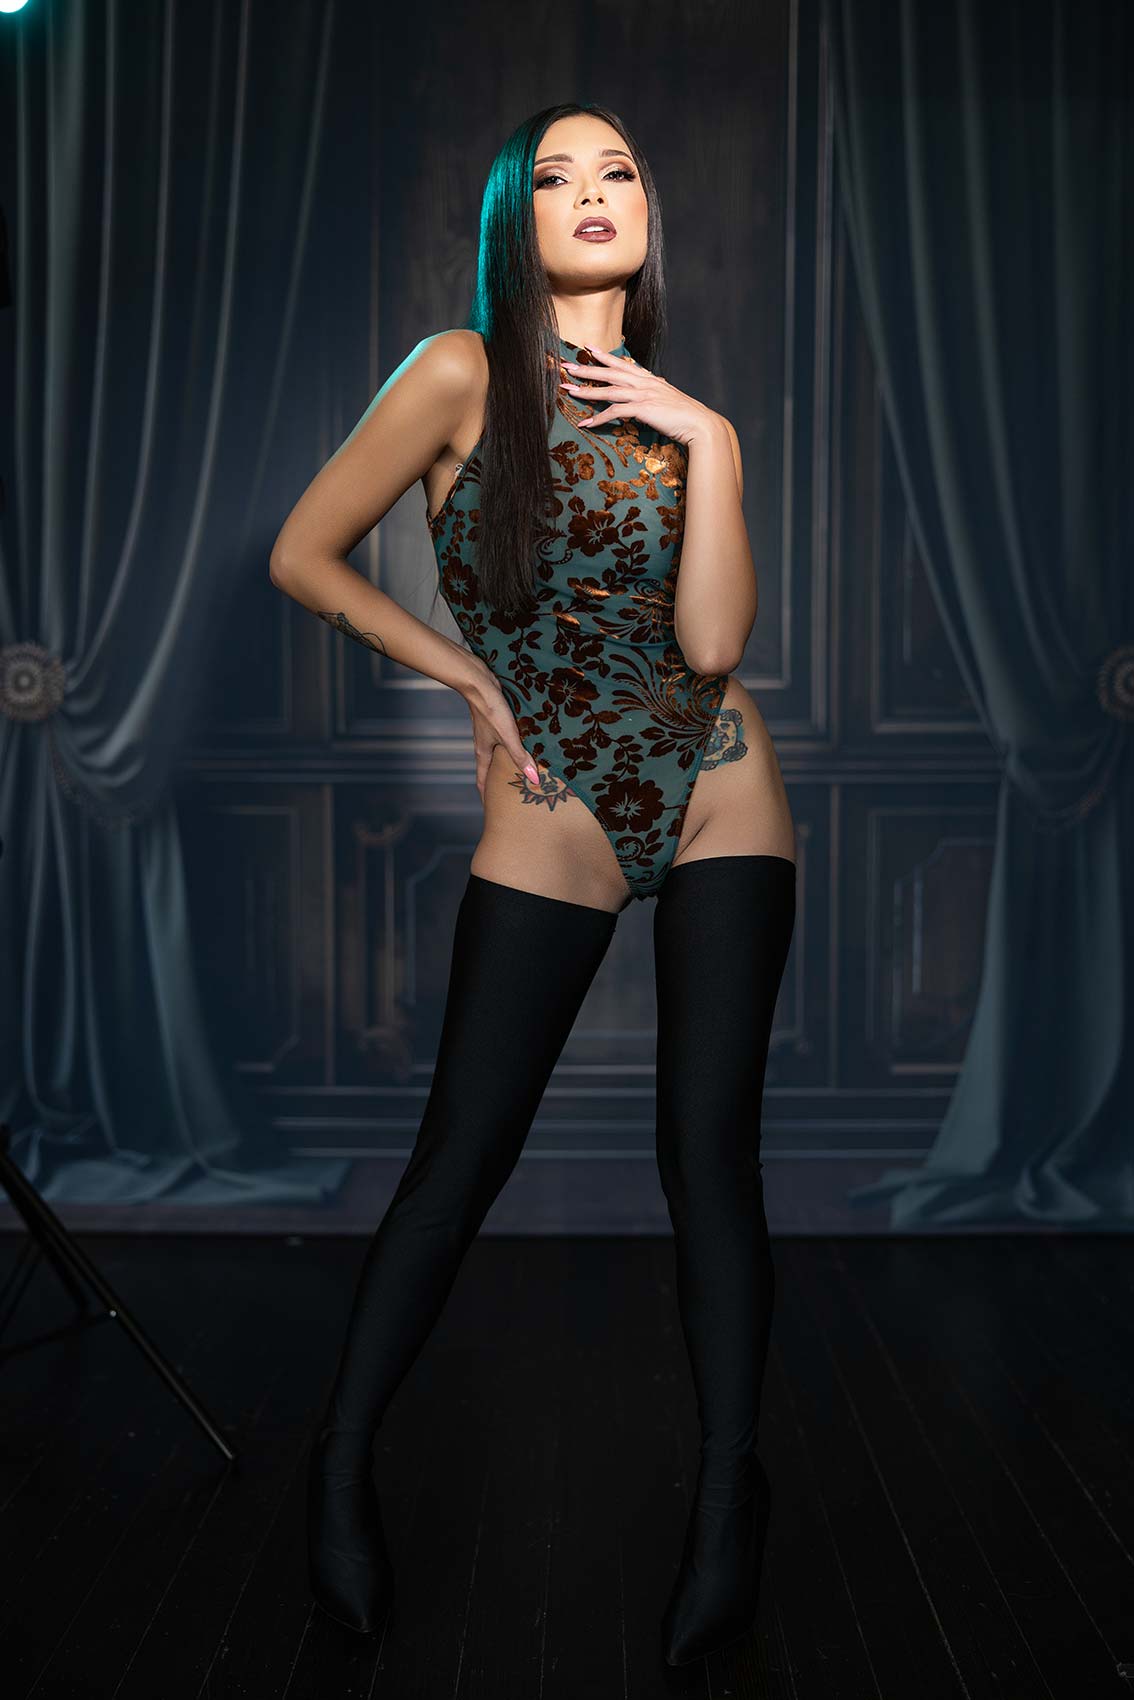
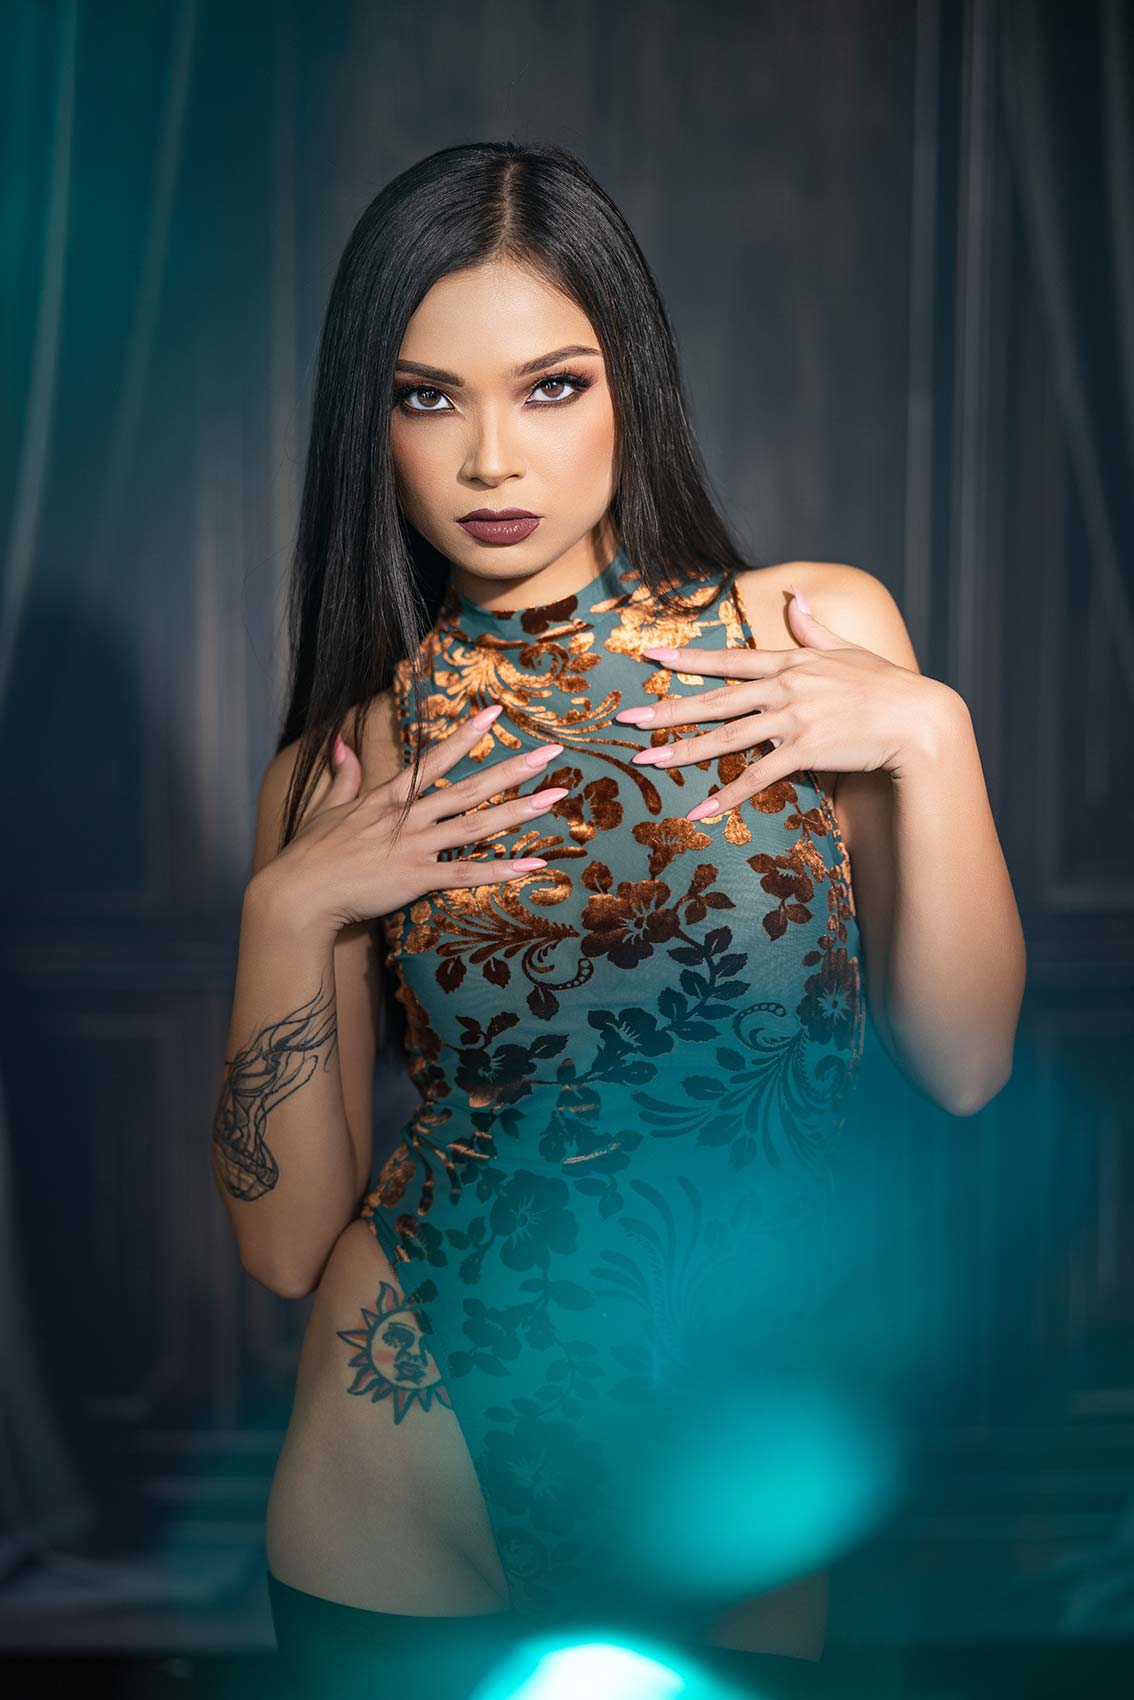
We’ll take it each methods, however I’m going to begin at 10 levels as a result of I desire a actually slender beam on her, hitting simply her resist her chest and possibly creating a pleasant shadow on the background as effectively. This background is from Instinct Backgrounds and is a part of the brand new boudoir line, so I’ll embody a hyperlink for you as effectively for Olivewood.
Let’s do that. Now, it’s not at 100%—it’s solely at 70% energy. Lovely! I like the way in which this background is framing her.
Settings: f/4 @ 1/320, ISO 250
Settings: f/4 @ 1/250, ISO 250
Settings: f/4 @ 1/200, ISO 250
Settings: f/4 @ 1/250, ISO 250
Settings: f/4 @ 1/250, ISO 250
Settings: f/4 @ 1/250, ISO 250
Settings: f/4 @ 1/250, ISO 250
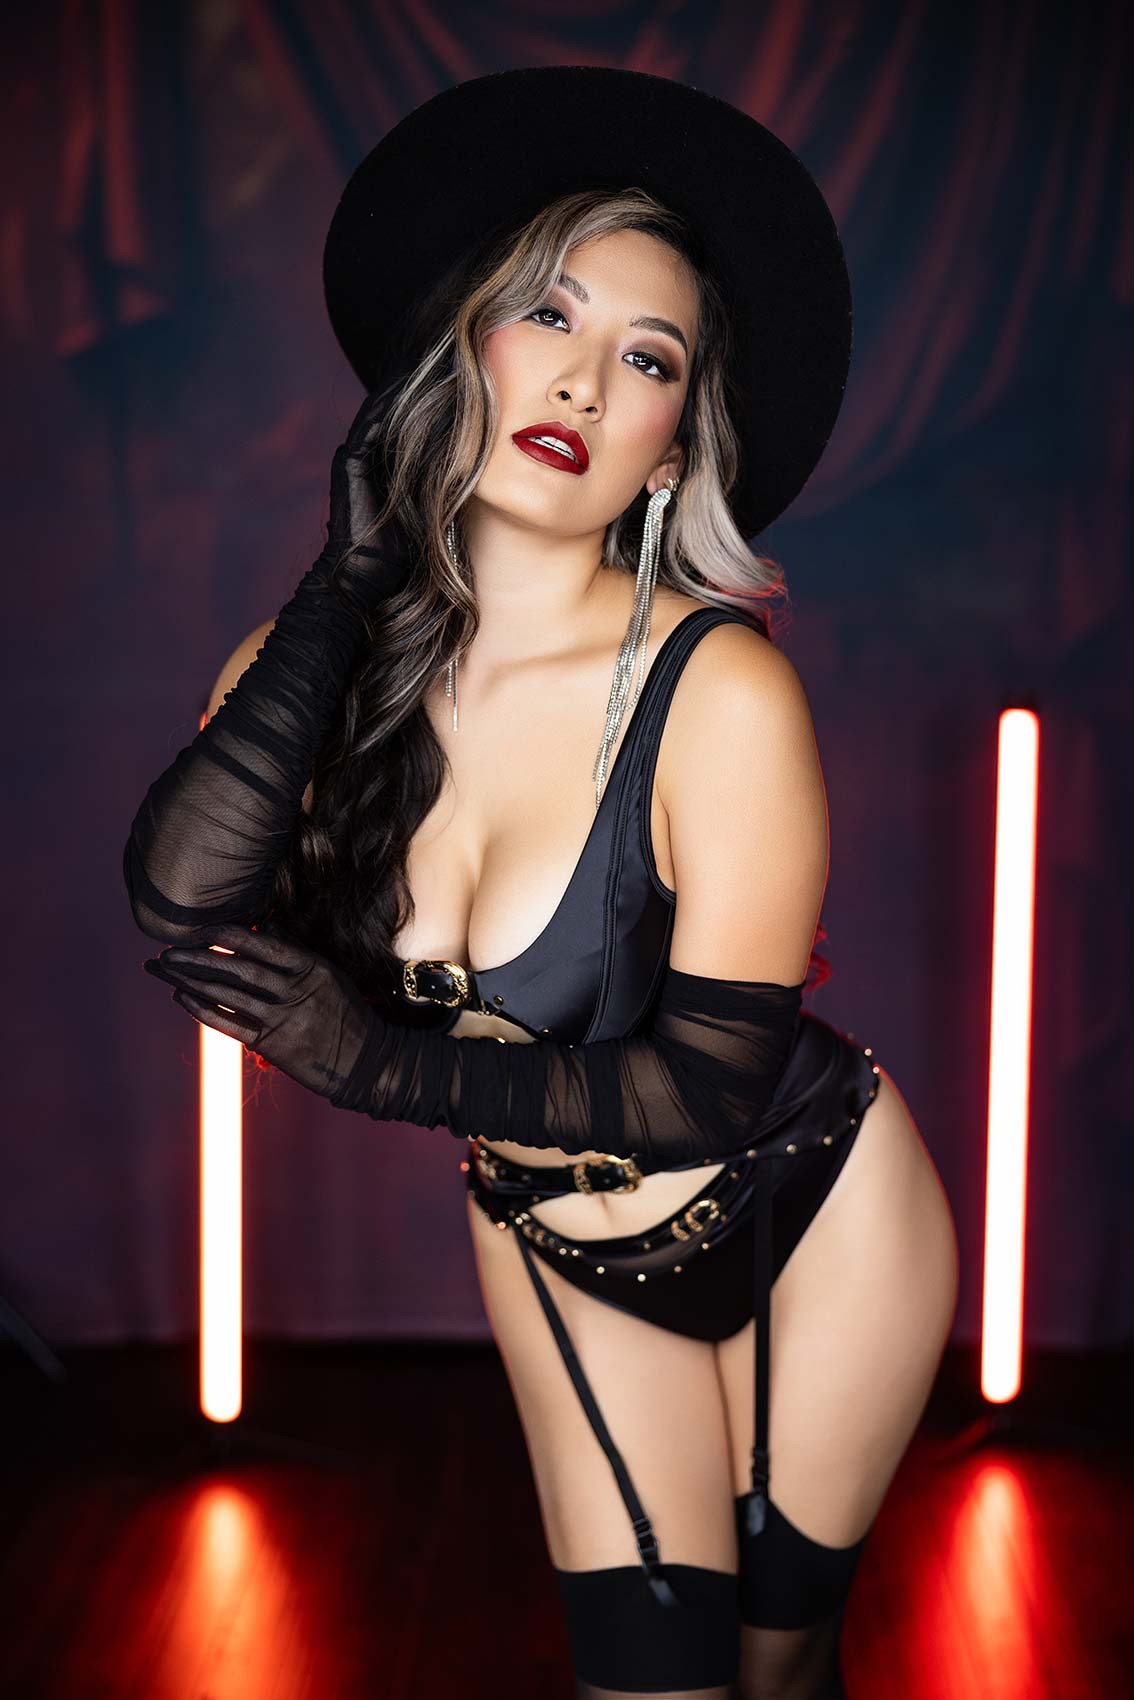
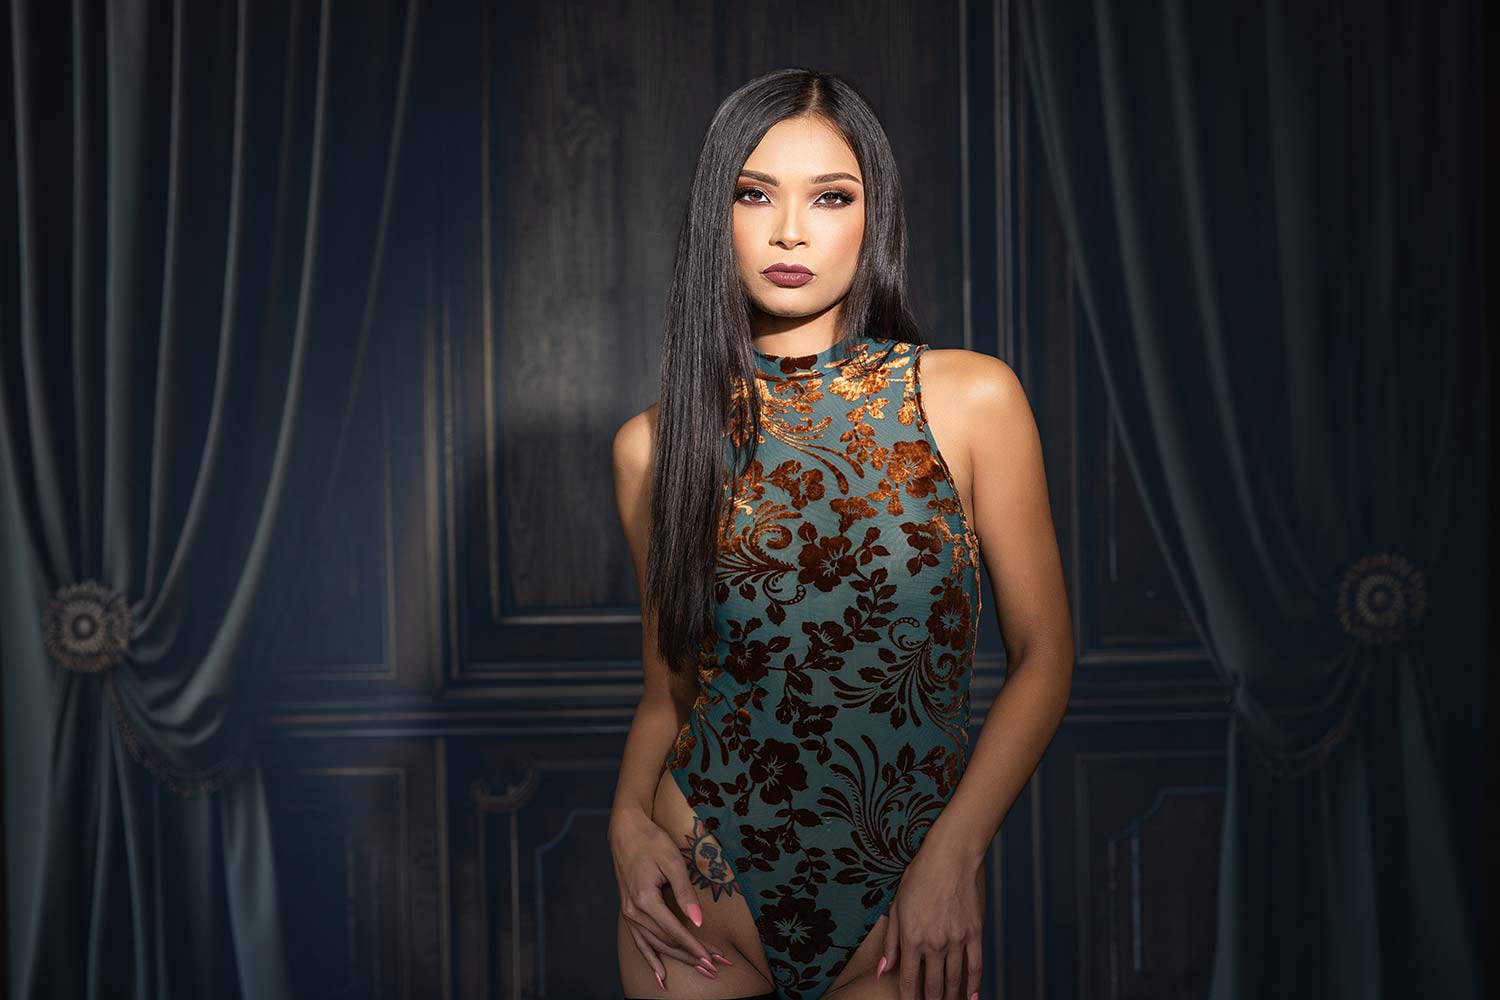
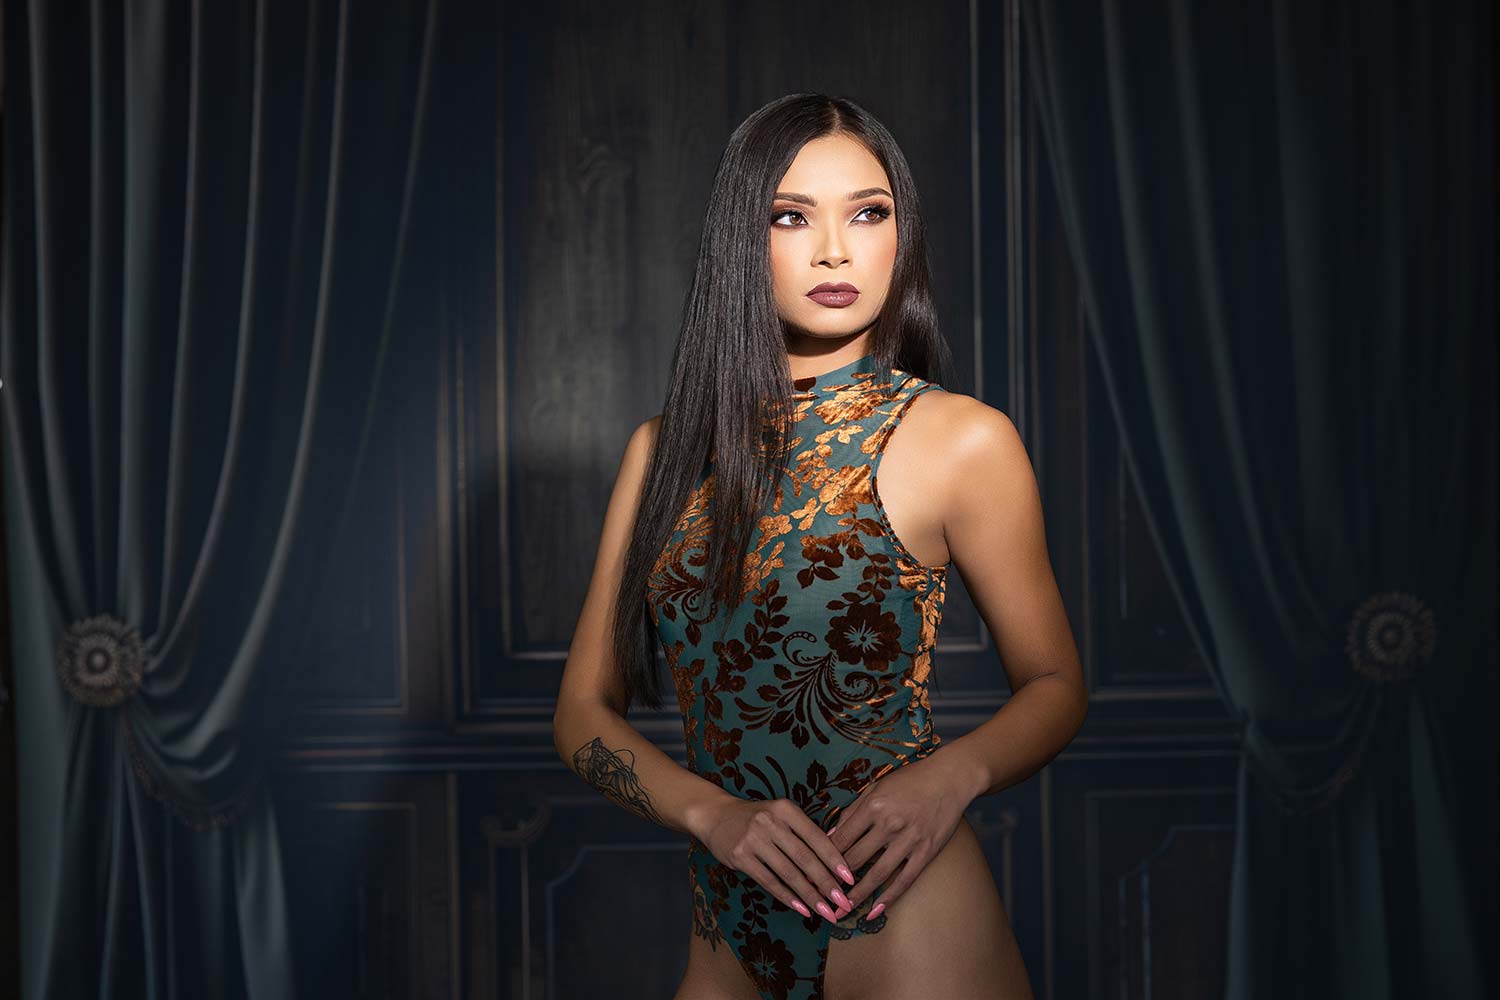
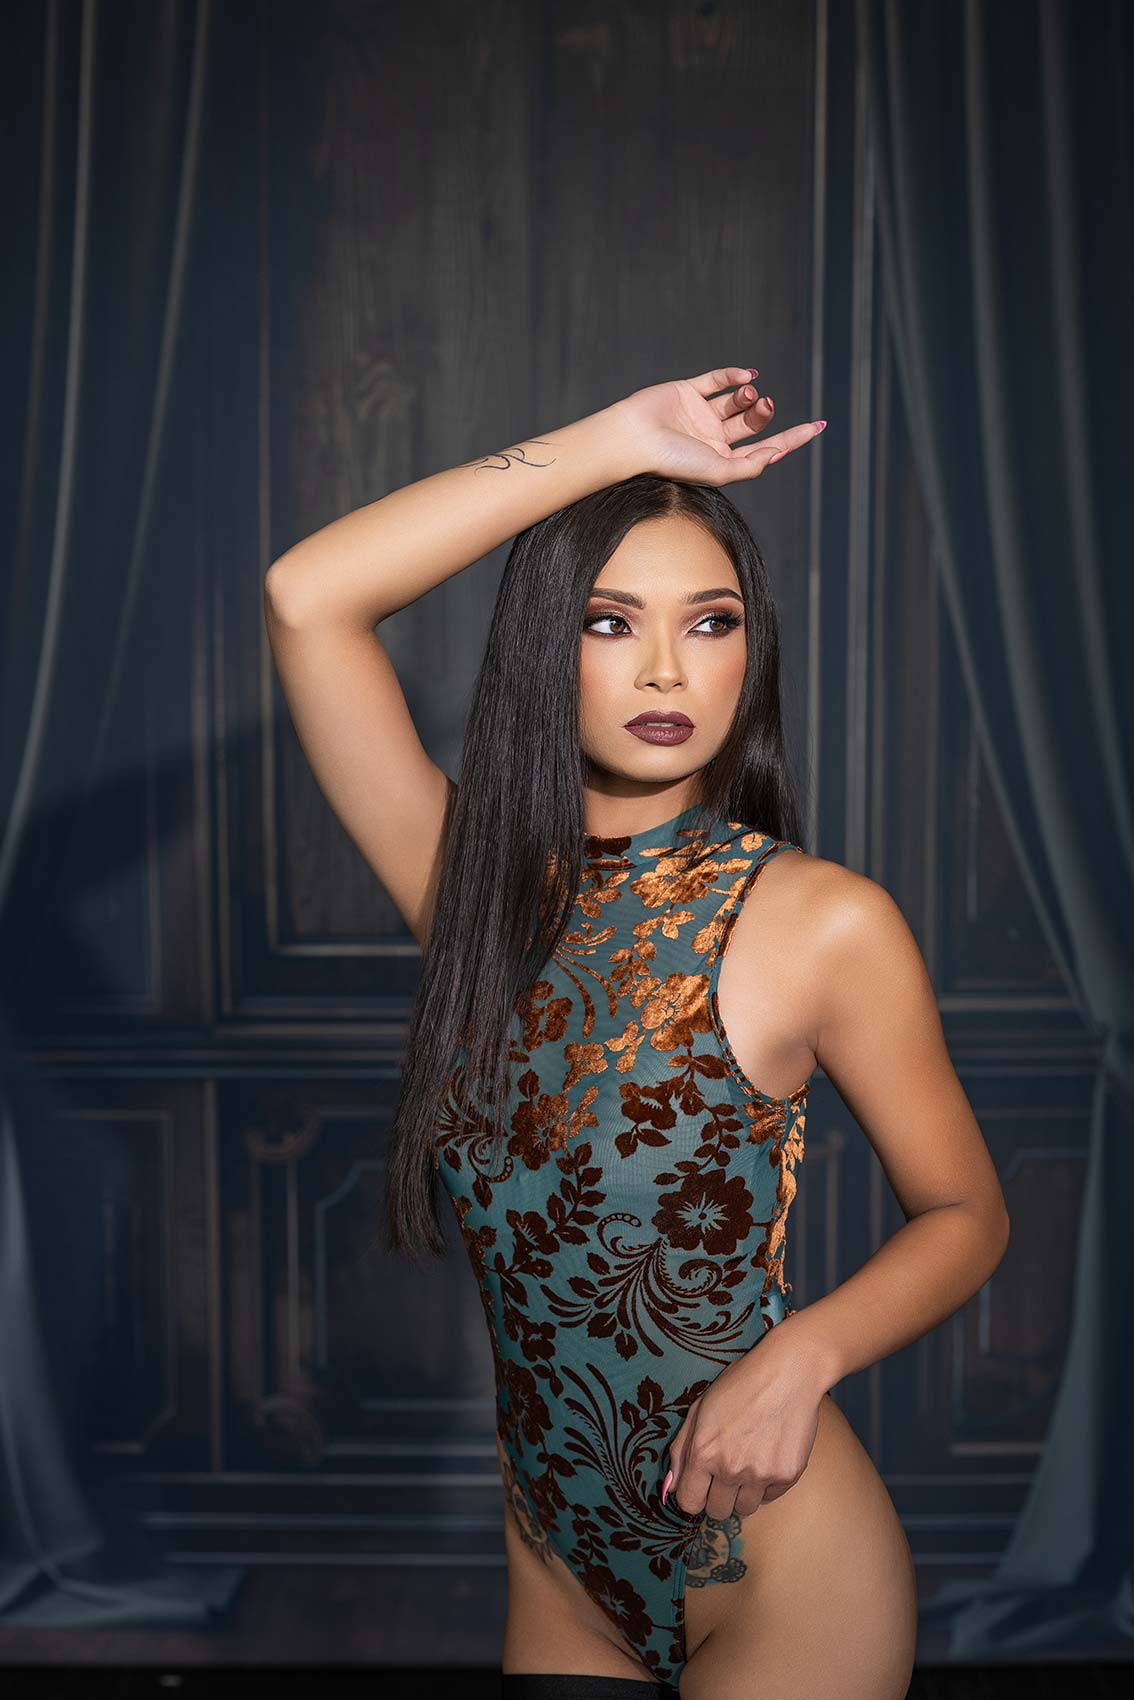
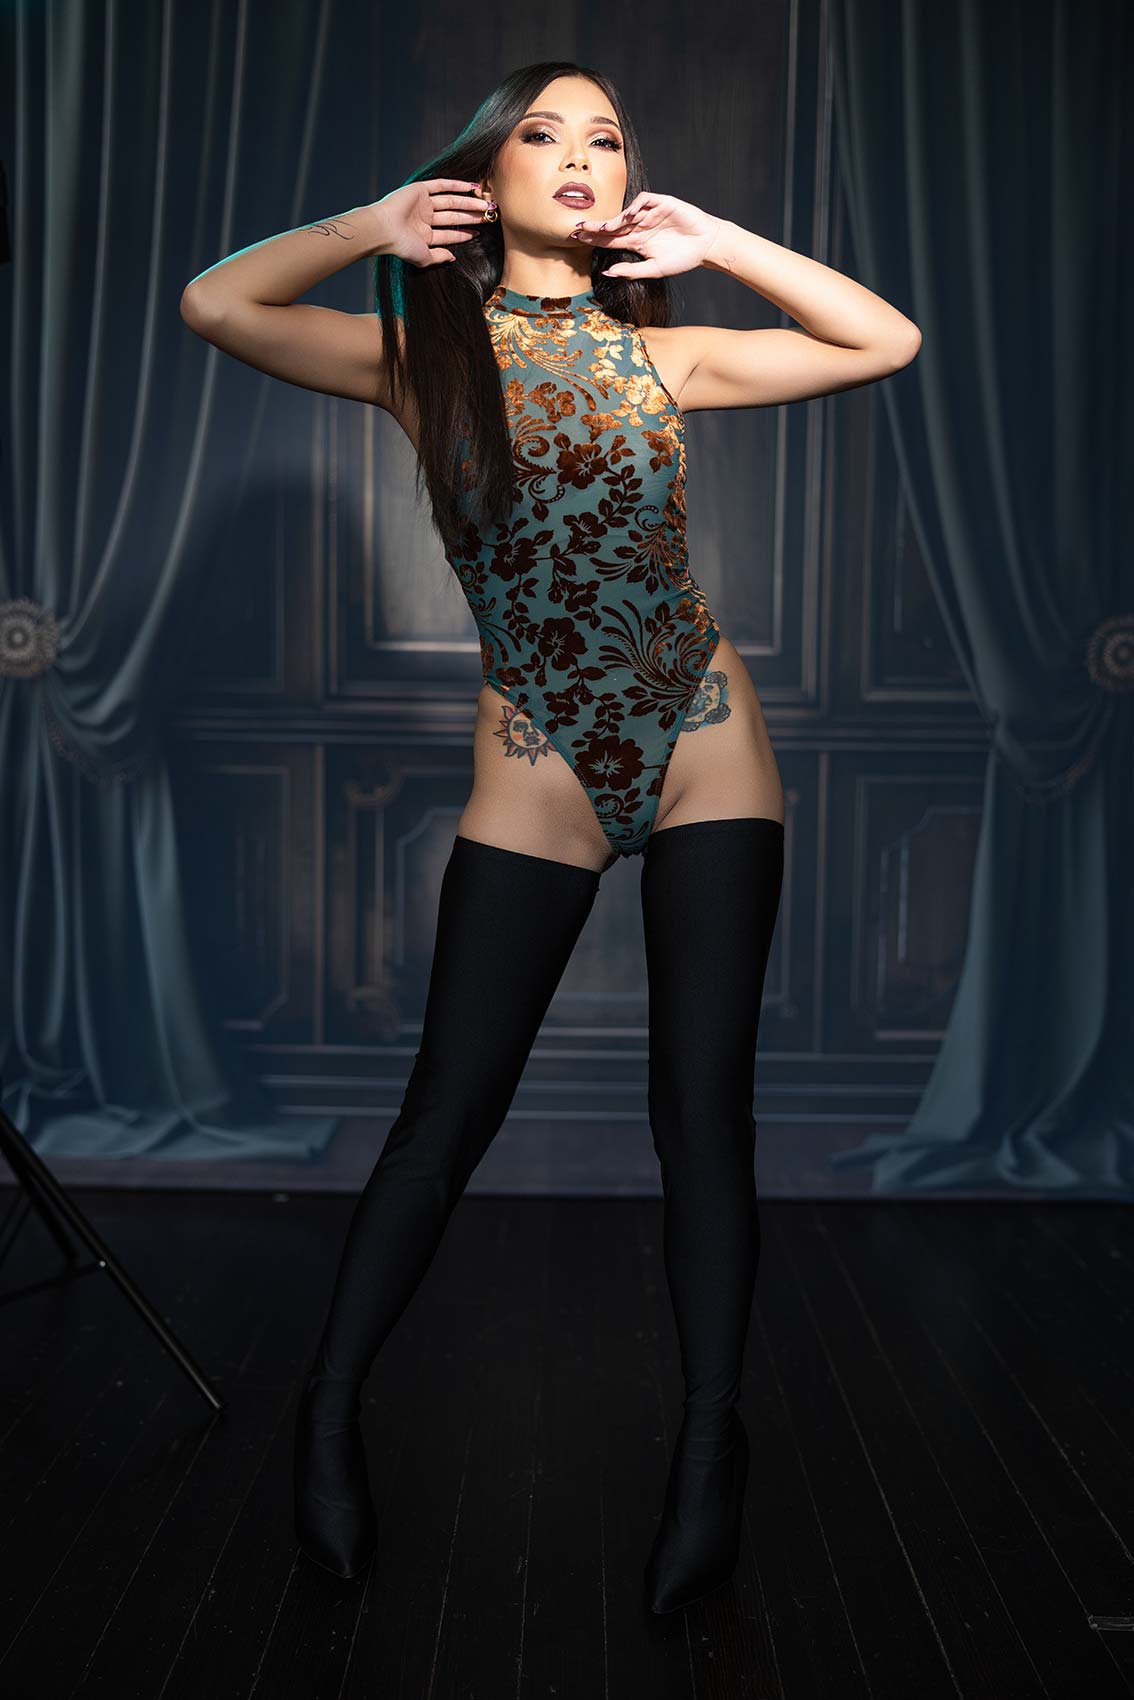
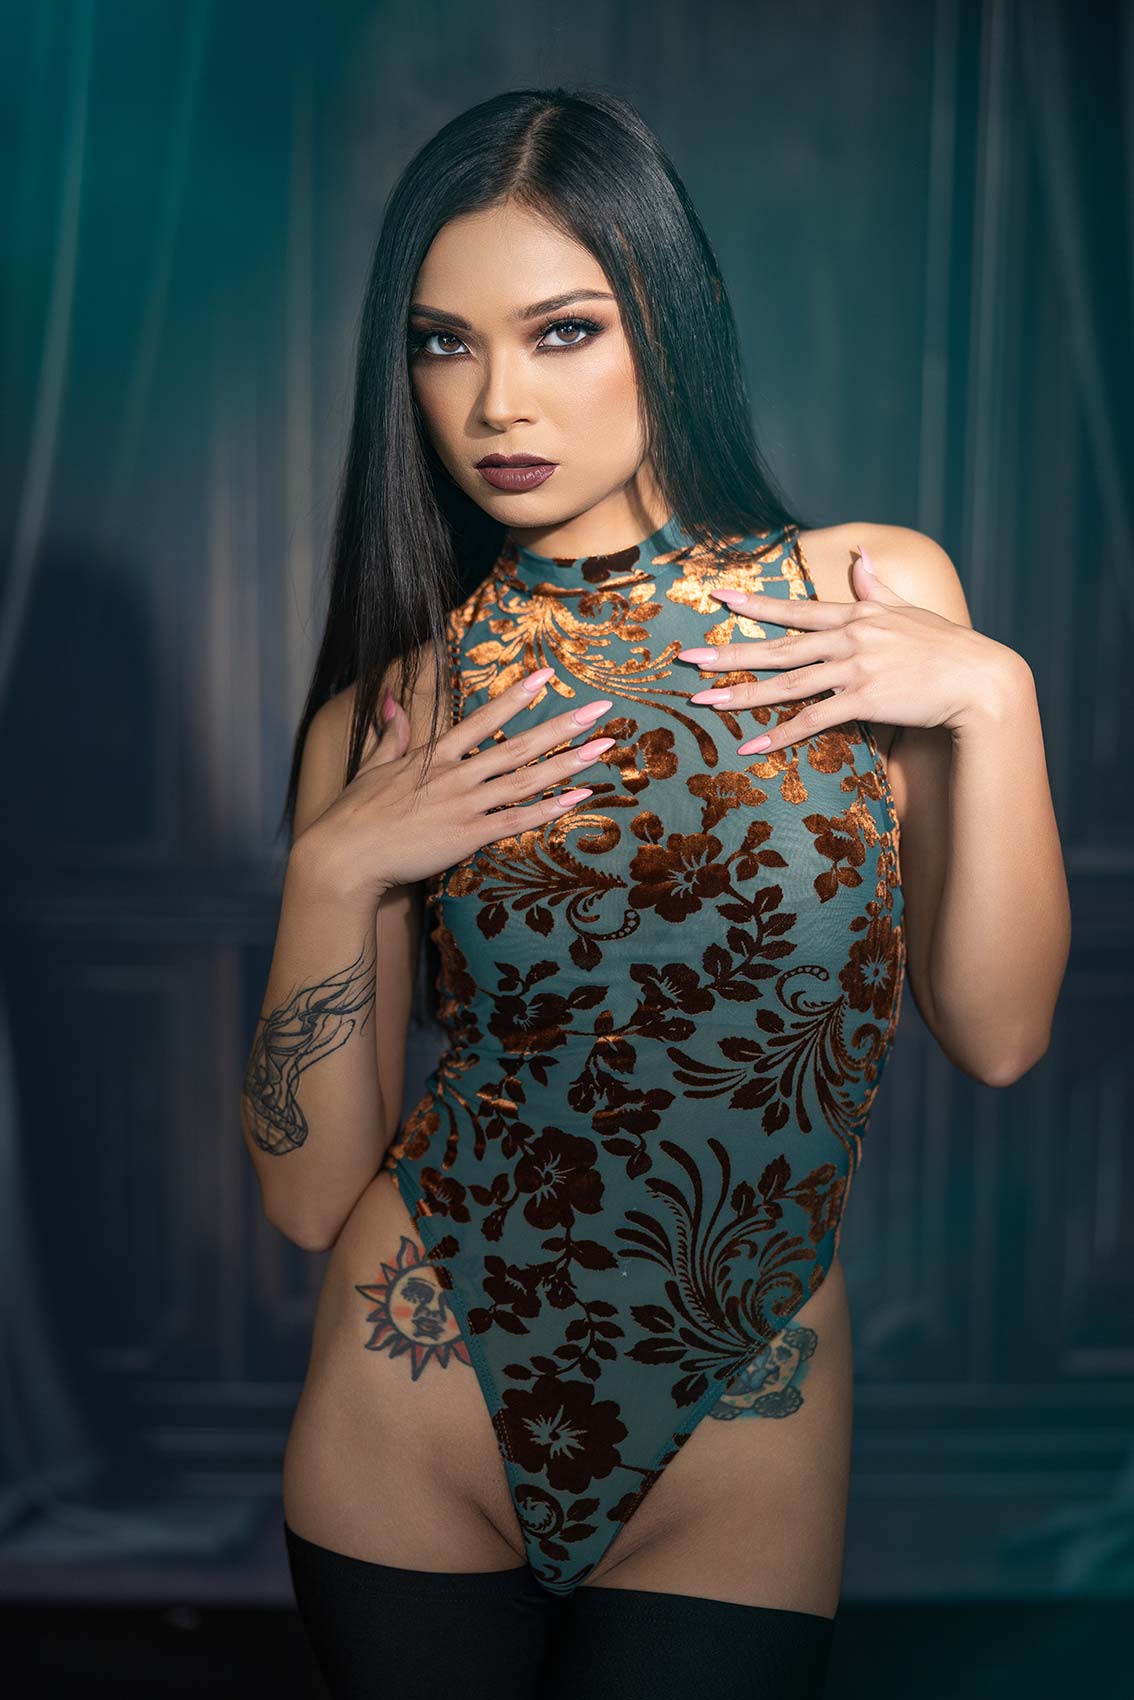
Now, you possibly can see the place this gentle is stopping, proper round her chest and shoulders, so I can are available a little bit tighter.
Settings: f/4 @ 1/320, ISO 250
Settings: f/4 @ 1/320, ISO 250
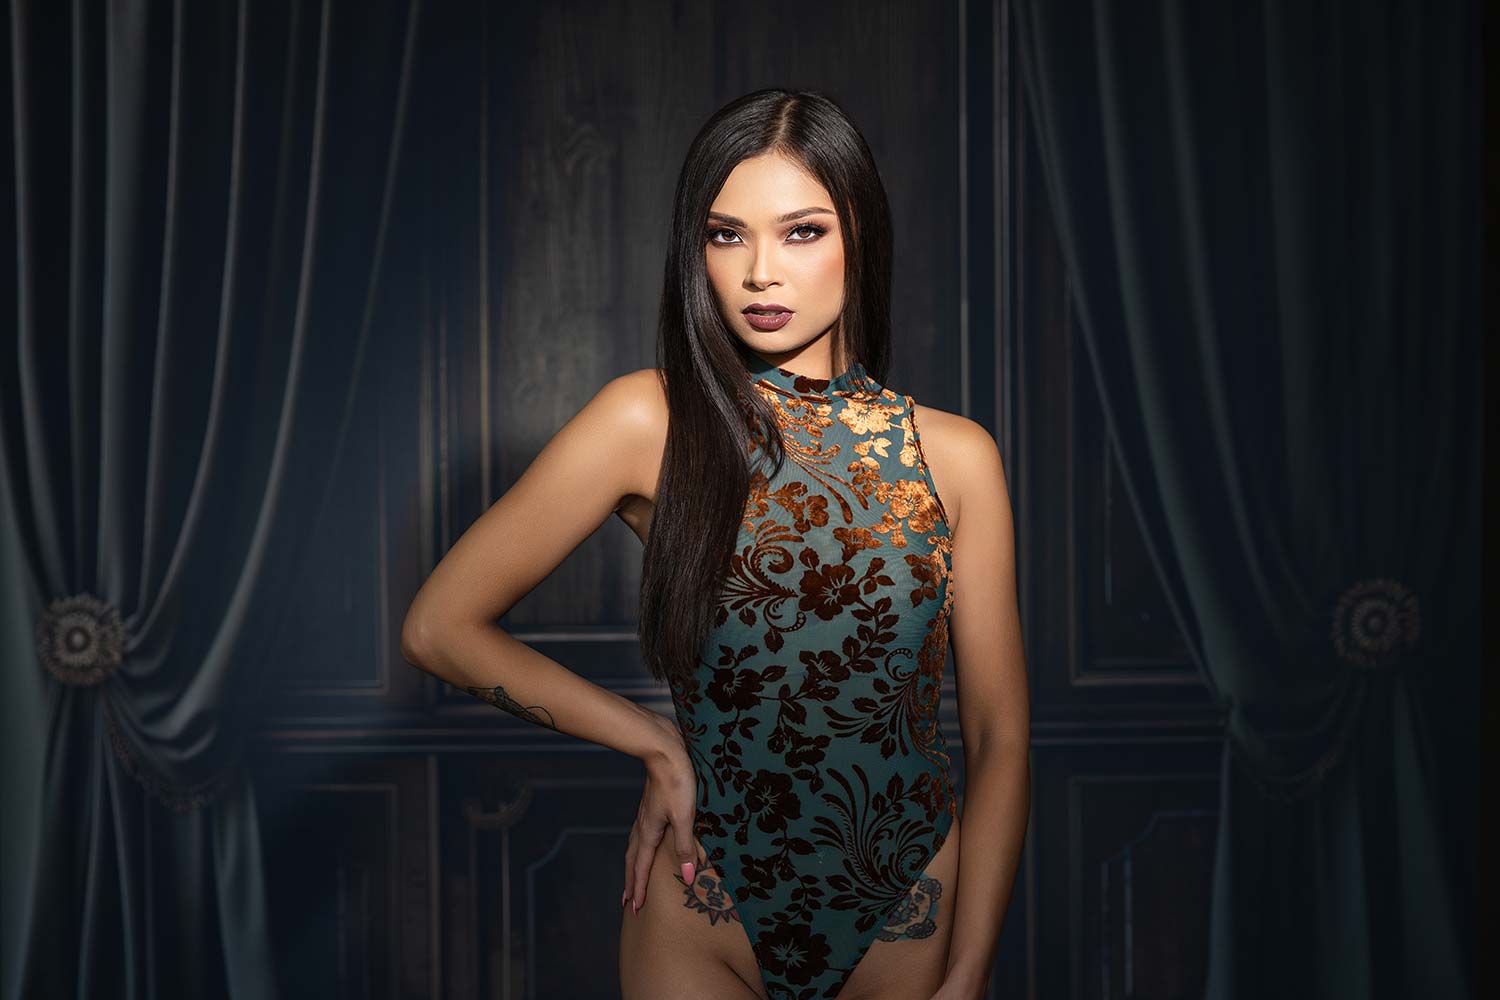
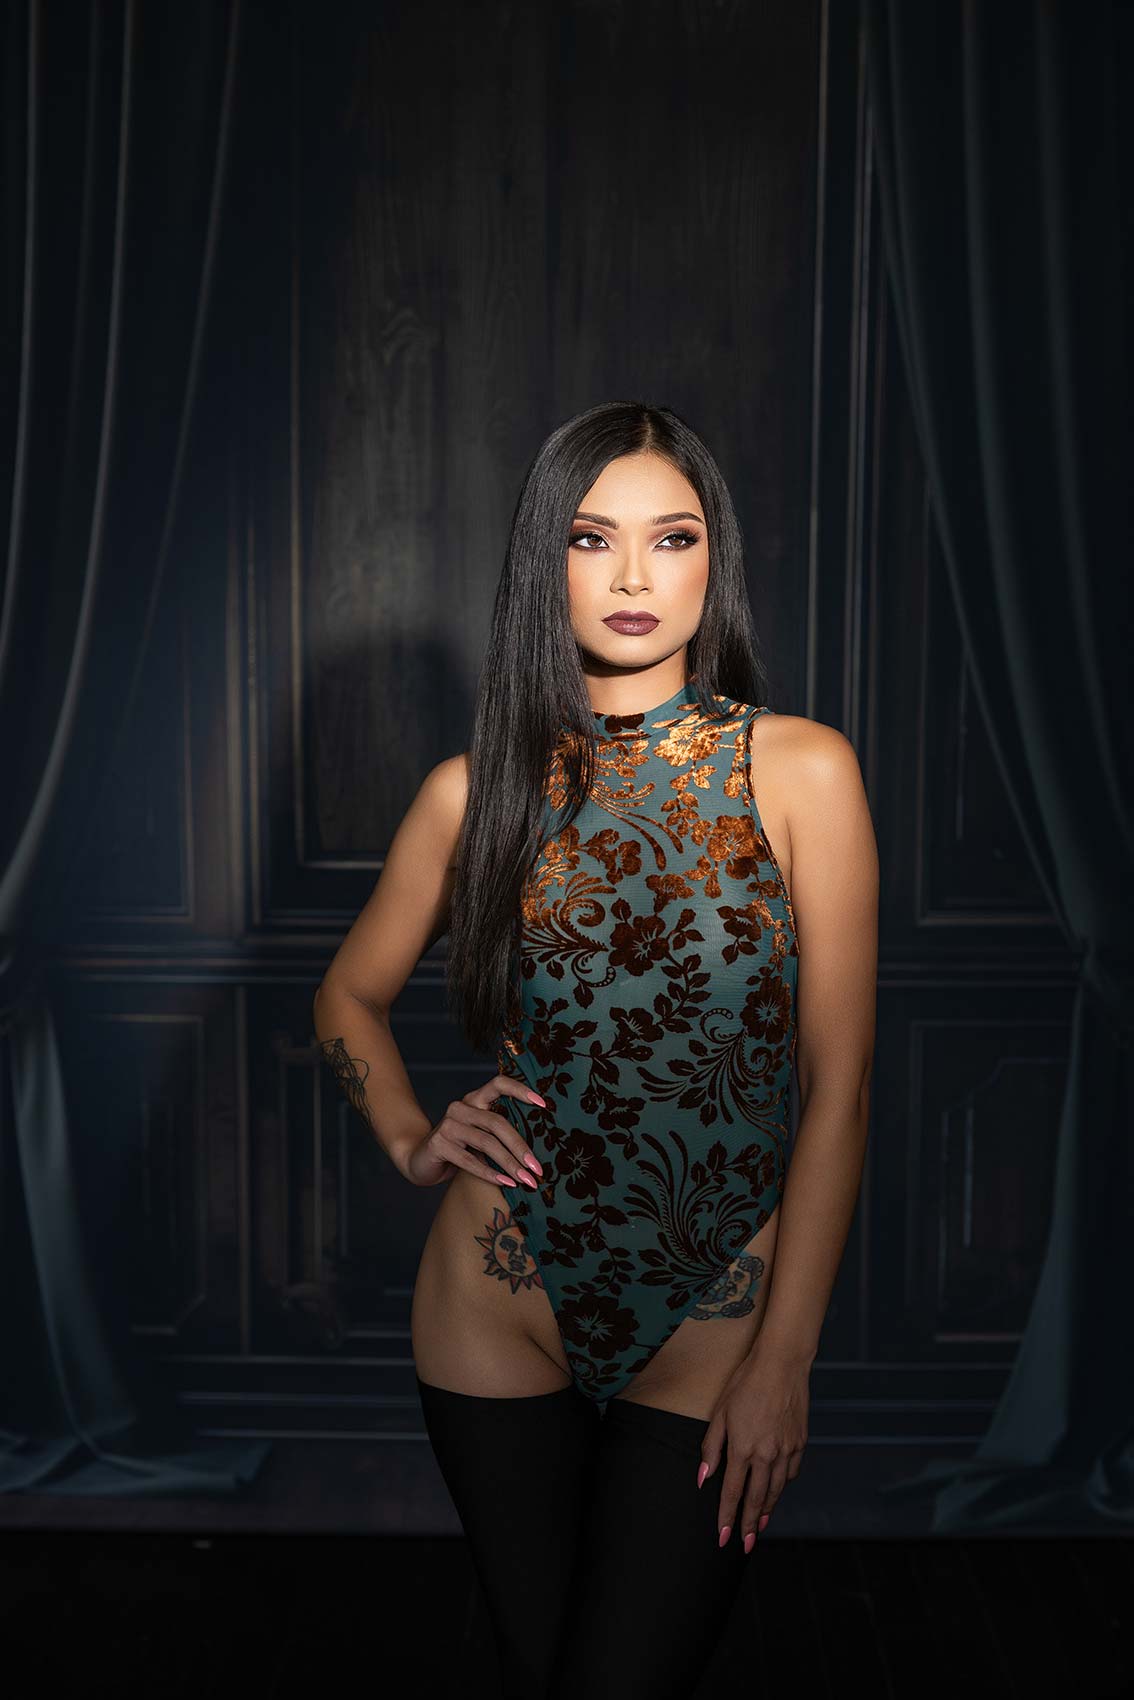
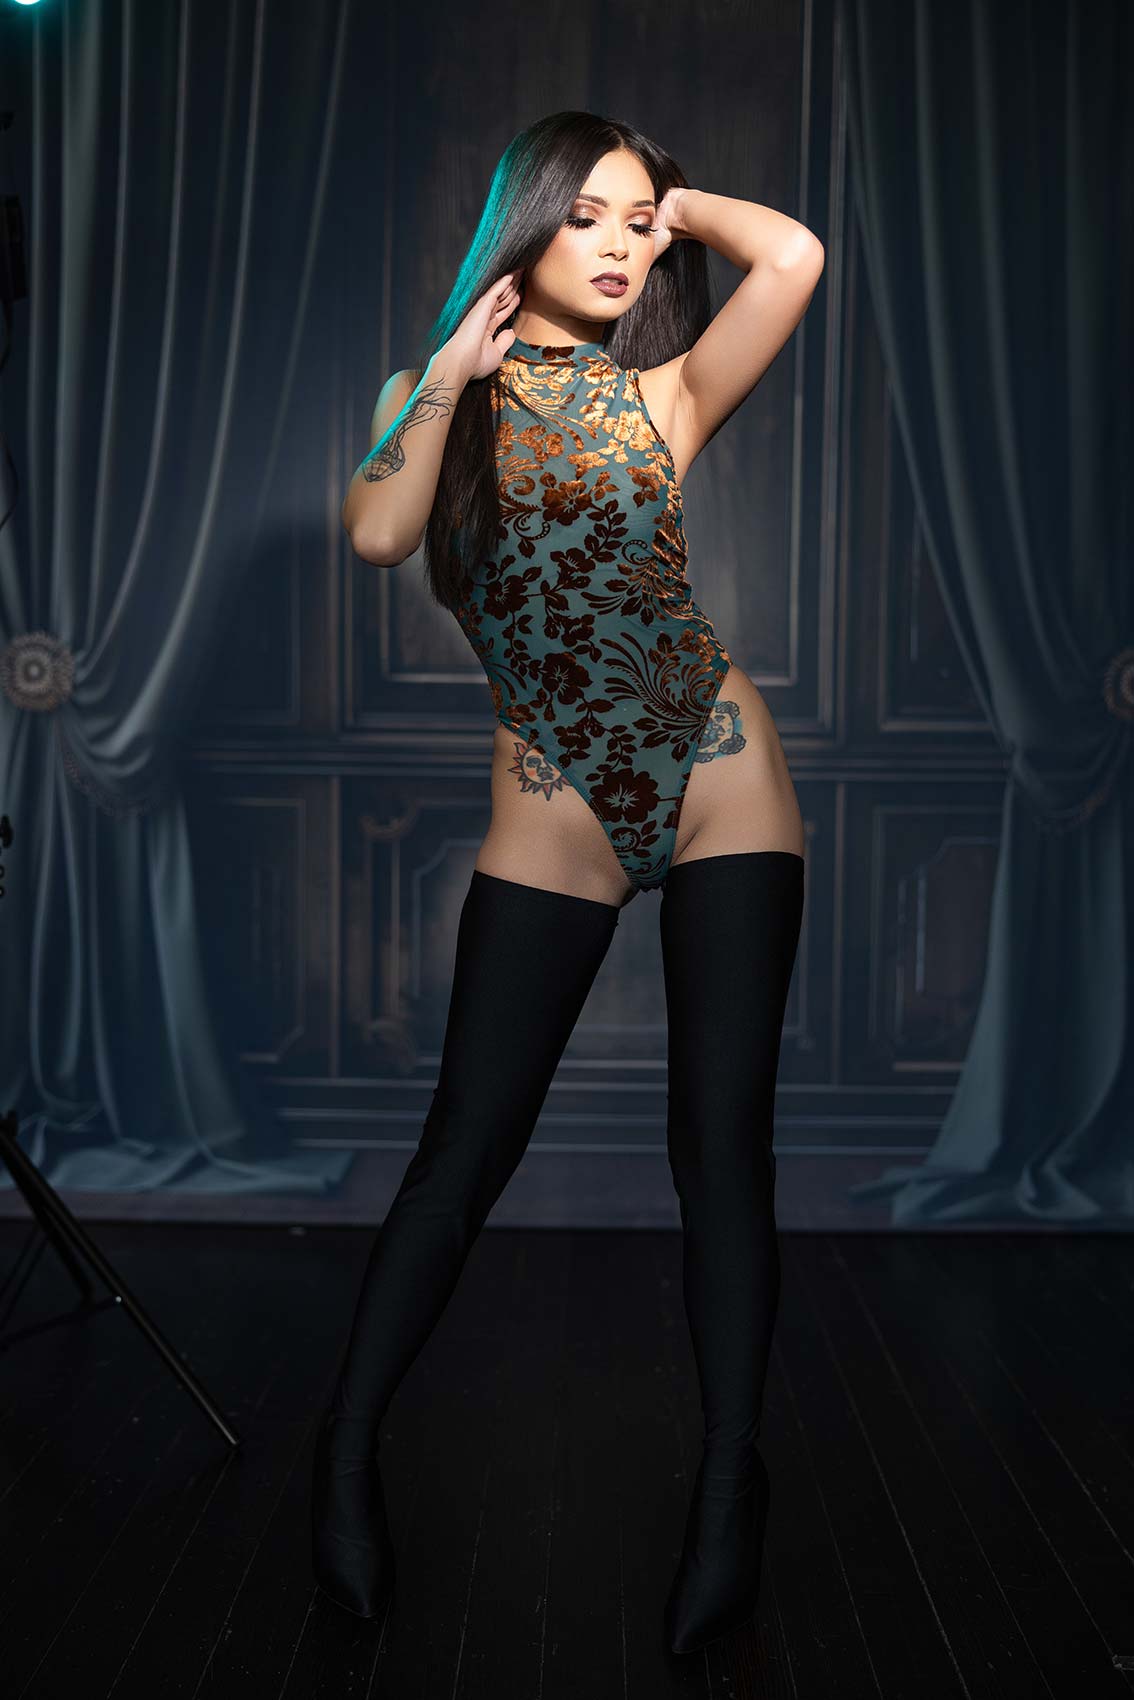
It’s zoomed in to about 10 levels. I wish to make this wider now, and also you’ll begin seeing it hit virtually right down to the highest of her boots. If I’m being sincere, I’m undecided I like this look. Let me shoot it and see what it appears to be like like. It’s undoubtedly a distinct look, however I actually do like that previous Hollywood look right here. I’m positive you guys will agree while you see it. She’s evenly lit throughout her physique. Don’t get me mistaken—it’s a great look and good gentle. However that slender beam actually units extra of a temper and tone.
Settings: f/4 @ 1/160, ISO 250
Settings: f/4 @ 1/160, ISO 250
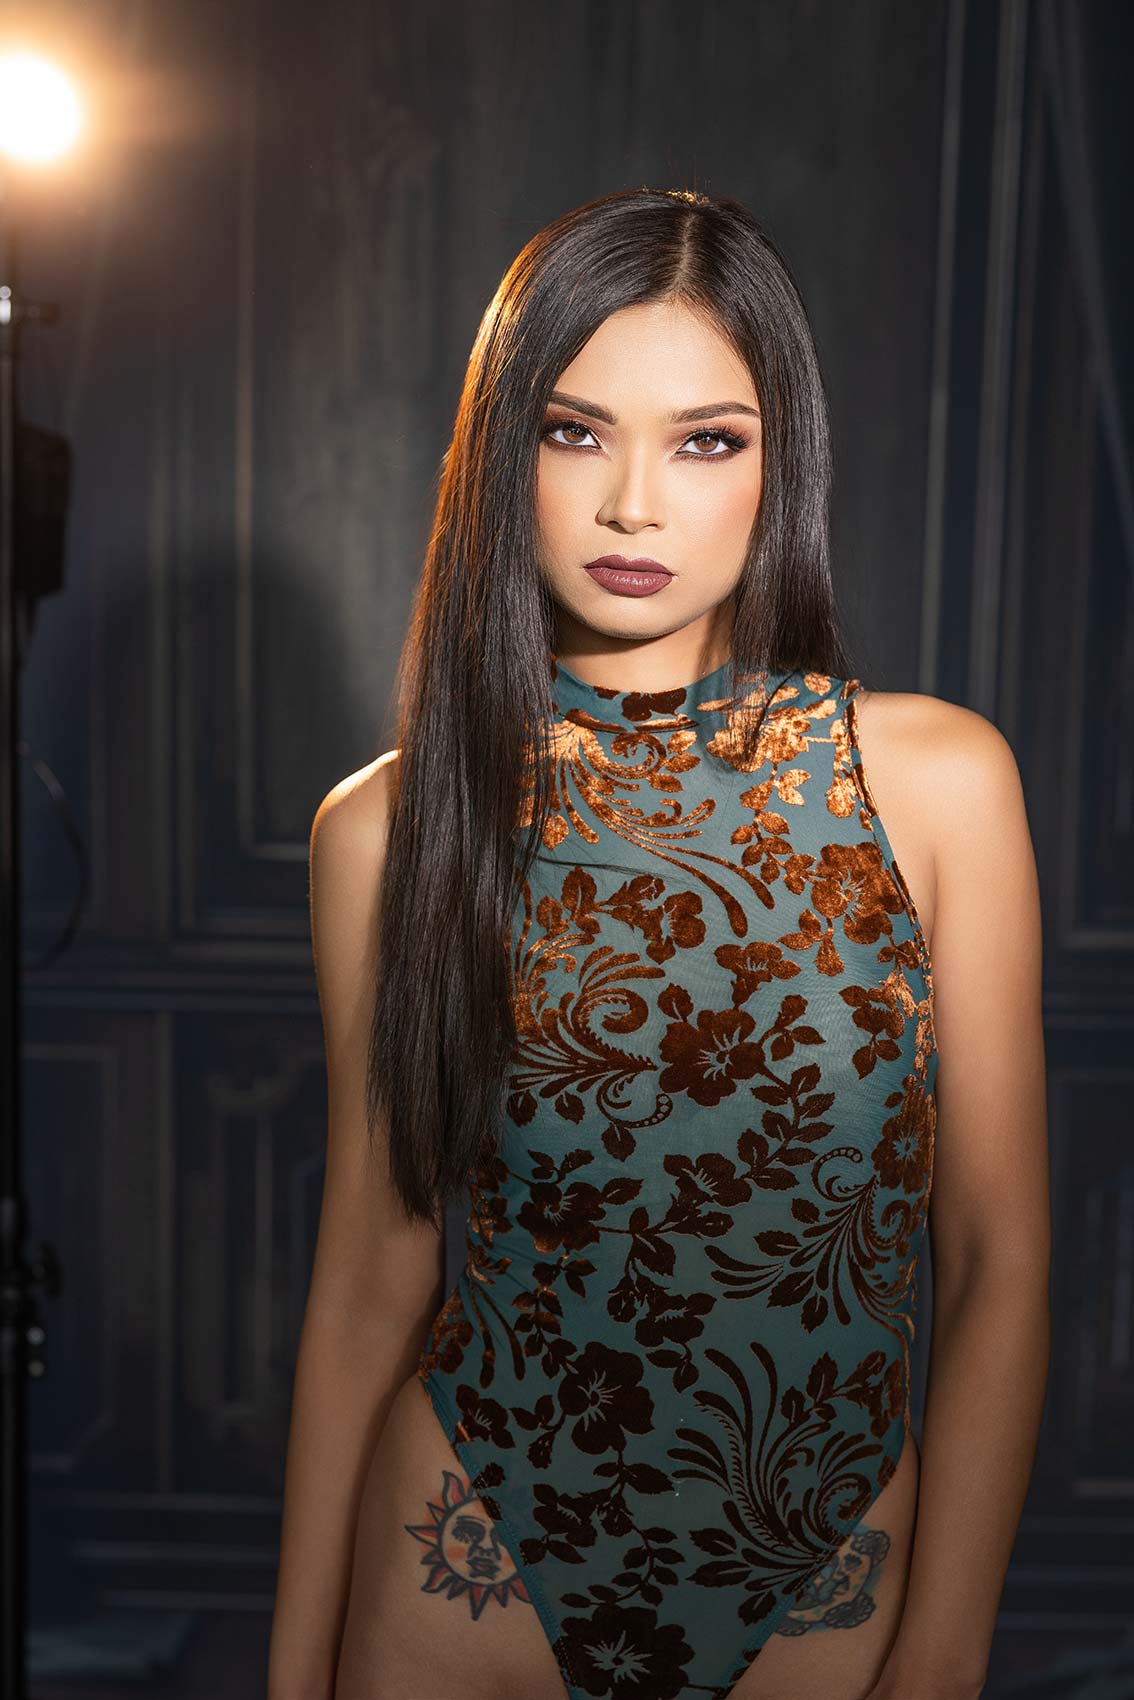
I wish to strive another factor: I’m going to return to setting this at 10 levels. Look, for those who’re a photographer doing magnificence work, you need lighting to be fast and straightforward. You don’t wish to be continuously messing along with your gear whereas working with purchasers. In case you’re utilizing strobe, you’re not shifting this quick. That is why I like steady gentle.
What I wish to do now’s use a second gentle so as to add a little bit little bit of coloration. This can be a favourite look of mine. I’m going to take two totally different pictures right here. For this, I’ve set the colour temperature at 3,200K and dialed down the facility to roughly 50%. She’ll be lit at 5,500K on the entrance and the opposite gentle will give us a pleasant heat glow. I’ll present you two methods I’d use this. I do just like the impact of including a little bit of flare into the digicam. I wouldn’t say it’s a signature look, however I actually take pleasure in it. Let’s get this shot with that highlight now.
Settings: f/4 @ 320, ISO 250
Settings: f/2 @ 1/1250, ISO 250
Settings: f/2 @ 1/1250, ISO 250
Settings: f/2 @ 1/1250, ISO 250
Settings: f/2 @ 1/1250, ISO 250
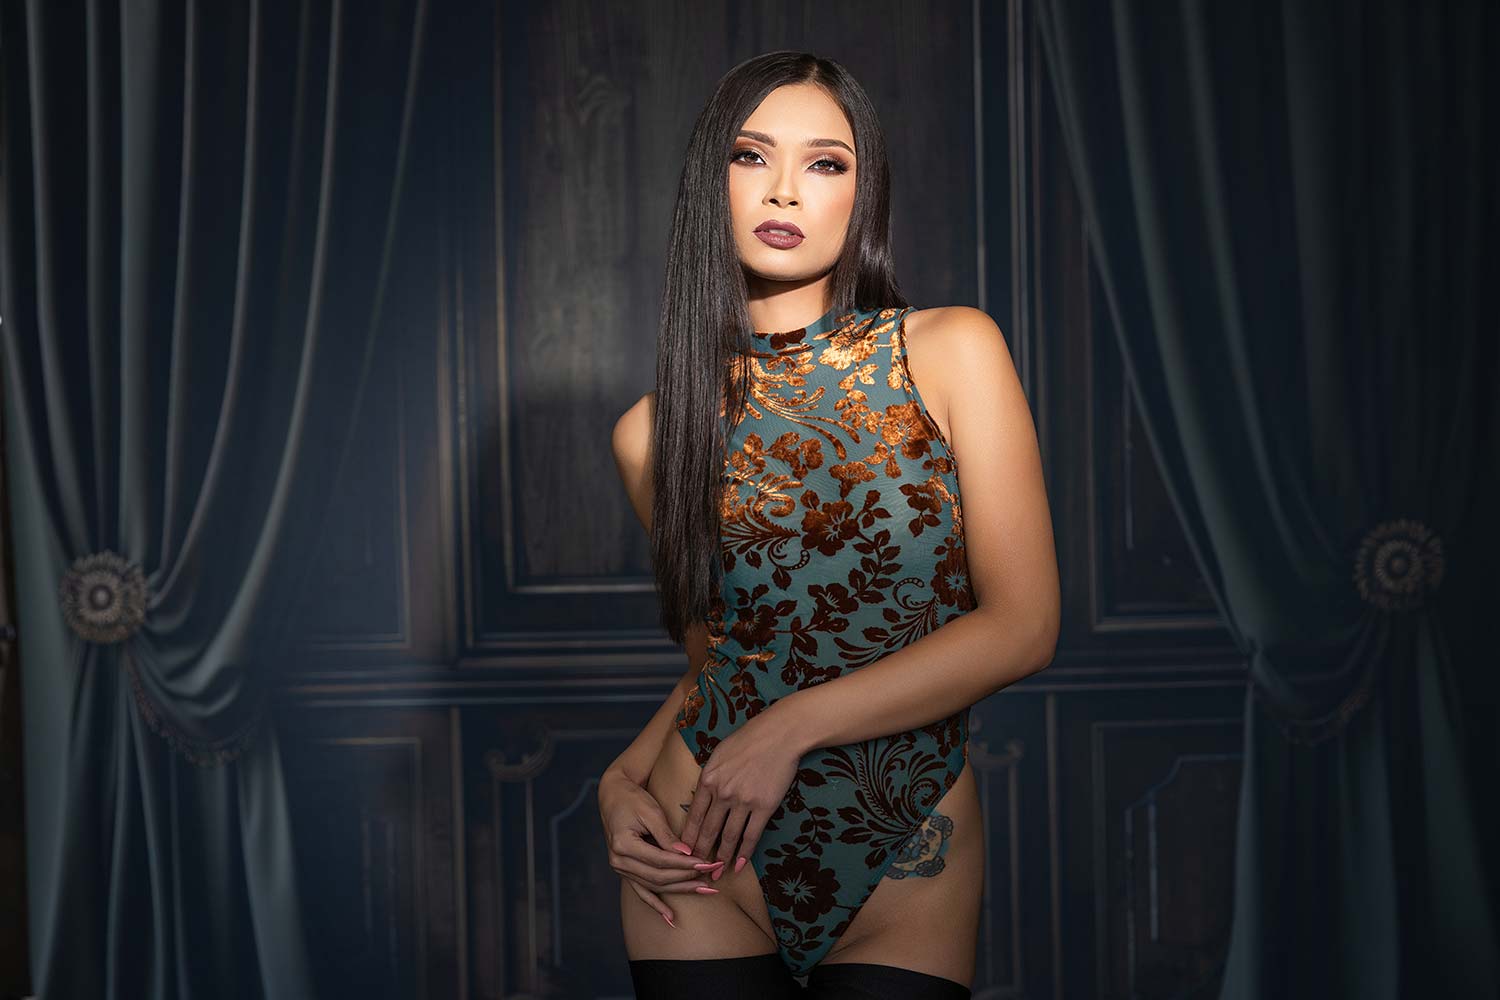
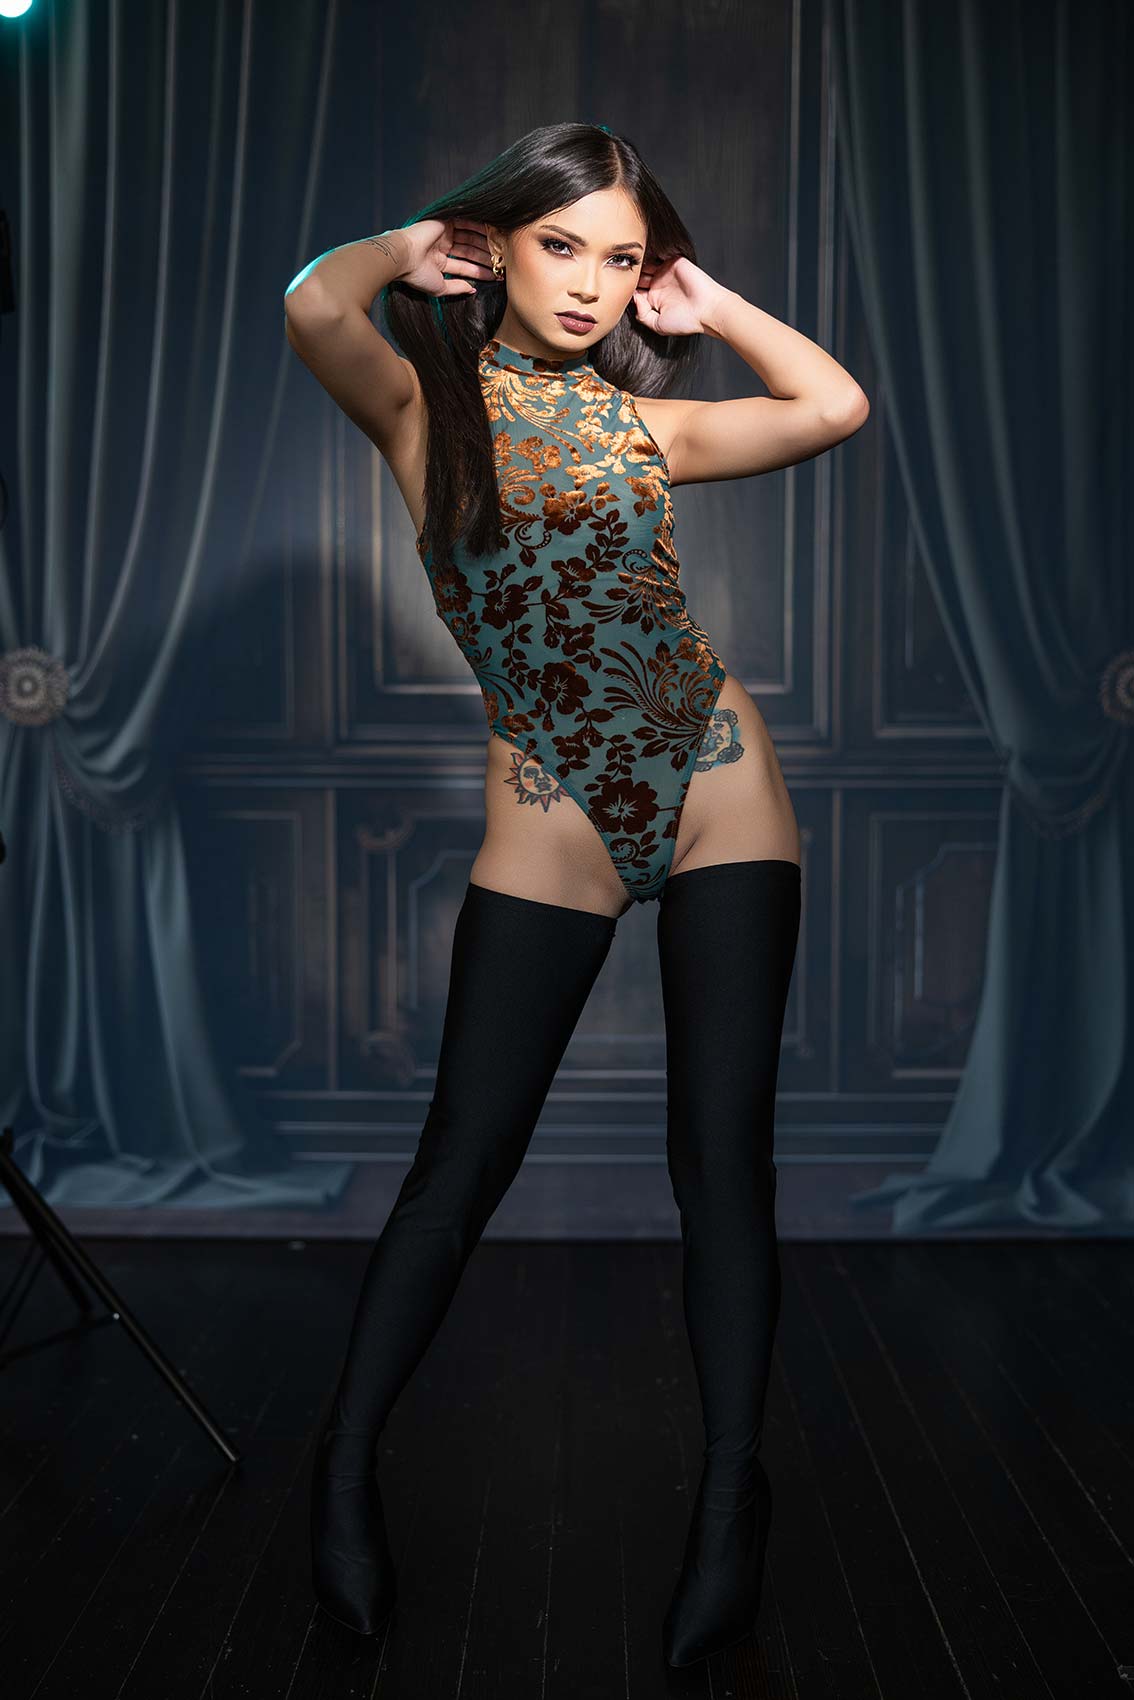
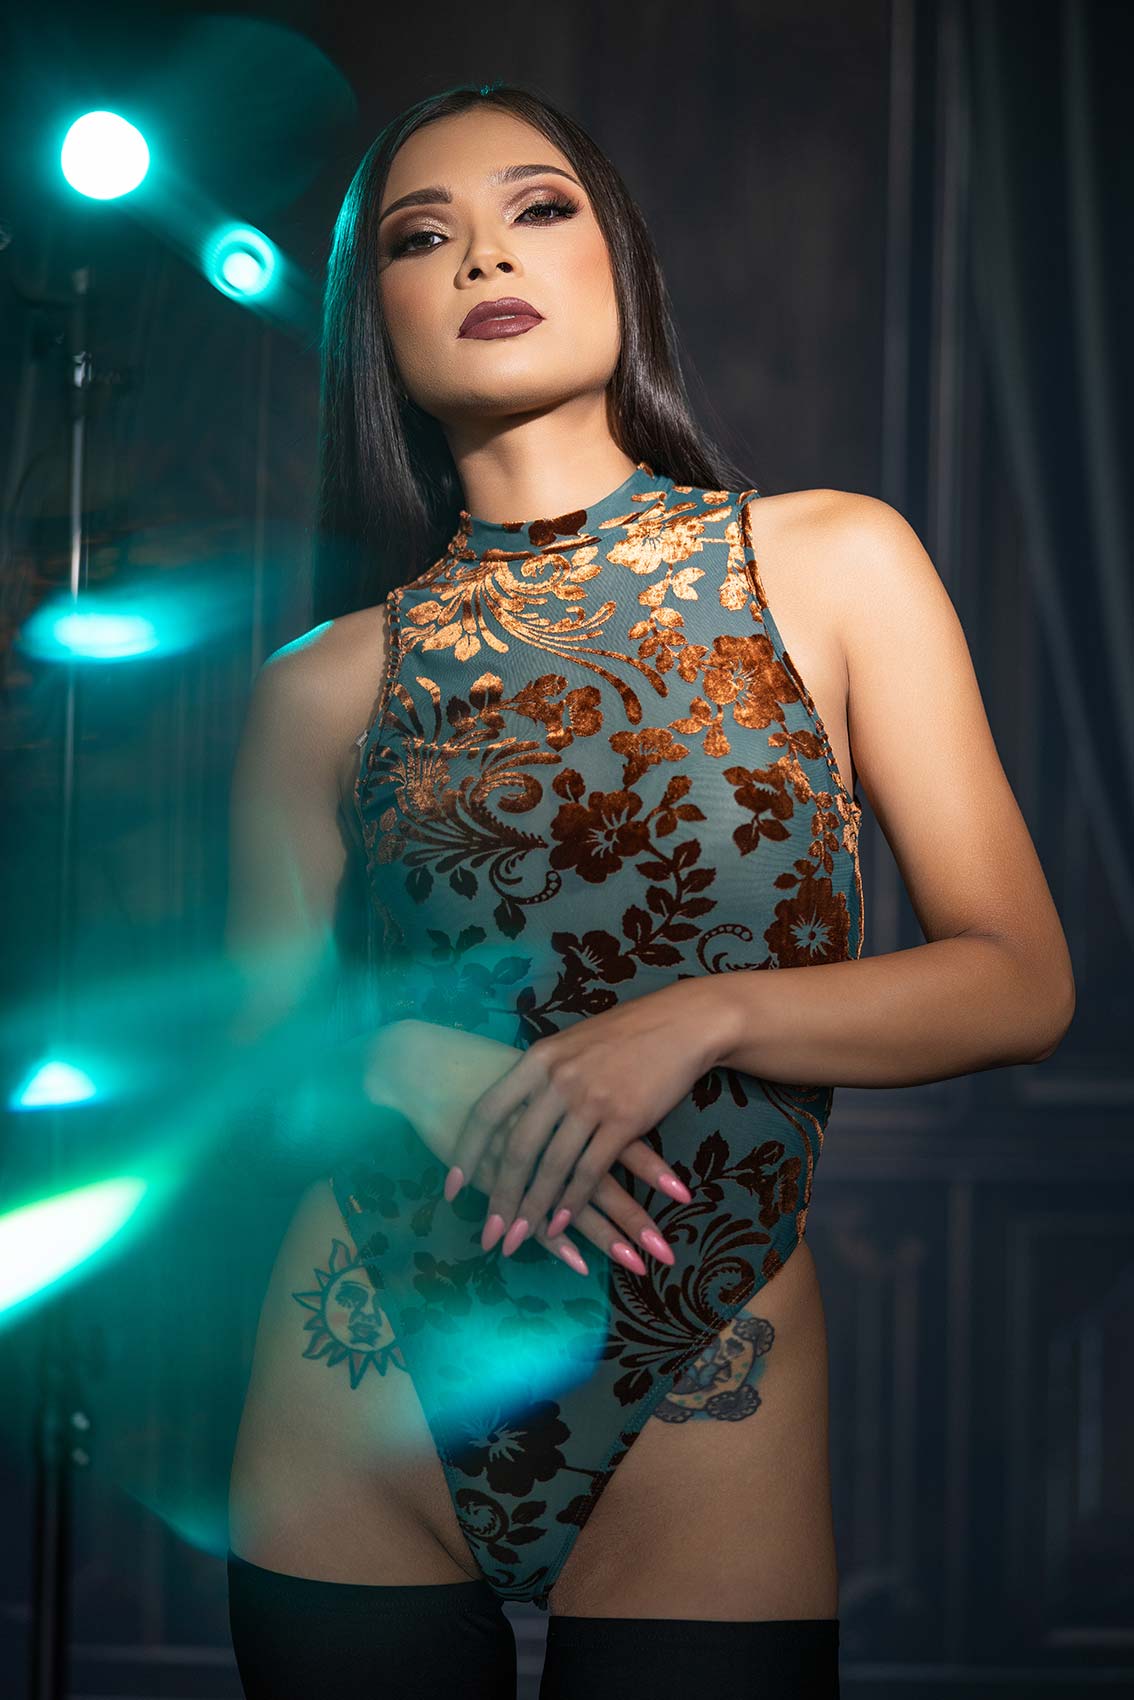
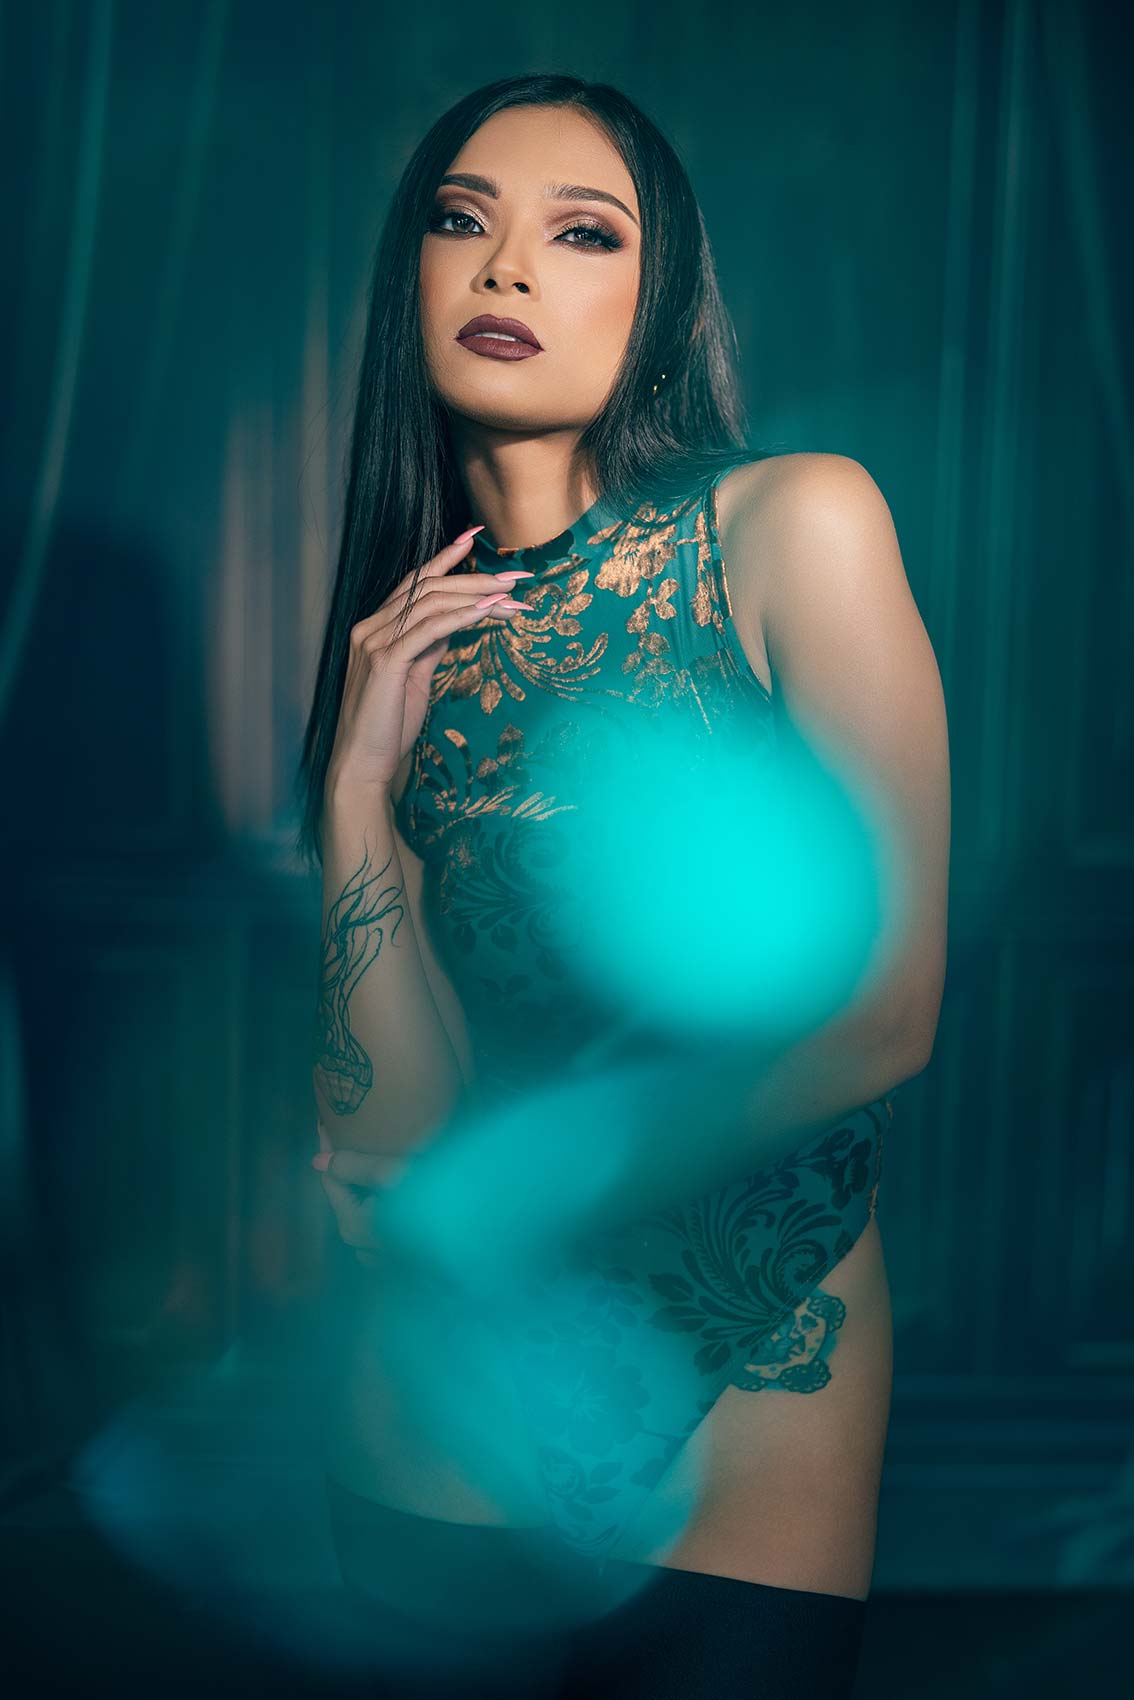
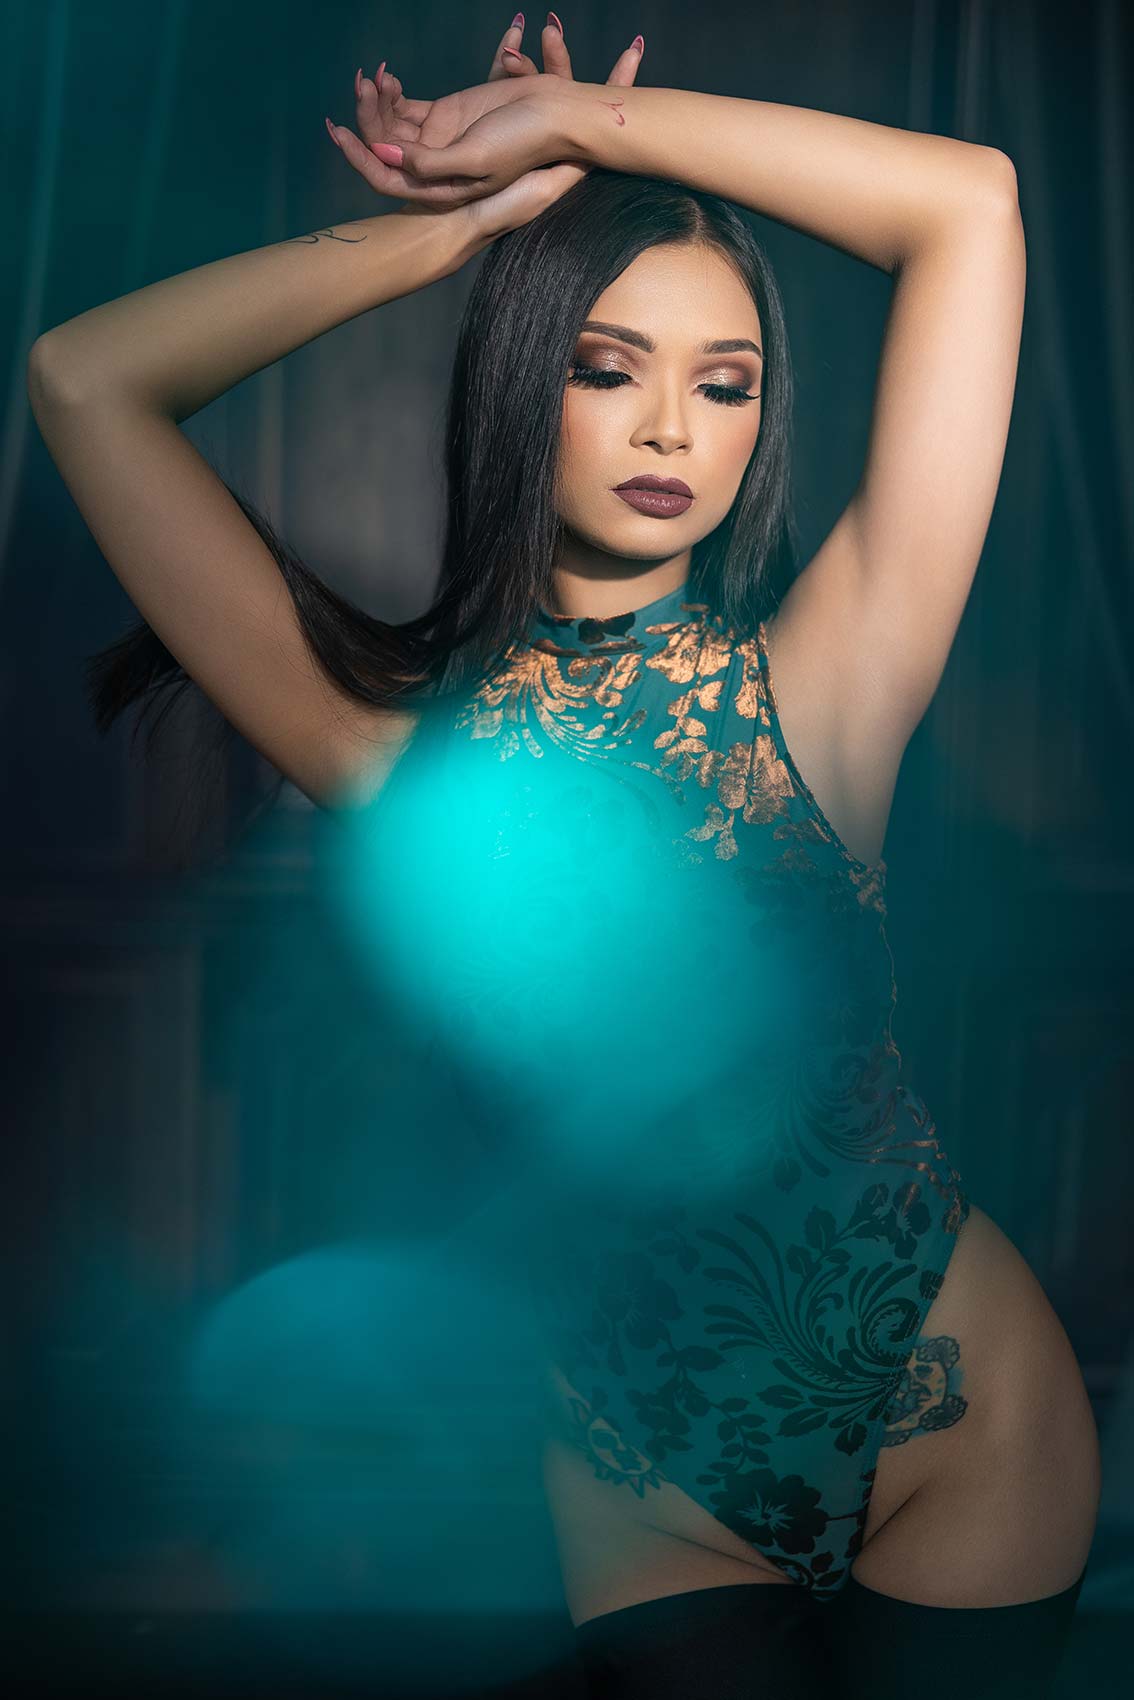
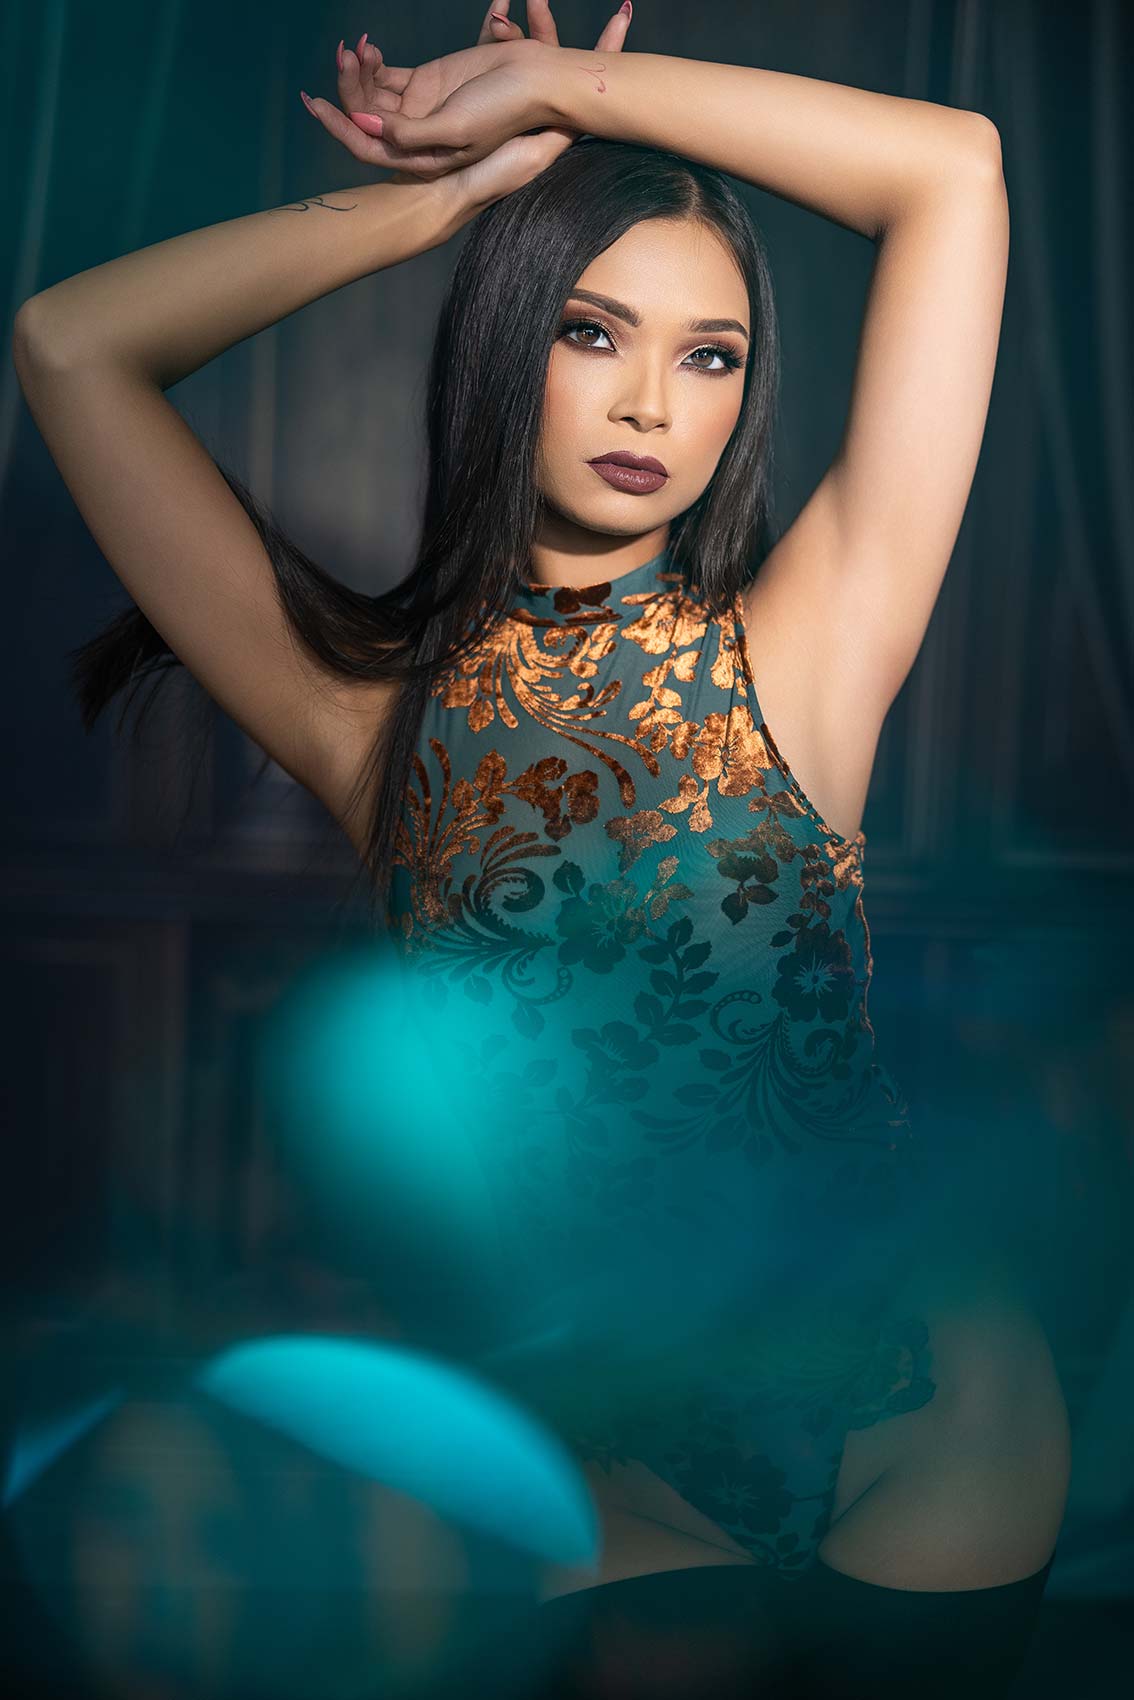
And so, now we’re getting a little bit of that flare within the nook, which makes it a little bit extra attention-grabbing. However we will do another factor with it. Once more, discover how rapidly and simply I’m shifting with these lights. These are the Nanlite Forza 60C, the full-color variations. You need that. With the complete coloration, I can change this and get a coloration throw. Since she’s carrying inexperienced and brown, pink doesn’t actually make sense. I’ll work via this to see which coloration will look good.
Now, we’ve received a little bit of a tealish-blue gentle that we will shine on her. We are able to regulate it a little bit extra to the aspect to get some edge gentle on her, including some edge gentle to her hair. I’ll take two totally different pictures: one with some full-body pictures, after which I’ll put the sunshine within the nook once more to get some flare. That is why I like this little highlight—it simply feels very stagey.
Settings: f/2 @ 1/640, ISO 250
Settings: f/2 @ 1/640, ISO 250
Settings: f/2 @ 1/640, ISO 250
Settings: f/2 @ 1/640, ISO 250
Settings: f/2 @ 1/500, ISO 250
Now, I’m going to take this similar gentle and I need that flare within the digicam, which is able to make issues a bit extra attention-grabbing.
Settings: f/2 @ 1/1250, ISO 250
Settings: f/2 @ 1/1000, ISO 250
Settings: f/2 @ 1/1250, ISO 250
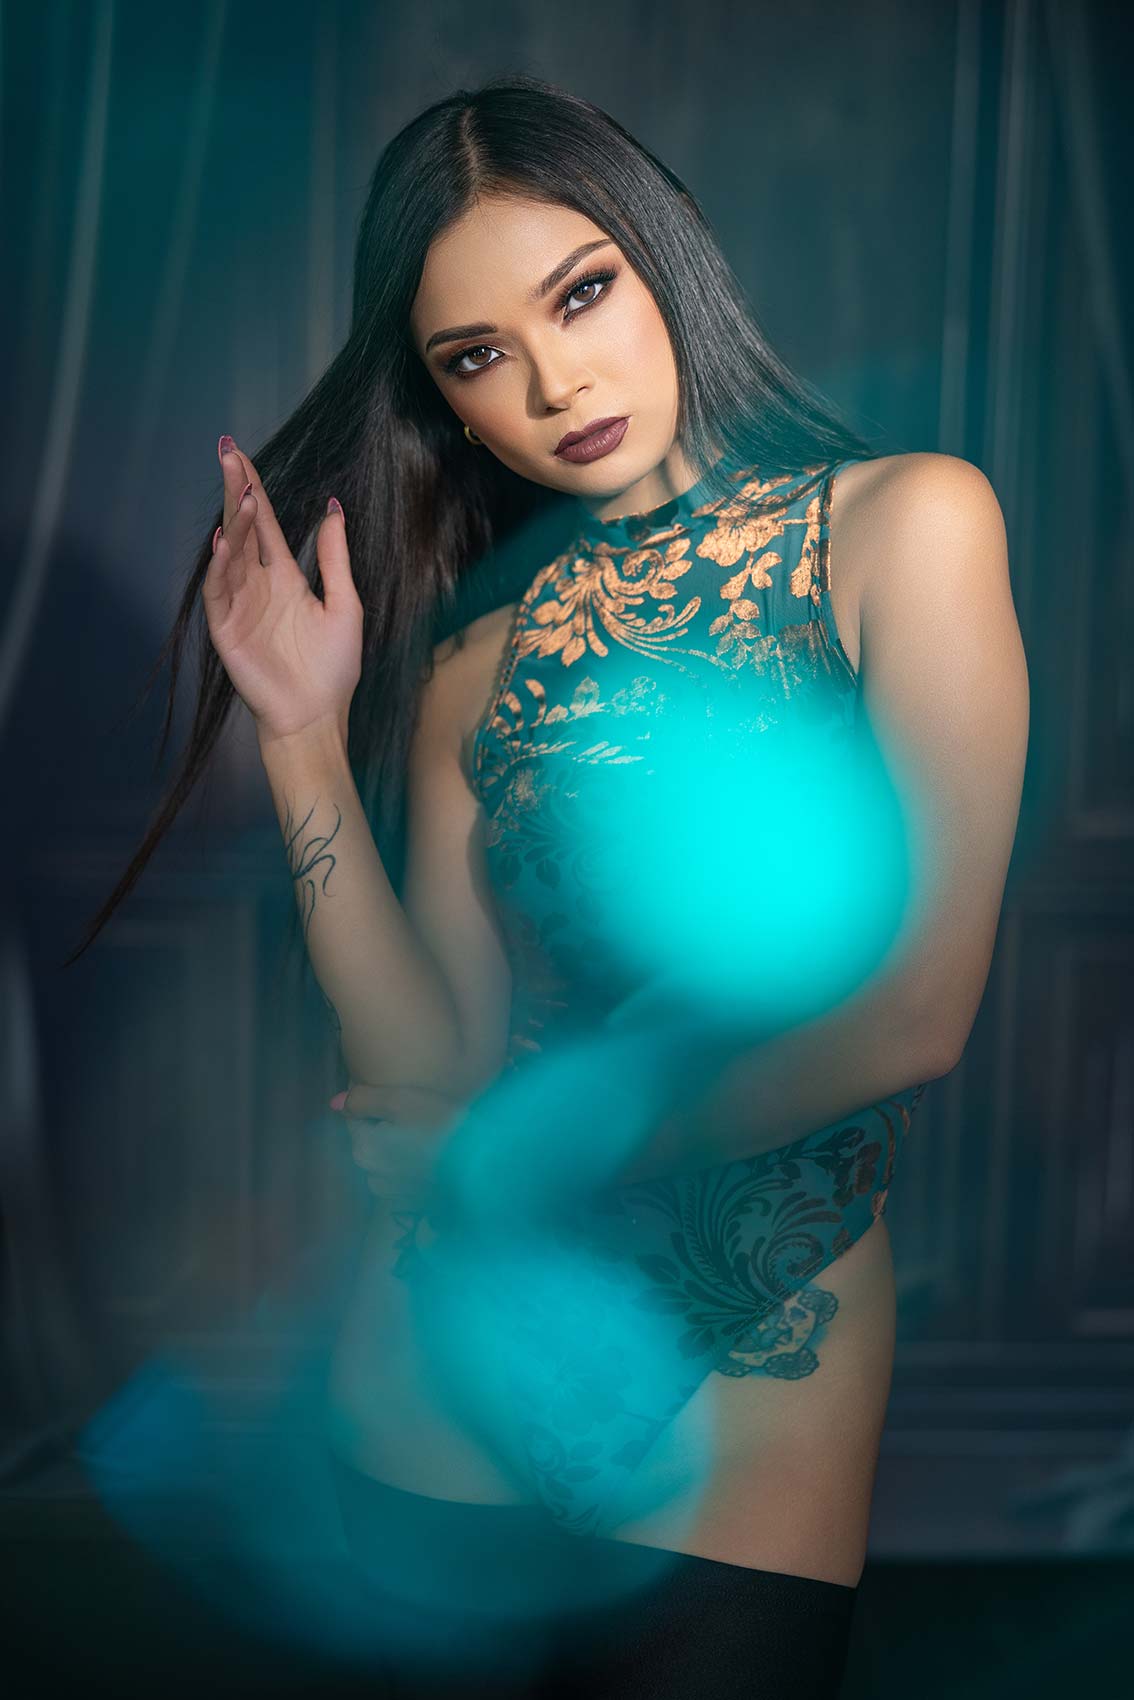
All proper. The very last thing I wish to do is take that very same gentle and coloration and fireplace it instantly into the lens. It provides a coloration wash. You are able to do related results in Photoshop, nevertheless it usually appears to be like synthetic. This can give it a really distinctive appear and feel. I’m simply dishonest this within the left-hand nook. Now, I’ve additionally received this little crystal in my pocket—you may get these wherever. I’m going to make use of the identical gentle and place the crystal right here, including a little bit of texture. It creates a light-weight leak impact on the lens. It’s simply one thing totally different to combine it up on your purchasers that you would be able to’t simply do in Photoshop.
Settings: f/2 @ 1/800, ISO 250
Settings: f/2 @ 1/1000, ISO 250
Settings: f/2 @ 1/640, ISO 250
Settings: f/2 @ 1/640, ISO 250
Settings: f/2 @ 1/640, ISO 250
Settings: f/2 @ 1/640, ISO 250
Settings: f/2 @ 1/1000, ISO 250
Settings: f/2 @ 1/1000, ISO 250
Settings: f/2 @ 1/800, ISO 250
All proper, and that could be a wrap. Hopefully, you guys loved it. Let me know which one was your favourite. We’ll see you within the subsequent video.