Portrait pictures regularly evolves, and artistic photographers consistently search modern methods to differentiate their work. One standout method is the Brenizer Technique—also referred to as the “bokeh panorama.” This method merges a number of pictures into one panoramic portrait, making a cinematic aesthetic with an exceptionally shallow depth of discipline. By mastering this technique, you possibly can seize portraits that mix the expansive viewpoint of a wide-angle lens with the elegant bokeh sometimes related to longer focal lengths.

Understanding the Brenizer Technique
The Brenizer Technique, popularized by marriage ceremony photographer Ryan Brenizer, includes capturing a scene by means of a sequence of overlapping images and stitching them collectively digitally. The end result? Portraits boasting wide-angle views with pronounced topic separation, producing an impactful, cinematic impact unimaginable with conventional lenses.
Tools and Setup
To successfully make the most of the Brenizer Technique, take into account the next:
- Lens Selection: Usually, prime lenses between 50mm to 135mm with broad apertures (f/1.4–f/2.8) produce optimum outcomes.
- Digital camera Settings: Shoot in guide mode, locking publicity, white stability, and focus to make sure consistency throughout all photographs.
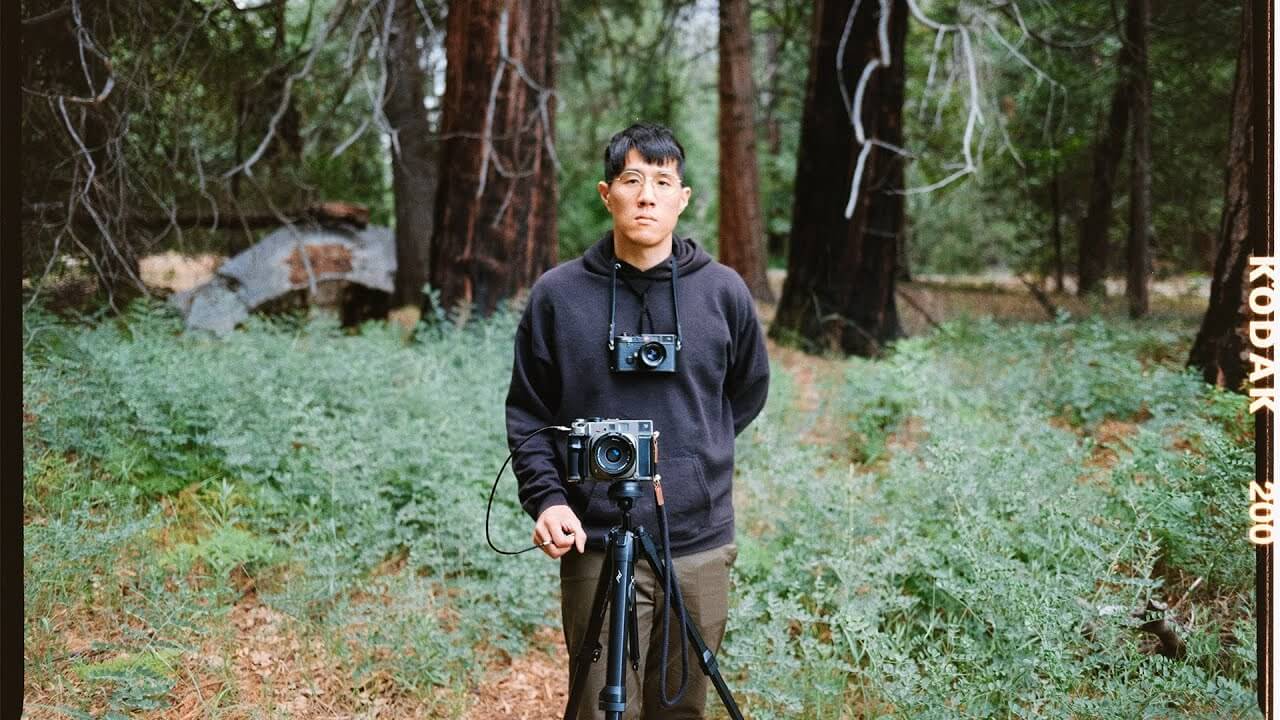
- Tripod Use: Whereas handheld capturing is feasible, a tripod supplies stability and consistency, simplifying stitching throughout post-processing.

Step-by-Step Capturing Method
Observe these steps to execute the Brenizer Technique efficiently:
- Start by photographing your topic clearly, setting your required aperture and focal distance.
- Seize surrounding photographs systematically, making certain every new picture overlaps the earlier one by roughly 30%.
- Cowl your complete meant scene, increasing each vertically and horizontally.
Superior Suggestions for Beautiful Outcomes
Improve your Brenizer panoramas with these superior methods:
- Plan for Stitching: Depart extra house round your composition to facilitate cropping and changes through the stitching course of.
- Handle Topic Motion: Reduce motion between photographs—this technique works greatest with static poses to make sure seamless stitching.
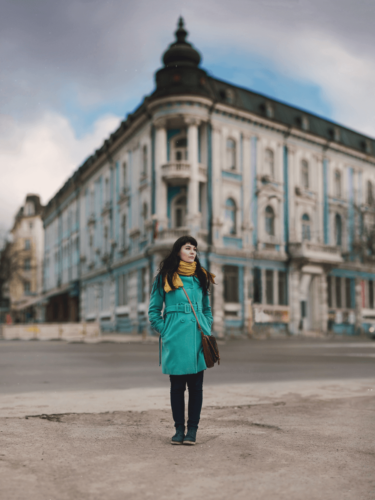
- Think about Background Depth: Select backgrounds that amplify depth, equivalent to distant landscapes or architectural settings, enhancing the panoramic impact.
Put up-Processing and Stitching
The true magic of the Brenizer Technique emerges throughout post-processing:
- Use software program like Adobe Photoshop’s Photomerge function or specialised packages like PTGui.
- After stitching, rigorously refine the panorama—crop, regulate publicity, and fine-tune colours for visible consistency.
- Apply delicate edits to boost depth and distinction, additional emphasizing the cinematic enchantment.
40+ Lovely Bokeh Pictures That Seize Your Creativeness
Widespread Errors to Keep away from
Be careful for these pitfalls:
- Inadequate Overlap: Not overlapping sufficient can create stitching gaps or misaligned parts.
- Inconsistent Focus and Publicity: Guarantee all pictures keep the identical settings to keep away from uneven sharpness or publicity variations.
- Topic Too Near Edges: Maintain your predominant topic central to keep away from distortion or cropping points throughout stitching.
Closing Ideas
Mastering the Brenizer Technique opens doorways to artistic portrait prospects, delivering visually beautiful outcomes that stand out in portfolios. By rigorously planning your photographs, managing your digital camera settings, and perfecting your stitching method, you possibly can persistently produce cinematic portraits that captivate viewers and elevate your creative expression.
Associated