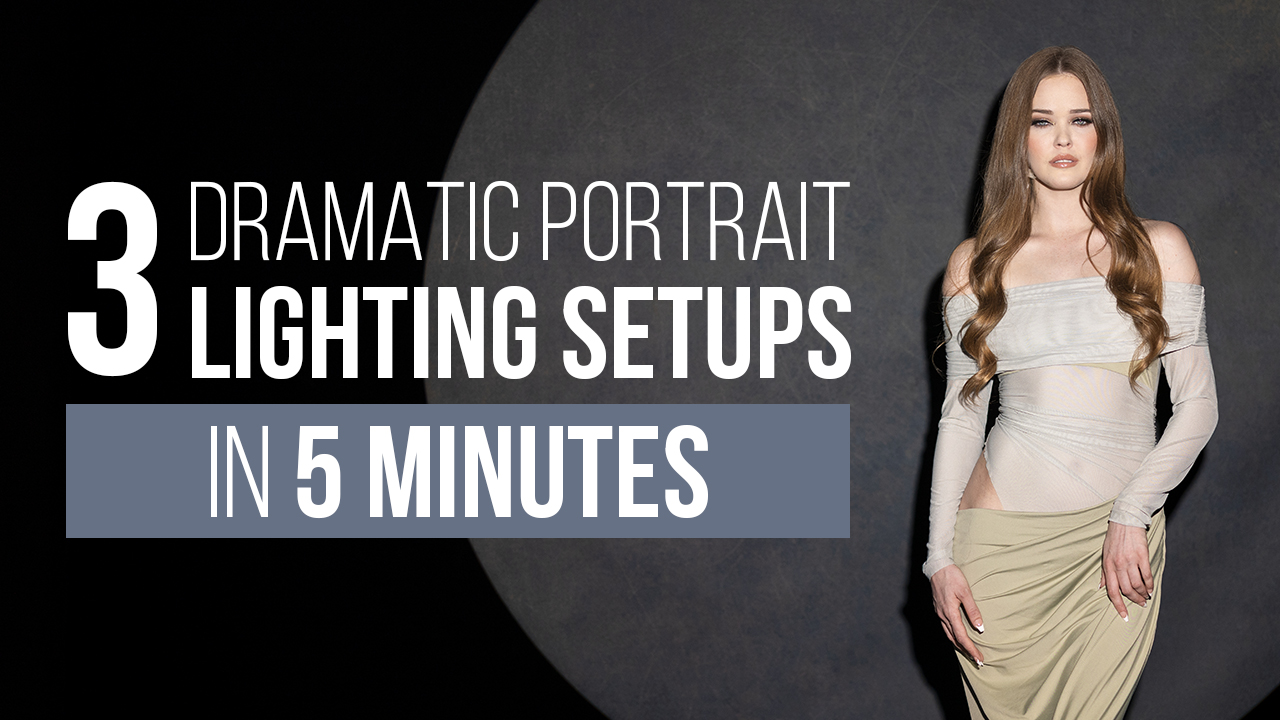
In relation to creating daring, eye-catching portraits, lighting is the whole lot. Whether or not you’re working in a studio or on location, the best setup can add temper, depth, and an unforgettable sense of drama to your pictures. On this video, we’re breaking down three dramatic portrait lighting setups you possibly can grasp in minutes. No difficult gear or big price range required.
These methods are excellent for photographers wanting so as to add influence and elegance to their portrait classes. Let’s dive in.
Tools Used:
Digital camera: Canon EOS R5
Lens: Canon RF 50mm
Gentle: Nanlite FC-300B (appears to be like 1-2), Nanlite FC-300C (look 3)
Modifiers: Nanlite FL-20G Fresnel Lens (Look 1), Nanlite Para 90 Fast-Open Softbox (Look 2), Nanlite PJ-BM Projection Attachment (Look 3)
Workforce:
Photographer: Sal Cincotta
Mannequin: Violet
Hair & Make-up: Brandi Patton, ReFine Magnificence
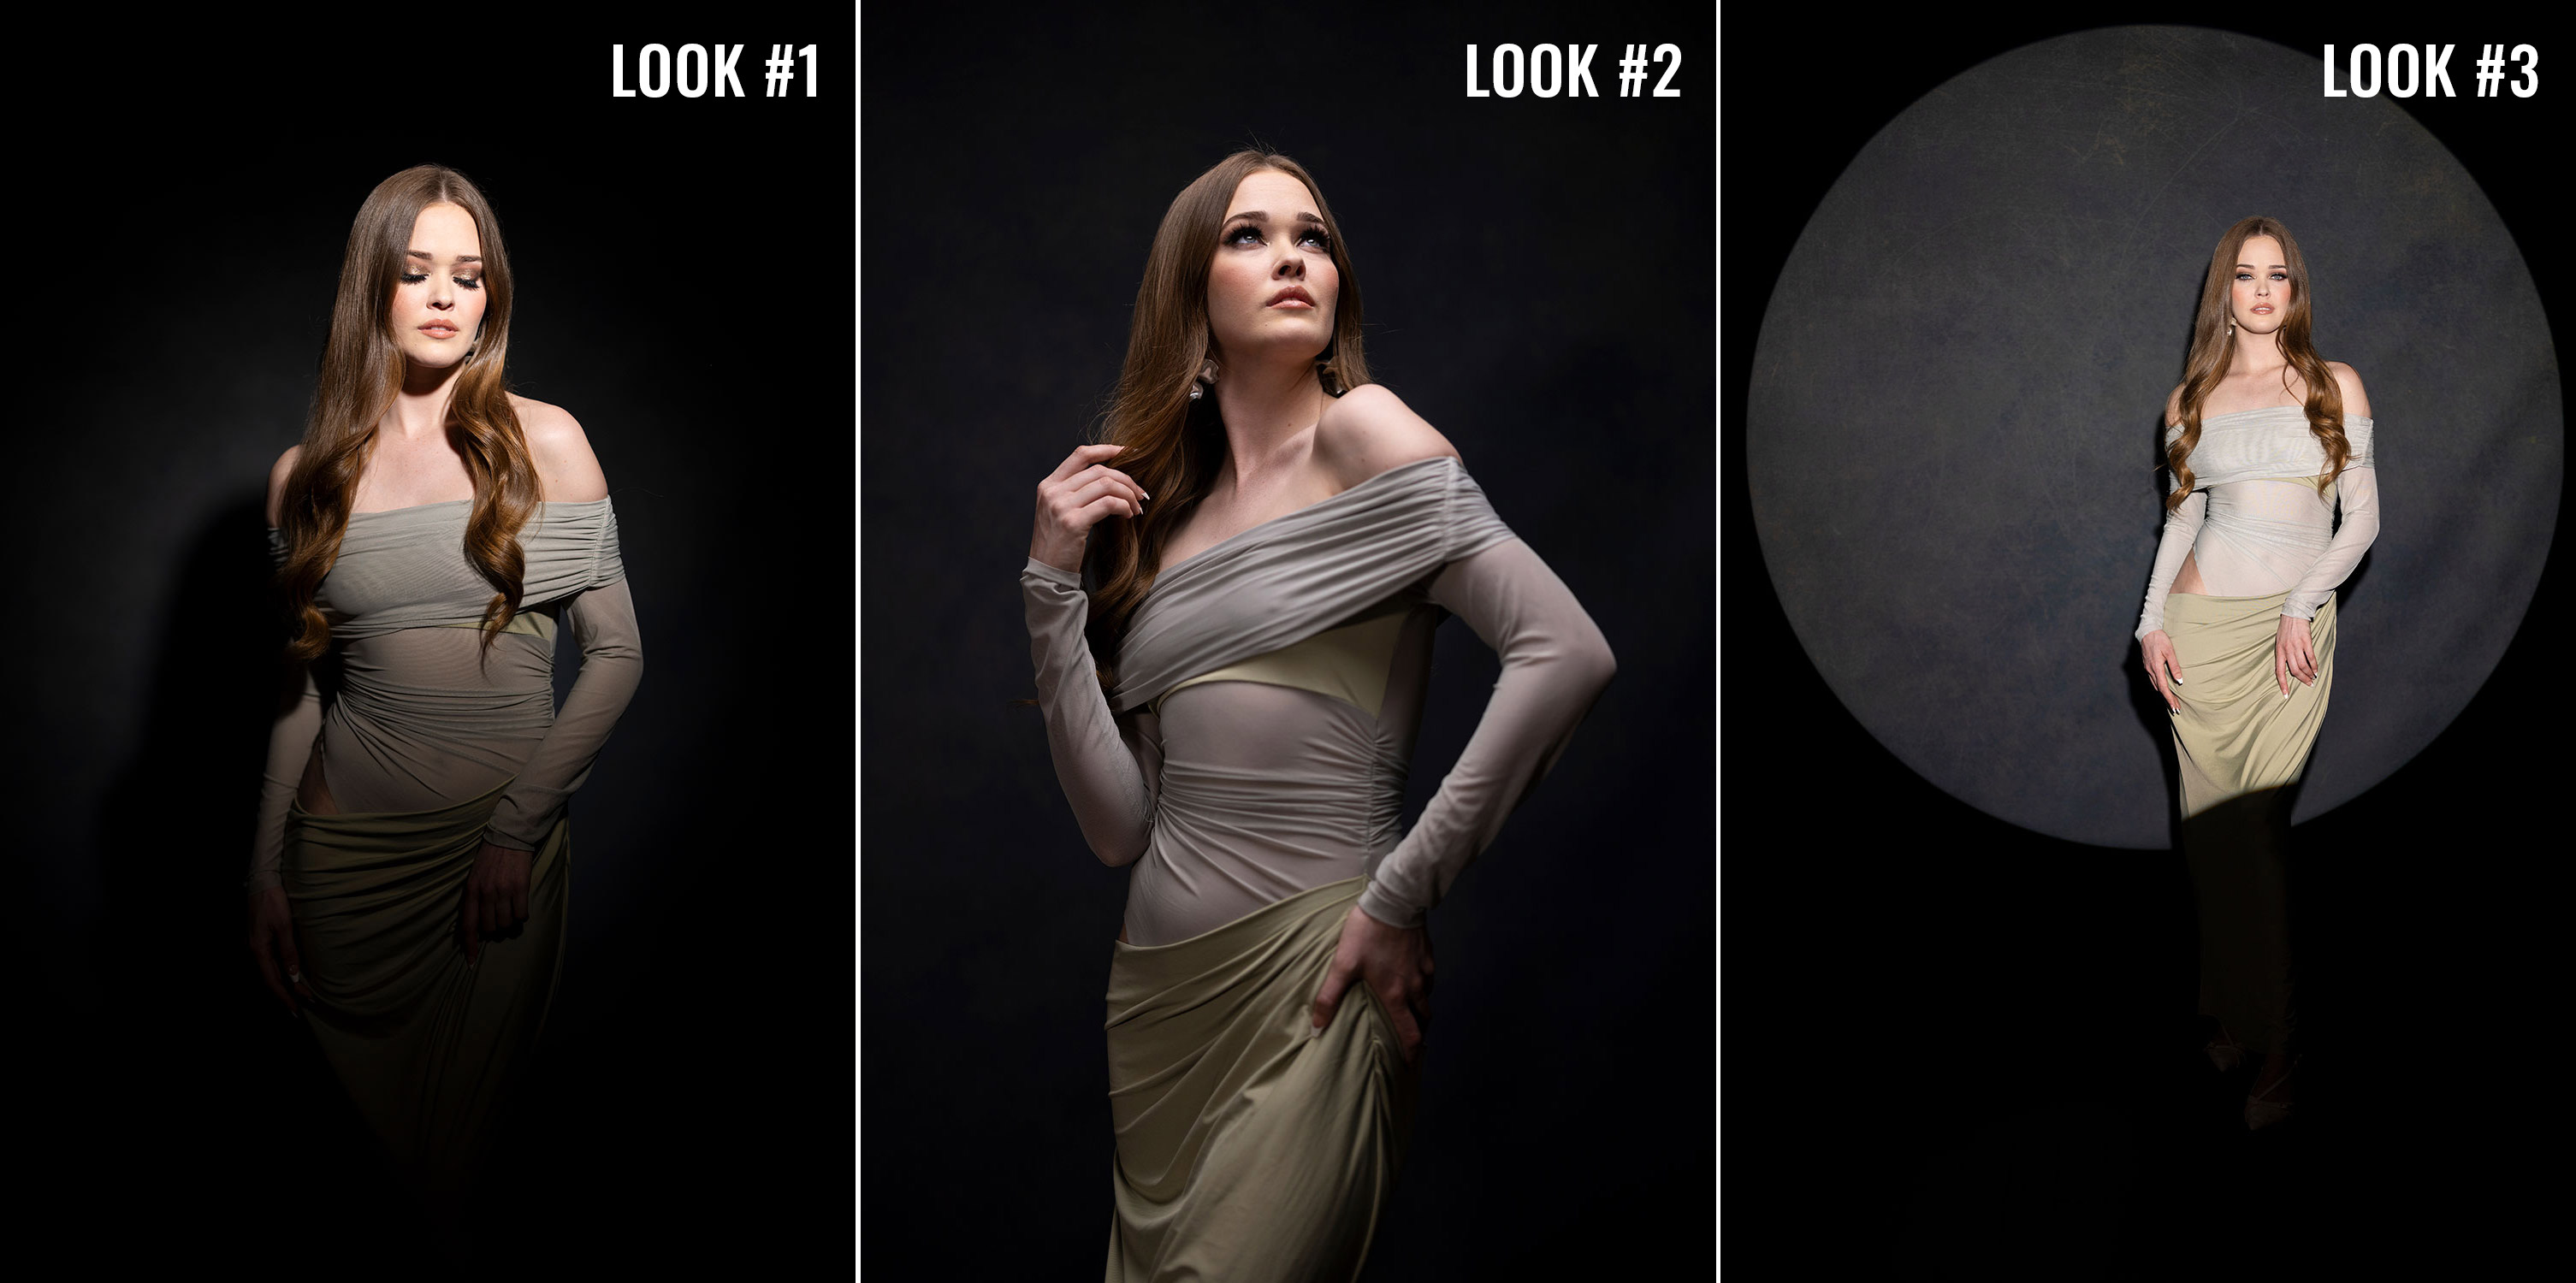
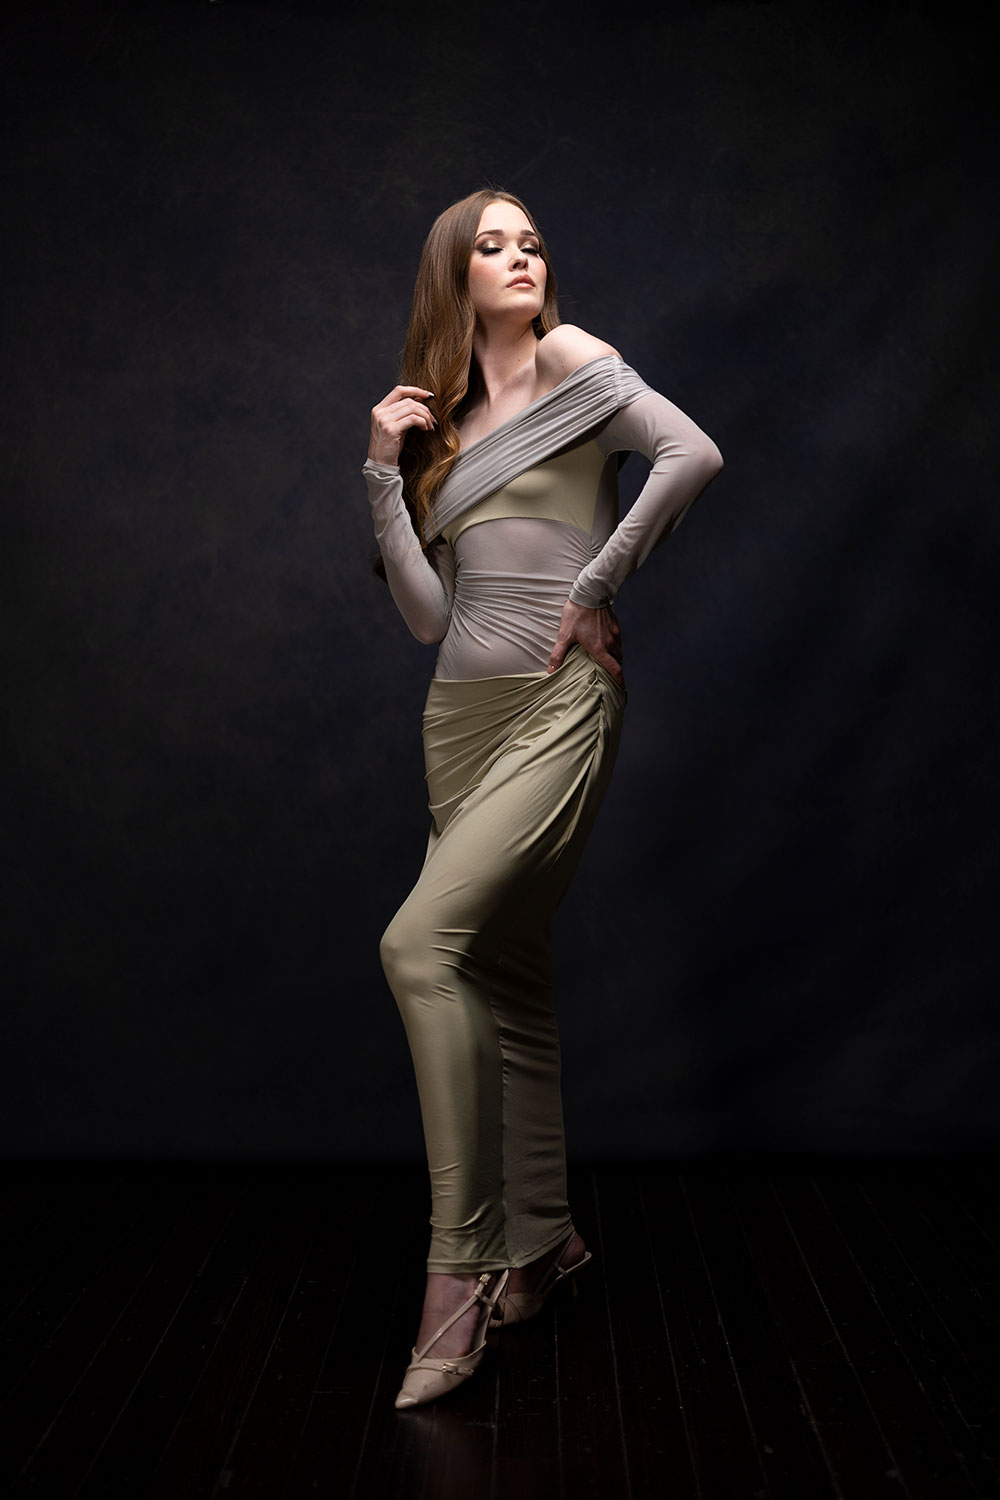
Dramatic Lighting Setup #1: The Traditional Fresnel Highlight Look
When you’re after that Previous Hollywood vibe – suppose deep shadows, crisp highlights, and cinematic aptitude, this setup is for you.
We used the Nanlite FC-300B with a Fresnel lens to create a decent, round beam of sunshine. The consequence? A fantastically managed highlight with dramatic falloff. This setup isn’t meant to gentle the whole lot evenly. As a substitute, the secret’s guiding your topic so the brightest a part of the sunshine hits the face and head, permitting the shadows to do the storytelling.
Why it really works:
This look provides prompt drama with little or no effort.
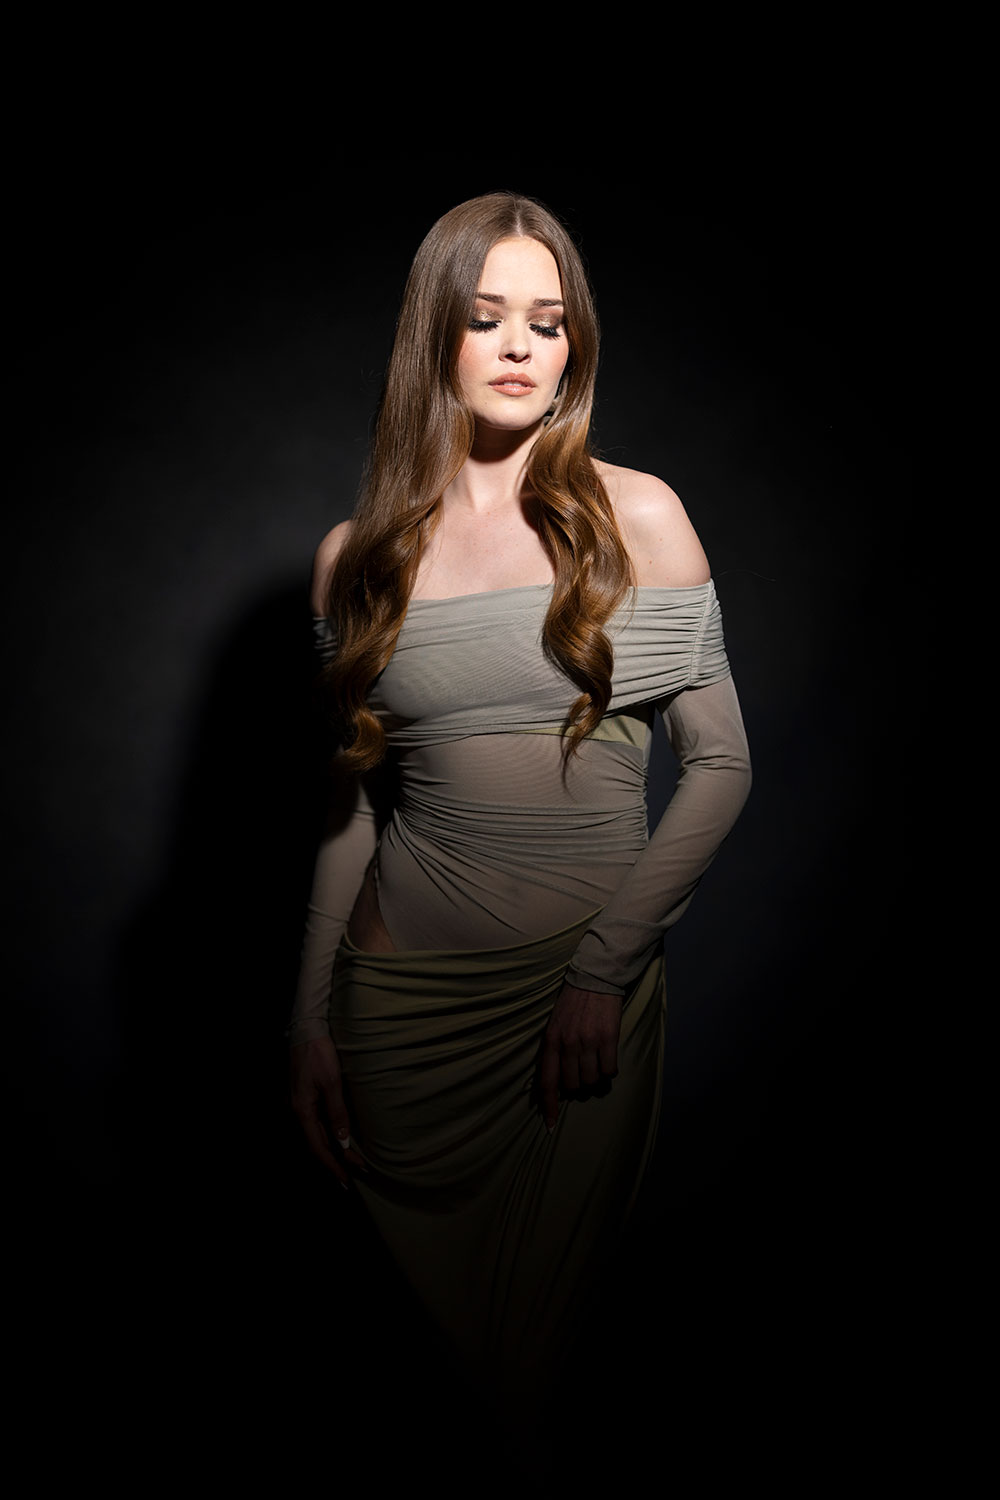
Settings: f/1.2 @ 1/4000, ISO 200
Settings: f/1.2 @ 1/4000, ISO 200
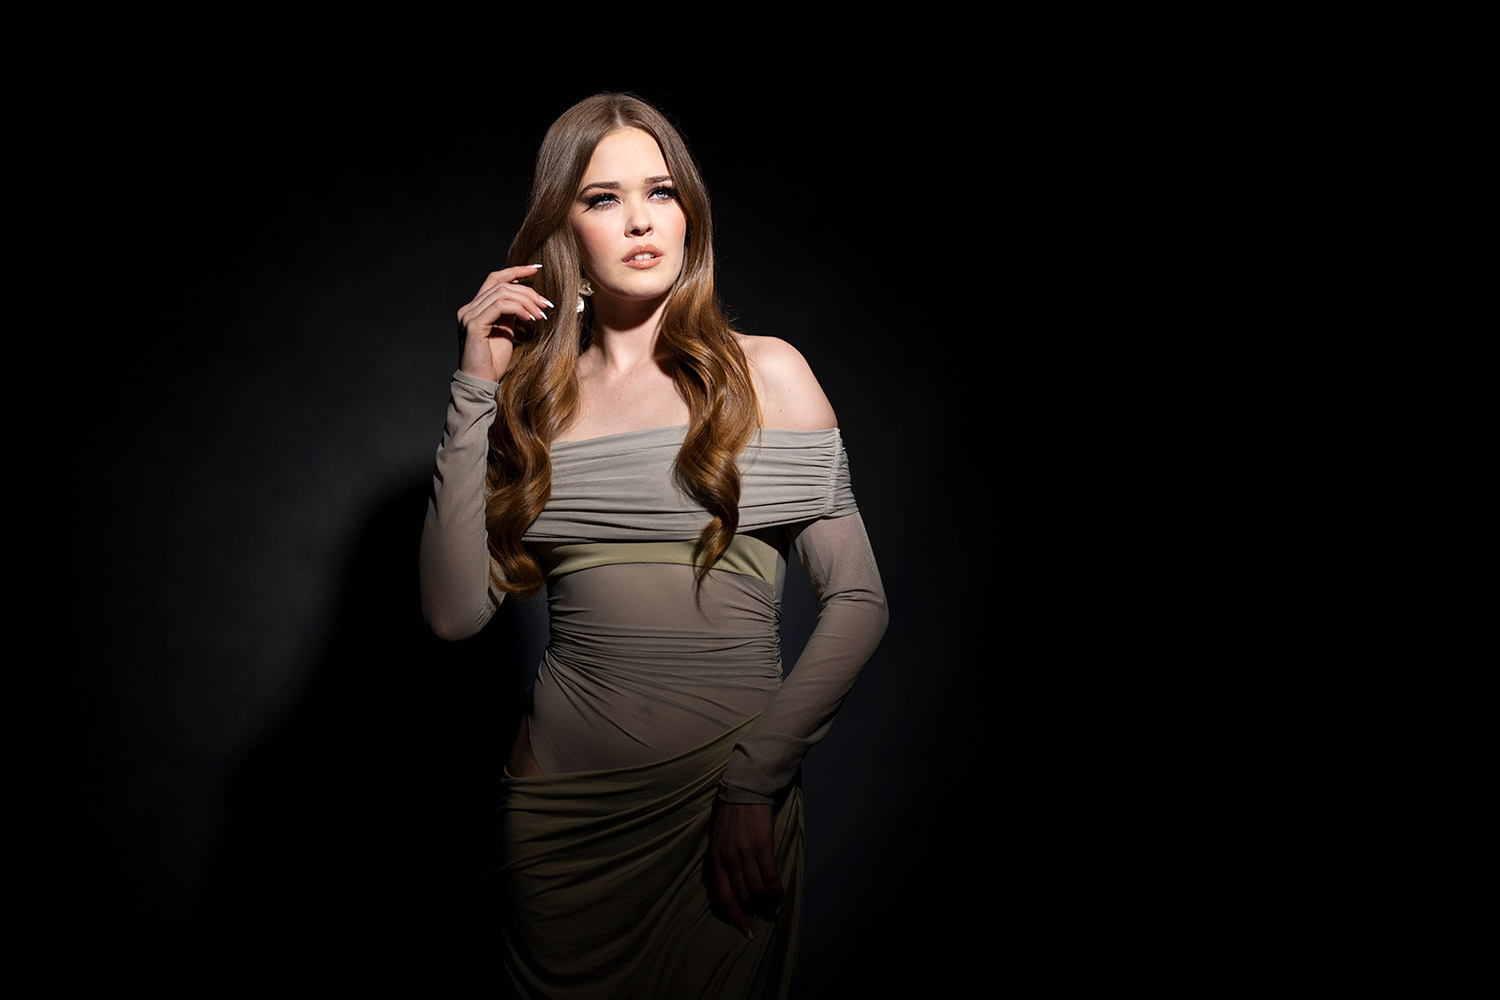
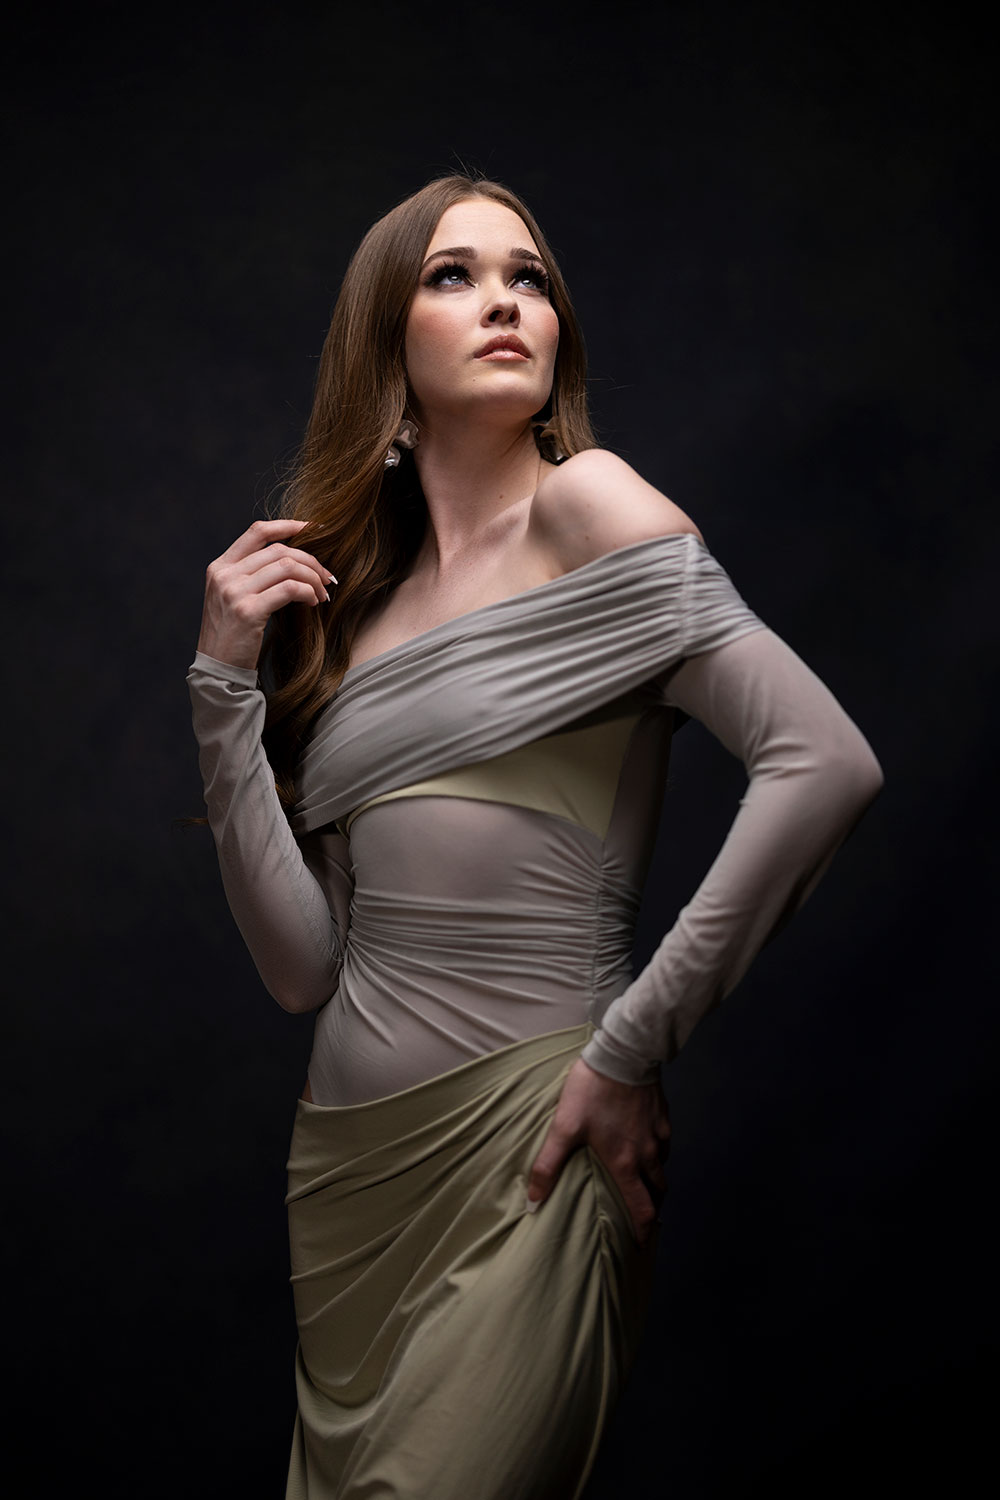
Dramatic Lighting Setup #2: Sculpted Gentle with an Overhead Softbox
Subsequent, we softened issues a bit, however stored the drama intact.
Utilizing the Nanlite FS-300C and a Parabolic 90 Softbox, we positioned the sunshine supply overhead to create lovely shadow shaping throughout the face and physique. It’s softer than the highlight, however nonetheless directional sufficient to offer your pictures a powerful sense of temper.
Tip: be sure your topic isn’t staring straight into the lens. Overhead lighting can forged undesirable shadows below the eyes if not managed correctly. Alter their pose to maintain a flattering gentle placement.
Why it really works:
It provides portraits a sculpted, skilled look with out washing out facial options.
Settings: f/1.2 @ 1/200, ISO 200
Settings: f/1.2 @ 1/200, ISO 200
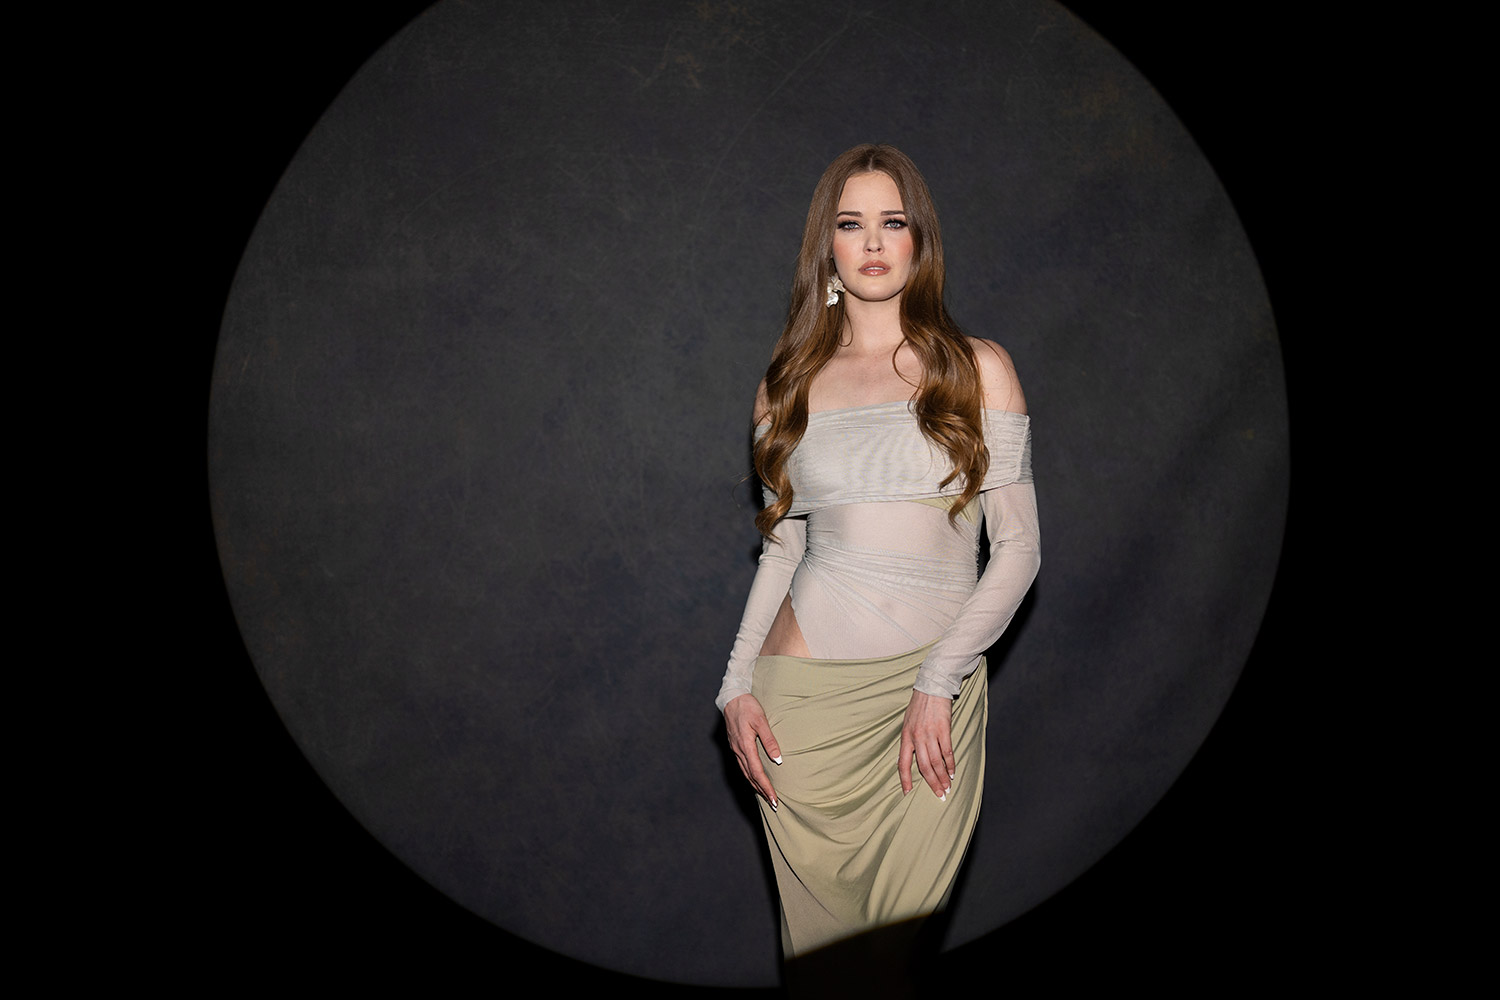
Dramatic Lighting Setup #3: Add Aptitude with a Projector and Gobo
For the third setup, we introduced out the massive weapons: the Nanlite PJ-BM projector with a easy gobo sample.
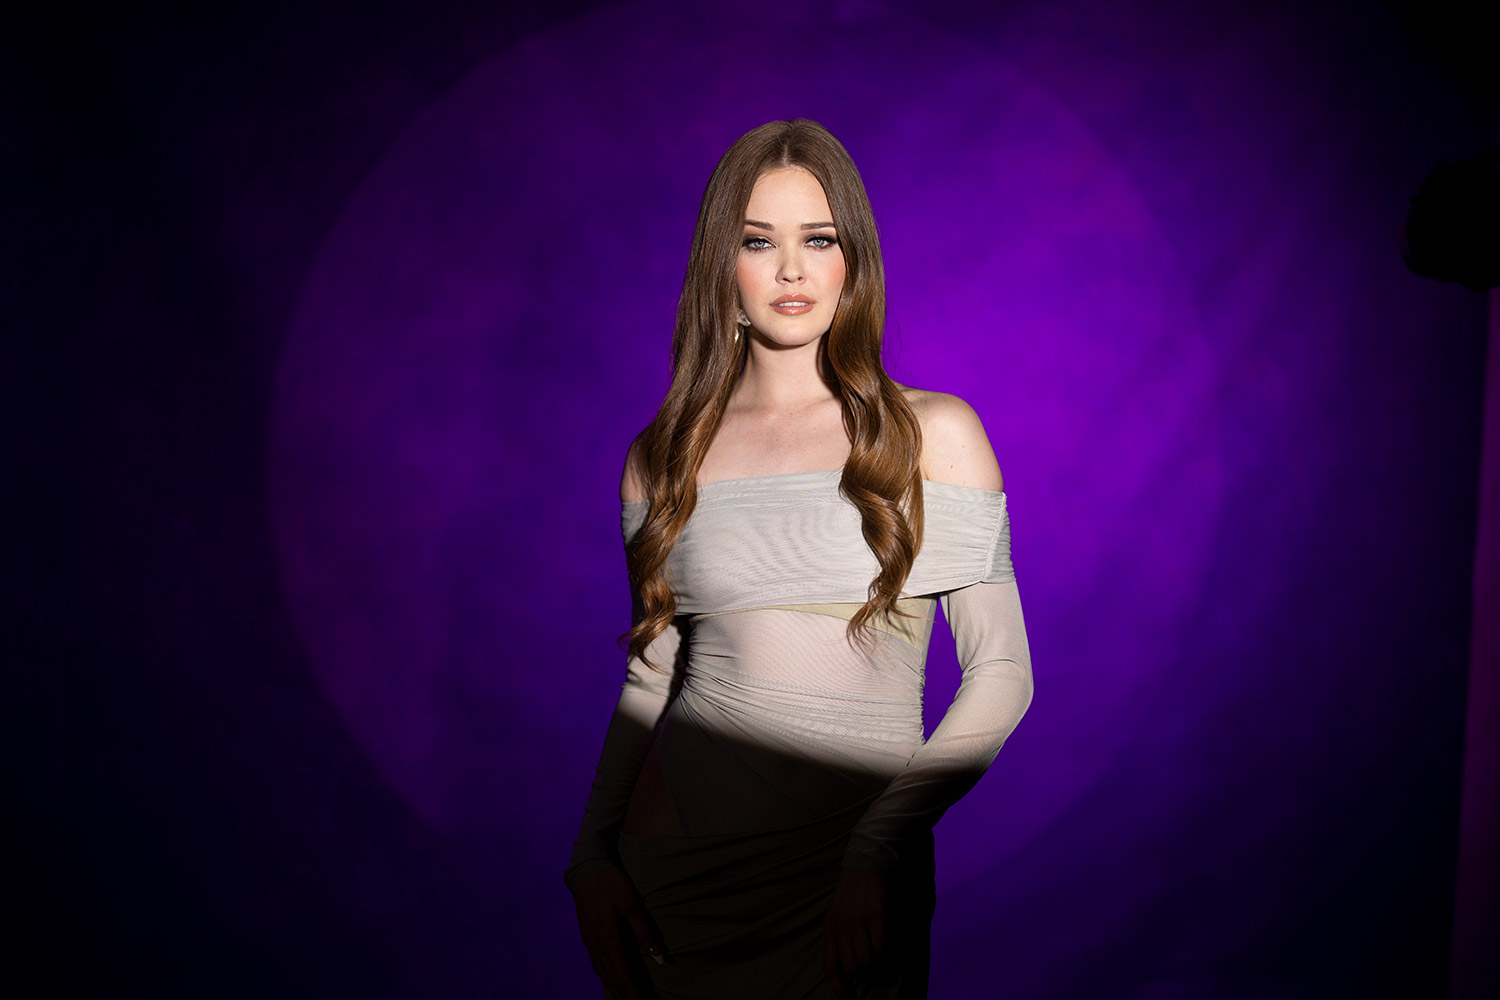
This device helps you to mission shapes and patterns onto your topic or background. In our case, we used a clear circle of sunshine and stored the sides crisp for optimum drama. Paired once more with the Nanlite FC-300B, this setup created a powerful, graphic look. We additionally added a splash of coloured gentle within the background utilizing the Nanlite FS-300C – a refined purple to enhance the inexperienced outfit our mannequin was carrying.
Why it really works:
It immediately transforms a primary portrait right into a murals. The projected sample provides texture and layers to your picture without having further props or backdrops.
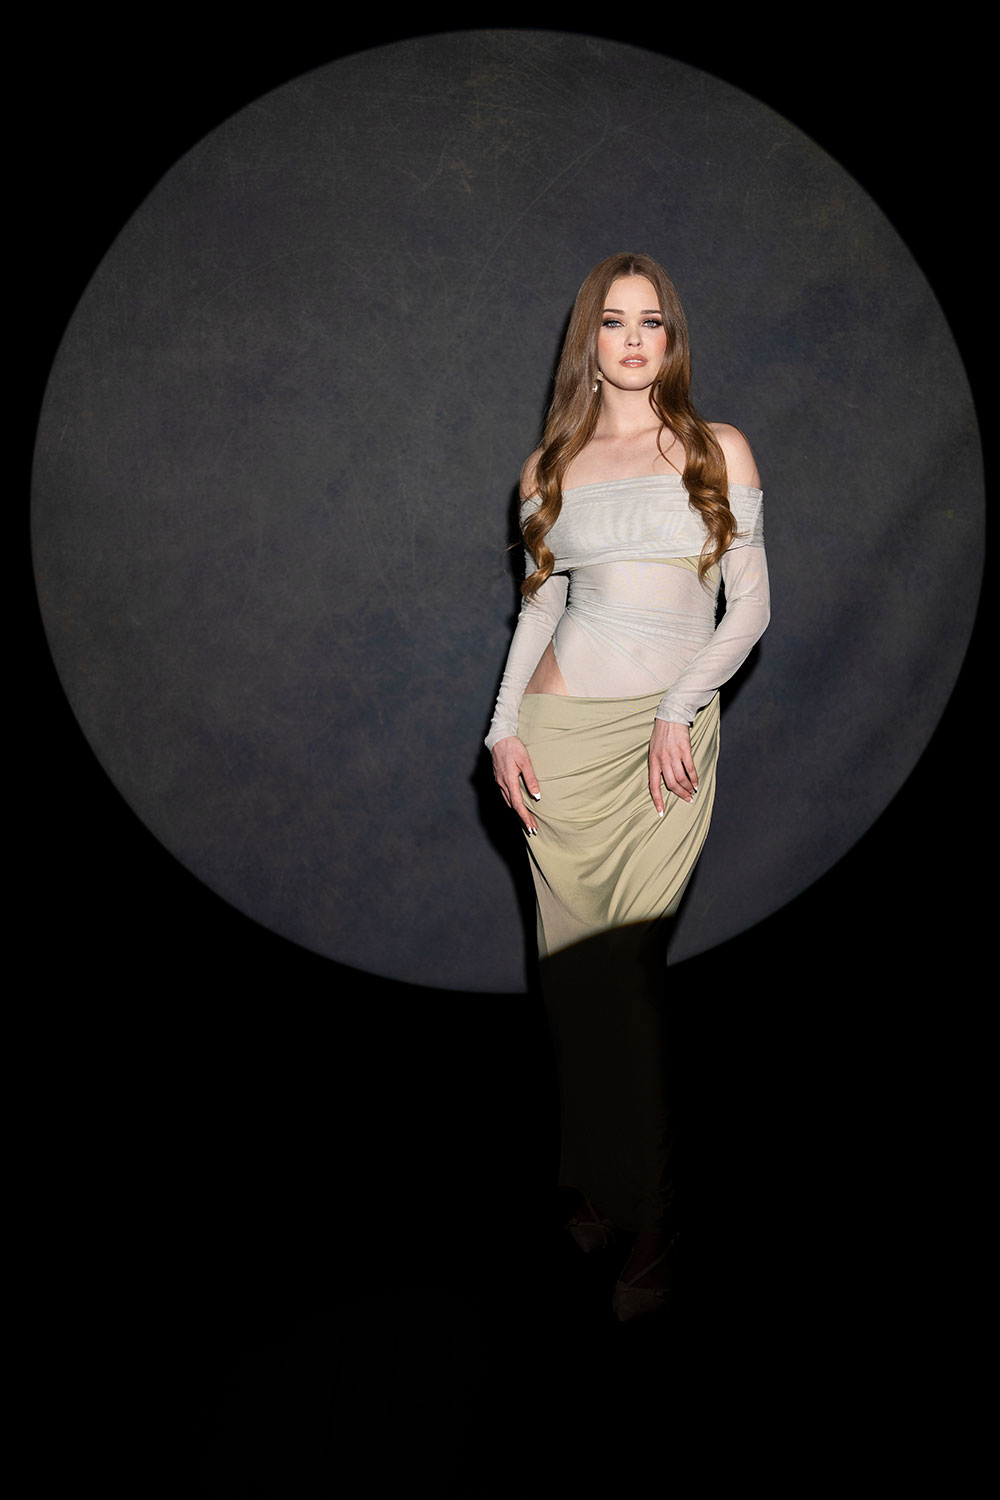
Settings: f/1.2 @ 1/1600, ISO 320
Settings: f/1.2 @ 1/1600, ISO 320
Settings: f/1.2 @ 1/2500, ISO 320
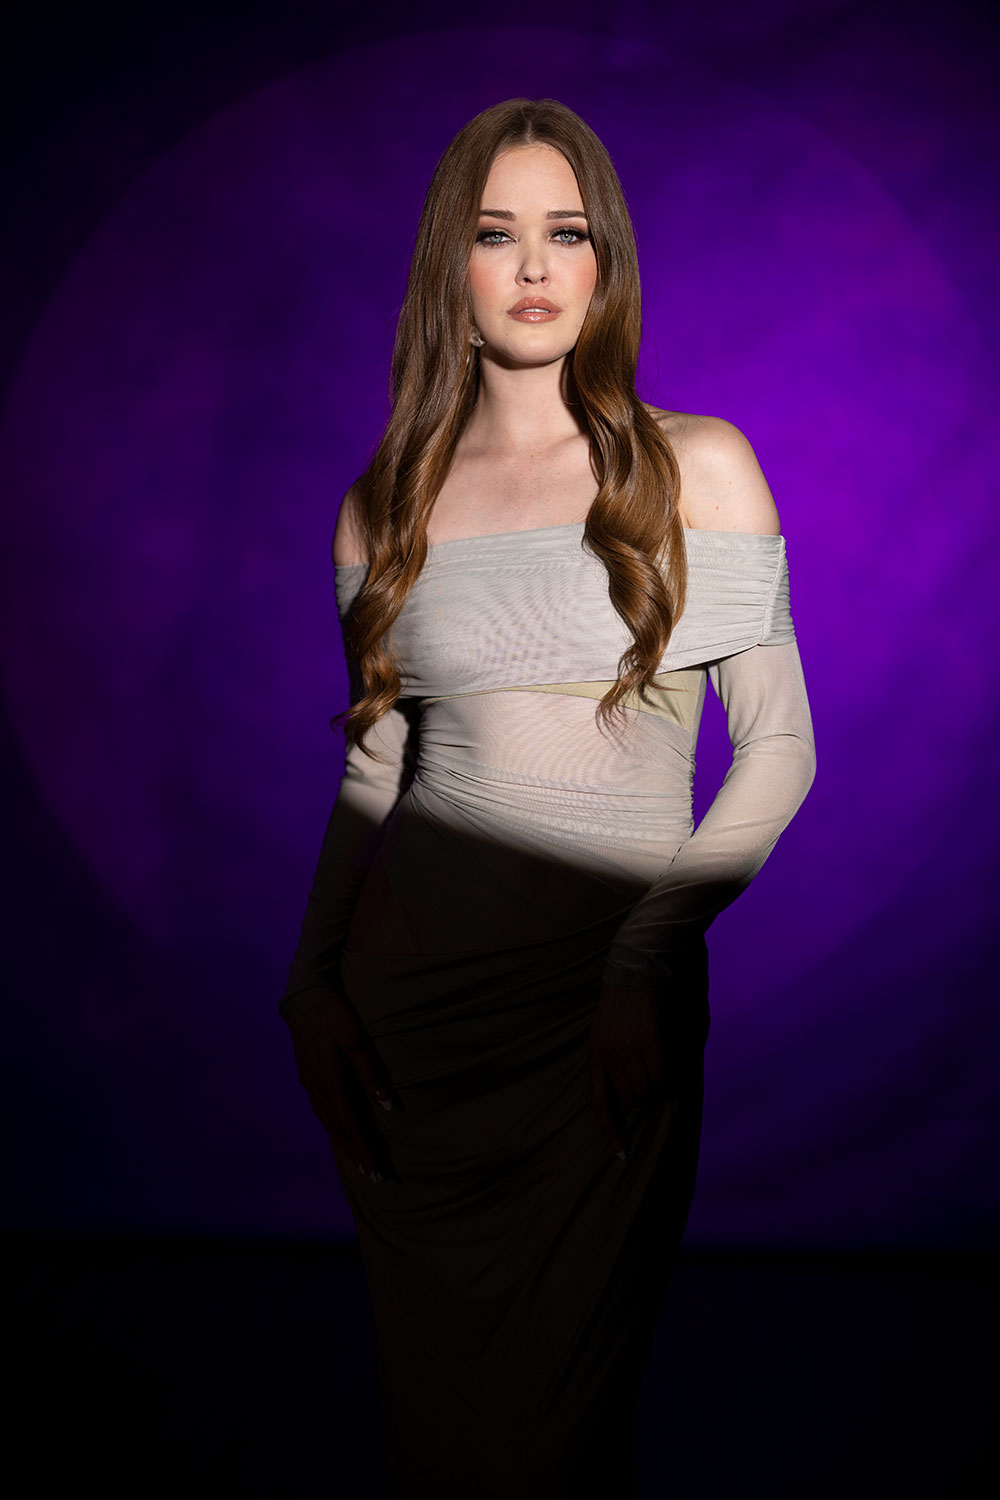
Settings: f/1.2 @ 1/2500, ISO 320
The great thing about these dramatic portrait lighting setups is how adaptable they’re. You need to use them in a small studio, modify them with coloured lights or gels, and even mix components from every to create your individual signature type.
Whether or not you’re taking pictures style, editorial, or simply wish to experiment creatively, these three setups are a quick, efficient solution to deliver drama to your portraits.
Able to make your portraits stand out? Begin experimenting with these lighting setups and see what unfolds.